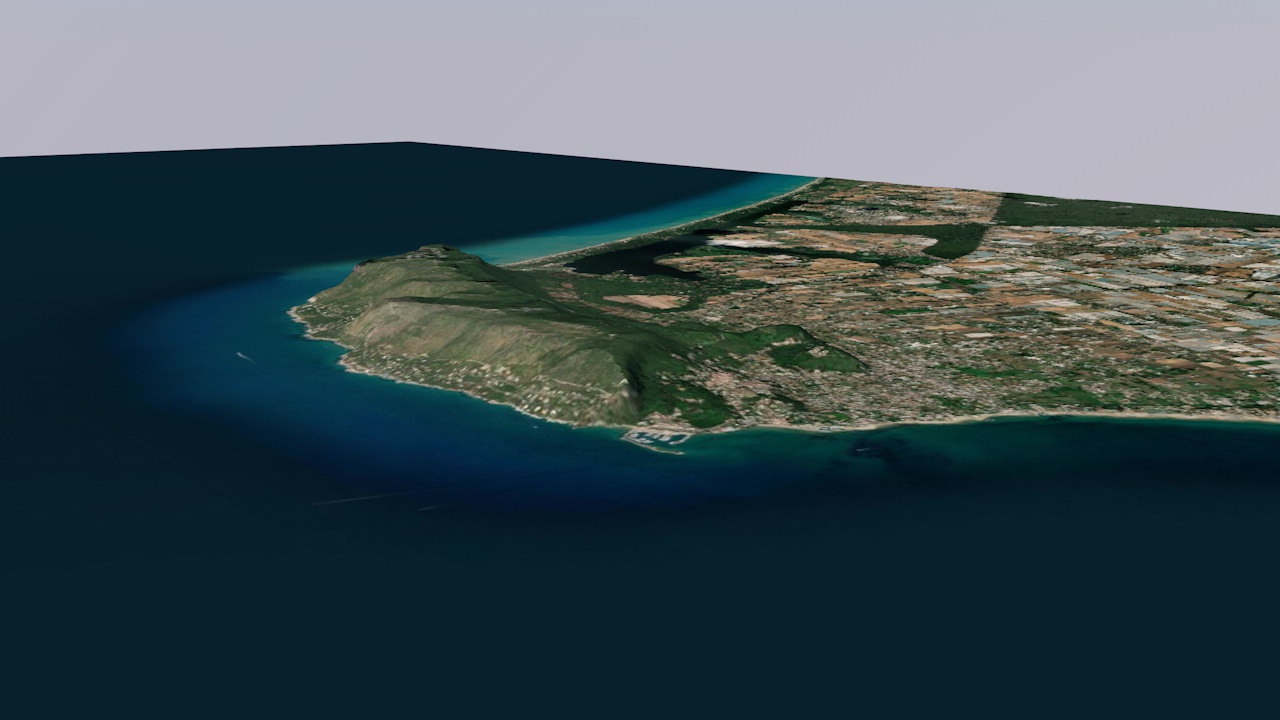
Convert a GeoTIFF to DEM
So one way I use GIS software is very simple: Sometimes I want to create a 3D model of something, let's say an ancient building. This building is, of course, part of a larger landscape. Of course I want to place the reconstruction of the building in its natural environment. Maybe the building was on top of a mountain or deep in a valley. This may be important to the overall image I am creating. GeoTIFFs can help here, but Cinema 4D is not able to read them directly. Also, they do not contain the satellite data needed for texturing.
Get a GeoTIFF
So the first step would be to get a GeoTIFF. You can get them anywhere, but to get started just go to this website where they offer free GeoTIFFs from Italy. Click on one of the squares to download a ZIP. When the download is complete, unzip the archive. Inside you will find a single TIF file. This is your GeoTIFF!
Startup QGIS and install packages
So the first step is to start QGIS and install some additional packages that we will need. You may already have them installed, but if your installation is fresh like mine, you don't. Go to Plugins/Manage and Install Plugins.... Search for HCMGIS in the search bar. Click on it in the results list and hit Install Plugin. Done, you now have an additional menu item called HCMGIS.
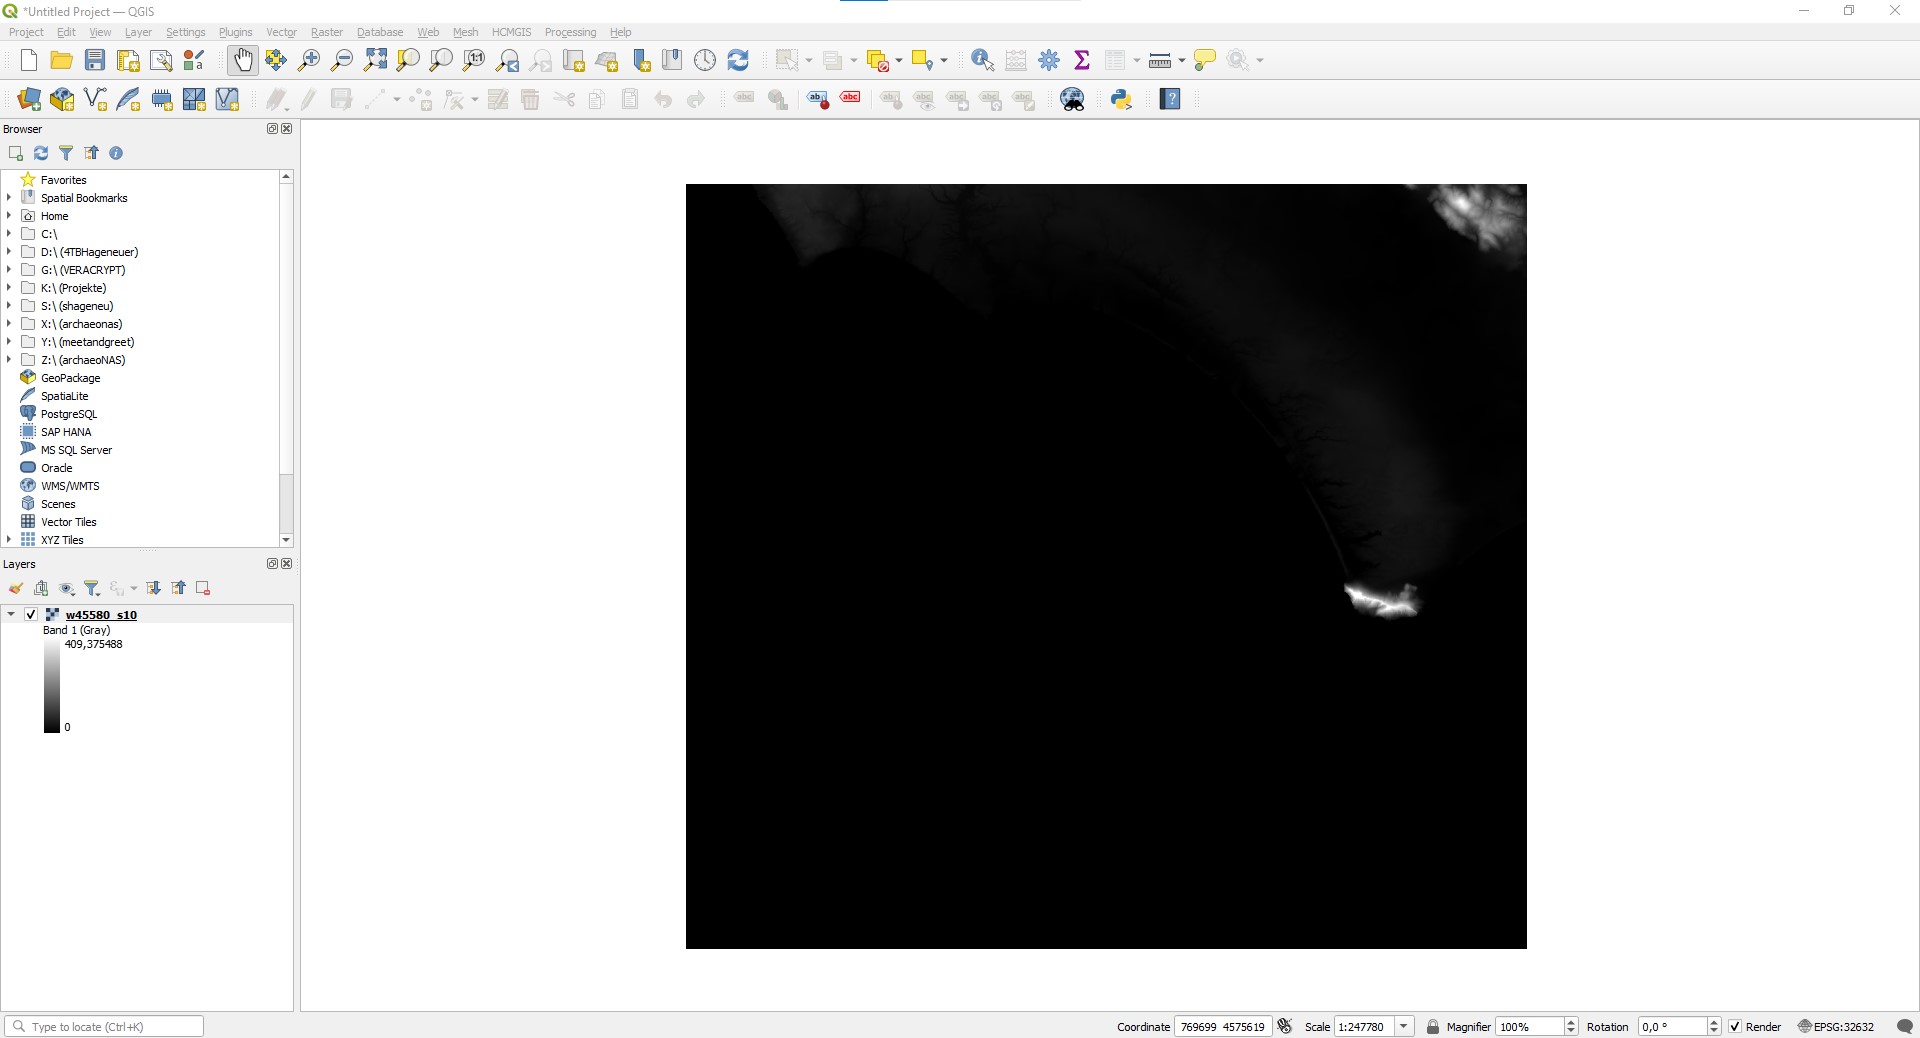
Start a new project by clicking on the empty page in the button bar at the top, by pressing CTRL+N or by going through the menu to Project/New. You will now have a large Main Window and a Browser as well as a Layers list on the left. Drag and drop your GeoTIFF into the Layers list.
As you look around the GUI, you'll notice that there's a lot going on. It is overwhelming, but we are only going to focus on the things we need. So follow everything step by step and you will be fine. So far, you should have managed to open the software and load our GeoTIFF into the main window. That is a good start!
Add a terrain map and layout
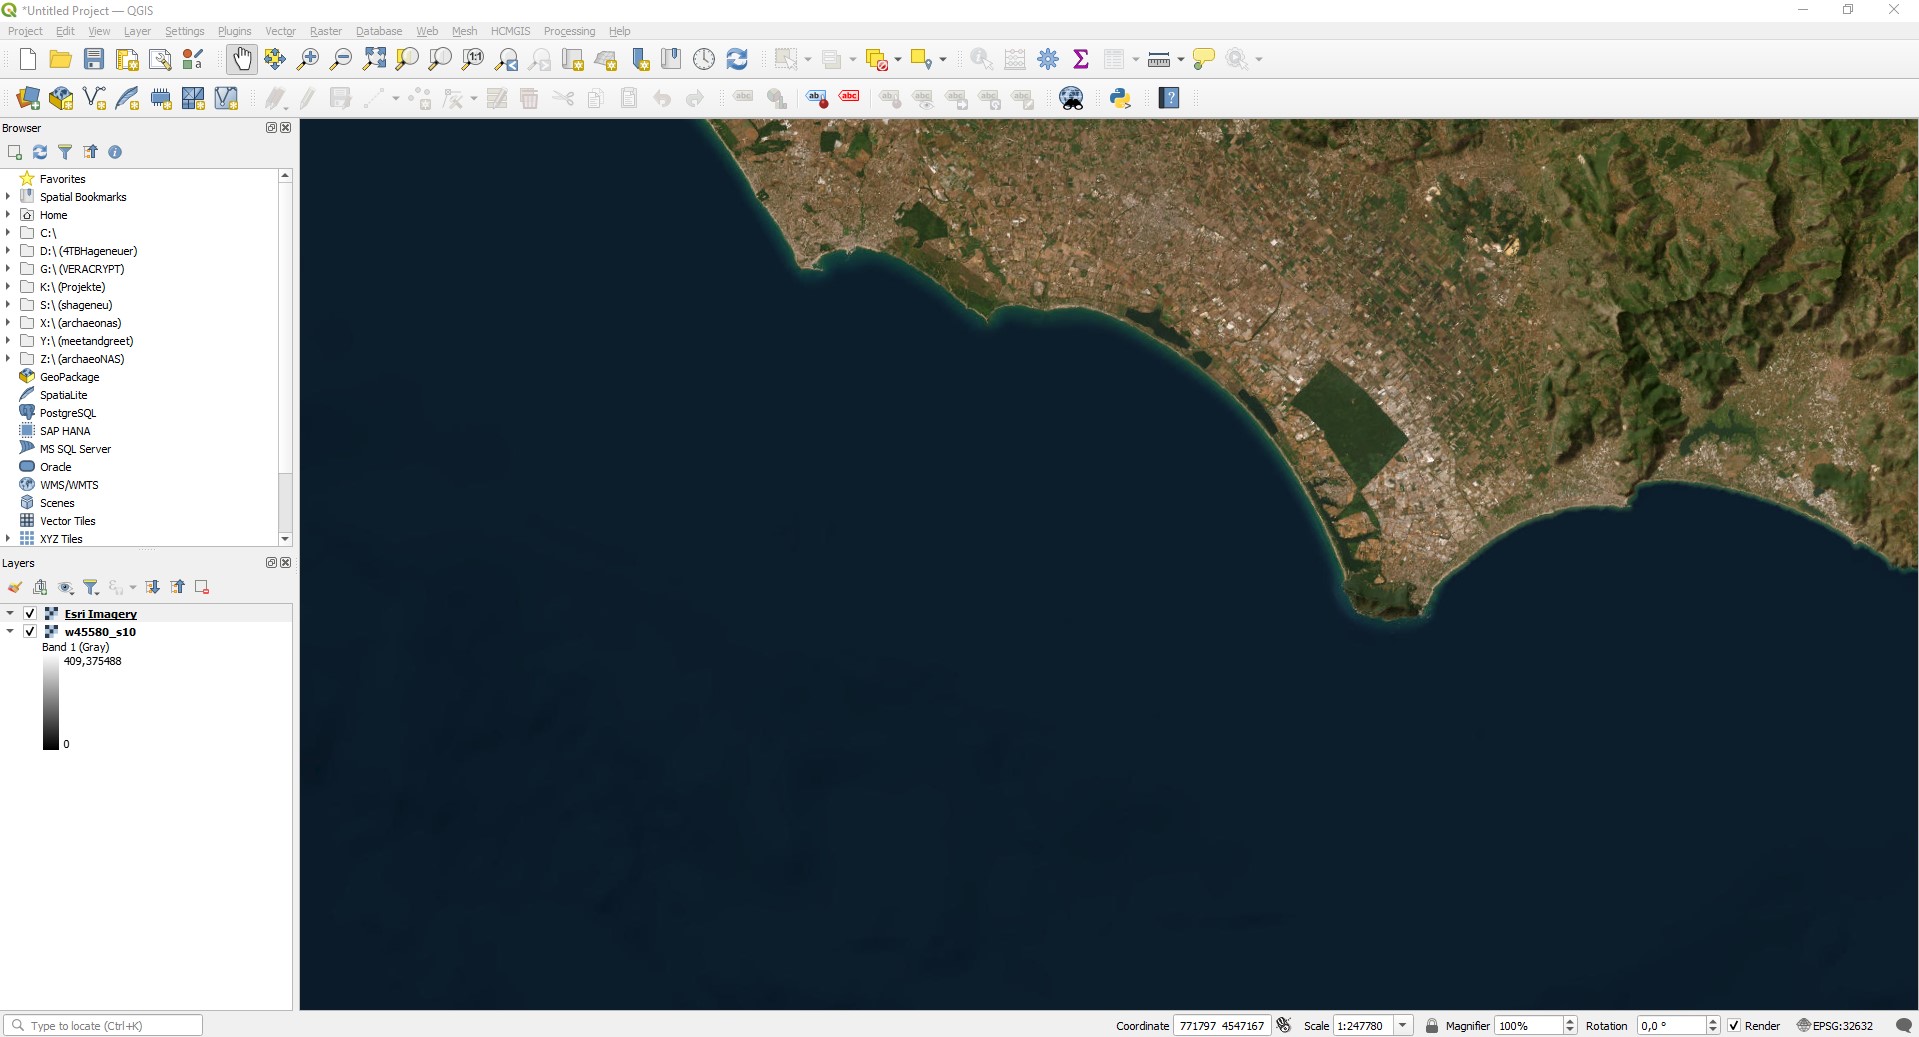
With the plugin installed and GeoTiff loaded, we can add some free satellite data. Go to the menu under HCMGIS/Basemaps/Esri Imagery and you will see satellite data overlaying our GeoTIFF. The great thing is that it automatically picks out the right satellite data so that it fits perfectly.
So let's say you want to have a particular area of the GeoTIFF as a DEM and the same area as a texture from the satellite data. With these two images you can easily create a textured terrain model in Cinema 4D. First create a new print layout under Project/New Print Layout.... Give it a meaningful and unique name. On the left toolbar look for a button called Add Map. Now you can draw a rectangle on the paper, depending on how big you want it to be.
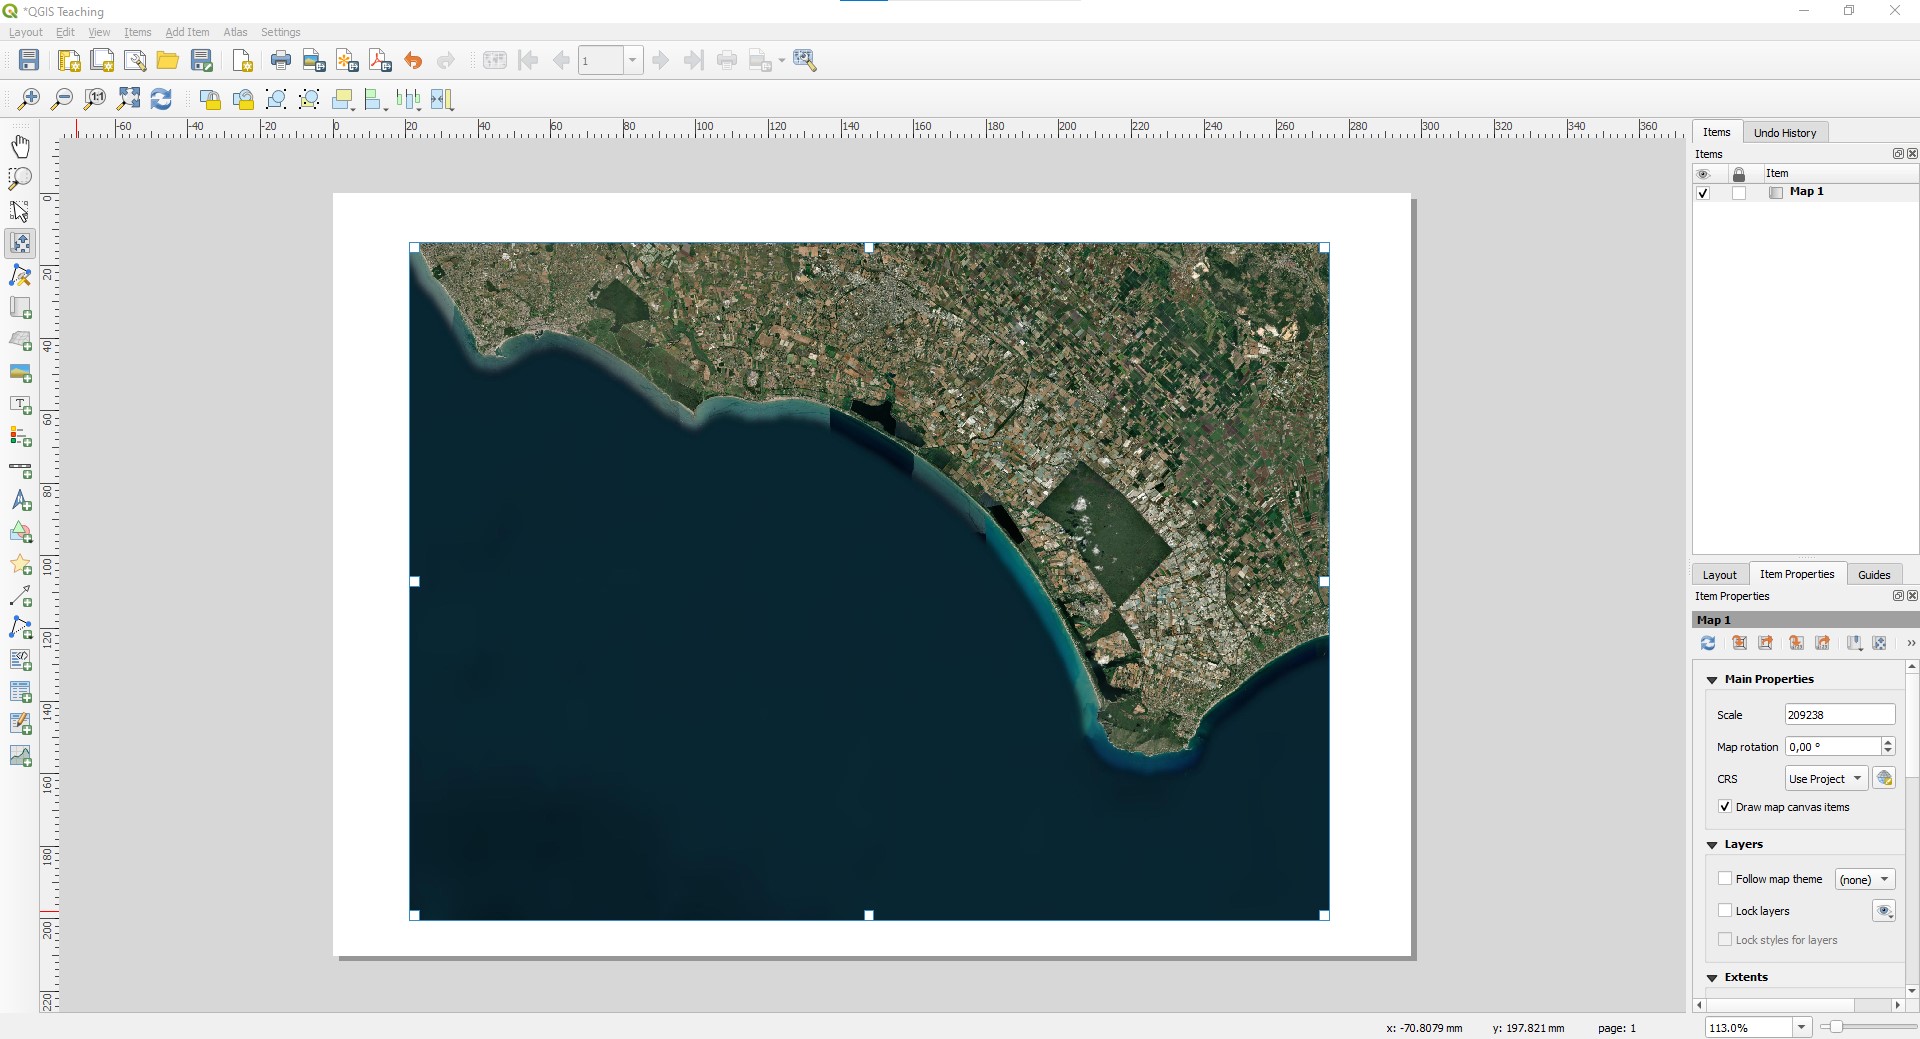
You can still change the zoom and area by clicking on the Move Item Content button. Now you can move the map by dragging or zoom with the mouse wheel. Be patient though, because QGIS always needs some time to reload the map. If you zoom in too much you will only see water.
The print layout is actually not for creating textures, but for creating... well, print layouts. For example, if you have created a map, you can create different print layouts at different scales or with different layers, legends and so on. It really is a great tool. As soon as you input new data, the layout just outputs that. We can adjust the output as we like, changing the size and resolution for example.

What you can also do is adjust the dimensions of the image, because sometimes you want the images to be square. By right-clicking on the paper and selecting Page Properties you can adjust the dimensions of the paper to make it square. Using the left pane buttons Select/Move Item and Move Item Content you can again adjust the area within your square to make the map fit exactly on the print layout.
In 3D modelling we often use square textures. This isn't necessary for Cinema 4D per se, but it is for a lot of other software. For example, game engines like to use square textures. So we will create square textures from the start, even though Cinema 4D also allows rectangular textures.
Saving and exporting
Now it is time to save your project and give it an appropriate name. Once you have done this, you can select Export as Image... in the Print Layout window. The software will ask you for the resolution. Enter a number you feel comfortable with, I chose 4000x4000 pixels. Press Save. You have now successfully exported the satellite image. Now we want the DEM in the same dimensions, right?
Go back to the main QGIS window and look at your Layers tab. You'll see both the GeoTIFF and the Esri imagery. Next to Esri Imagery you can uncheck the little box. When you return to your print layout window, you won't see any changes. But at the top of the toolbar you'll find a Refresh View button. If you click it, you'll see only the GeoTIFF.
Additional Info: If you think the greyscale could use more contrast, you can adjust this. Double-click on the grey band in the Layers tab in the main window. In the dialogue that opens, look at the Min and Max values under Gradient. If you adjust the max value (make it smaller), you may get more contrast. Just make sure that nothing is pure white in the result. Check this by pressing the Apply button. To see the change in the print layout, press the Refresh button again.
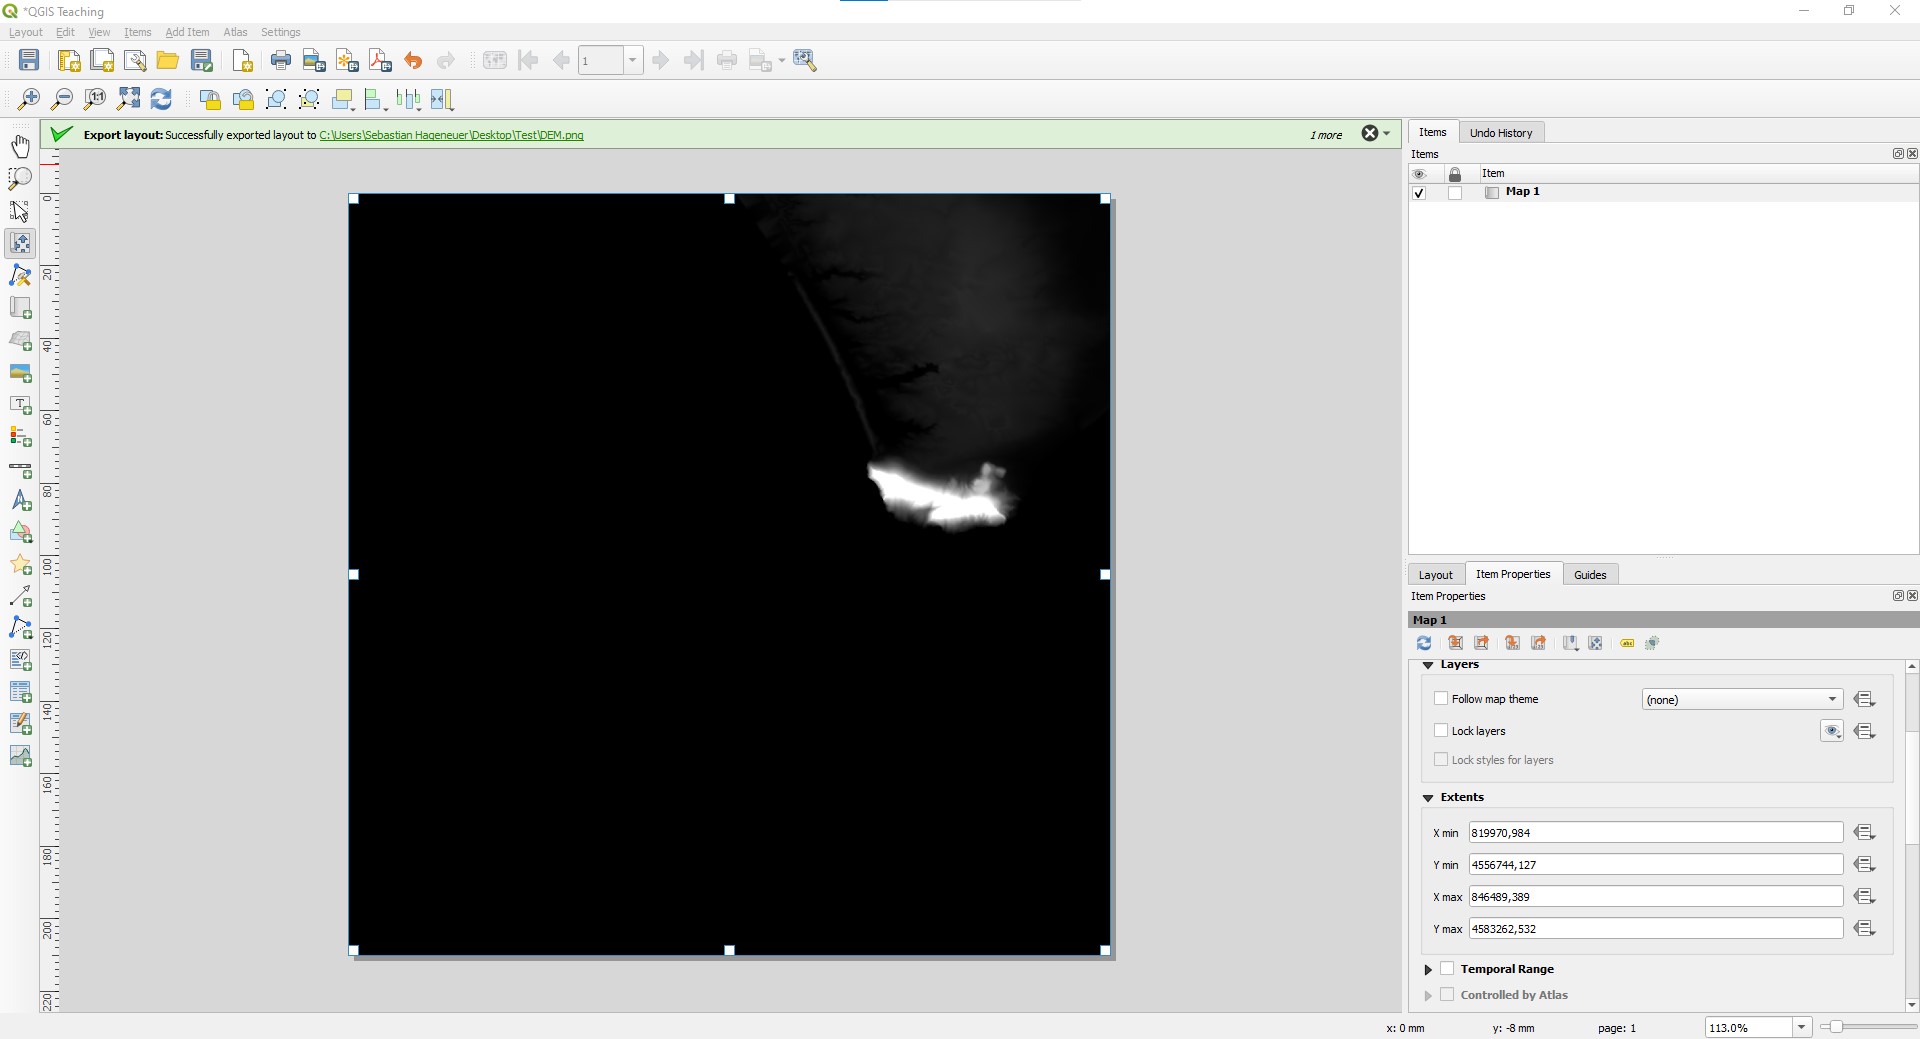
You can now export the DEM as an image as before and you will have the same dimensions as the satellite image. Make sure you use the same dimensions. One last question might be, what size your image patch actually is, because if you want to rebuild it in Cinema4D, you need to know the extensions in metres. If you right-click on the image in the print layout, you can select Item Properties. There you will find the group Extensions.
These numbers look very random, but they aren't. They represent the coordinates of the sides of your layout in metres. There is a Y max and a Y min. If you subtract min from max, you get the height in metres. If you do the same with the X values, you will get the width in metres:
Y max - Y min = Height in m
X max - X min = Width in m
Creating a 3D model in Cinema4D
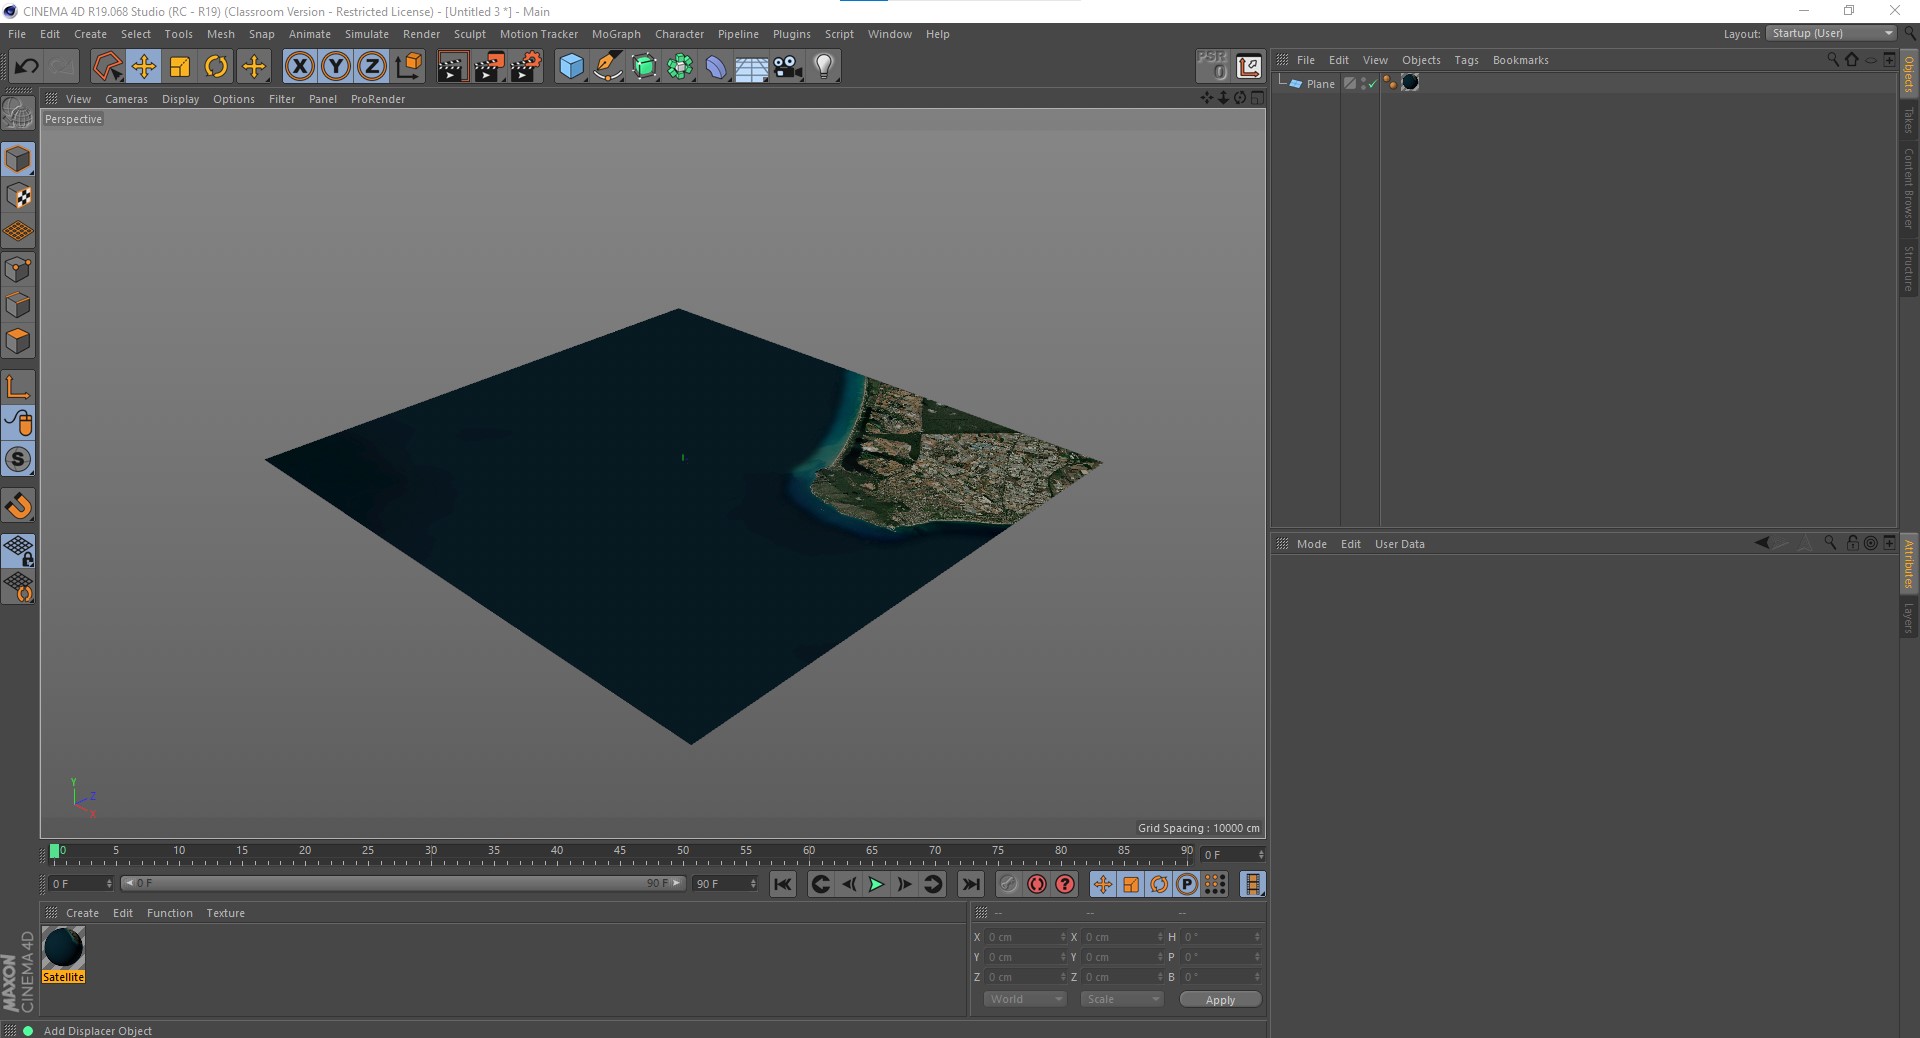
Ok, now with the two exported images we want to create a nice terrain model. In Cinema we simply create a Plane object. In the Attributes Manager we can enter the calculated dimensions of the exported patch and segment our plane into 1000 x 1000 segments to get a fairly good resolution. We can create a new material in the Material Manager and name it Satellite. Disable Reflectance and open the satellite image in the Color tab under Texture. We can already drop this material on our plane.
Now we have to calculate our height. In the Object Properties tab under Height we can enter the selected height. The selected height is the maximum number shown in QGIS on the grey band in the Layers tab. In Cinema 4D in the Shading tab we can open our DEM under Shader. There it is! Our own terrain model that we can do whatever we want with.
