🧑💻 Structure From Motion
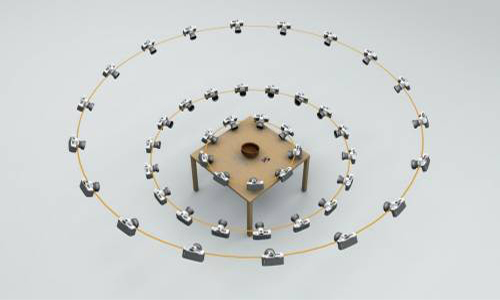
Here we will talk about Structure from Motion, a technique that allows you to create 3D objects from 2D photos. The information is divided into different chapters as we progress through the course. The purpose of this resource is to prepare you for each course as part of your self-study time, and to act as a general reference for the remainder of the semester. It will not replace the content of the course, but will be an additional resource. The content of this wiki is not the same as the content of the course!
Everything here is written in English and, as always, is a work in progress. As this is not a traditional wiki where you can participate, I would still like to hear your comments on this online resource. If you find any mistakes, please let me know! Thank you very much!
📸 Taking the photos
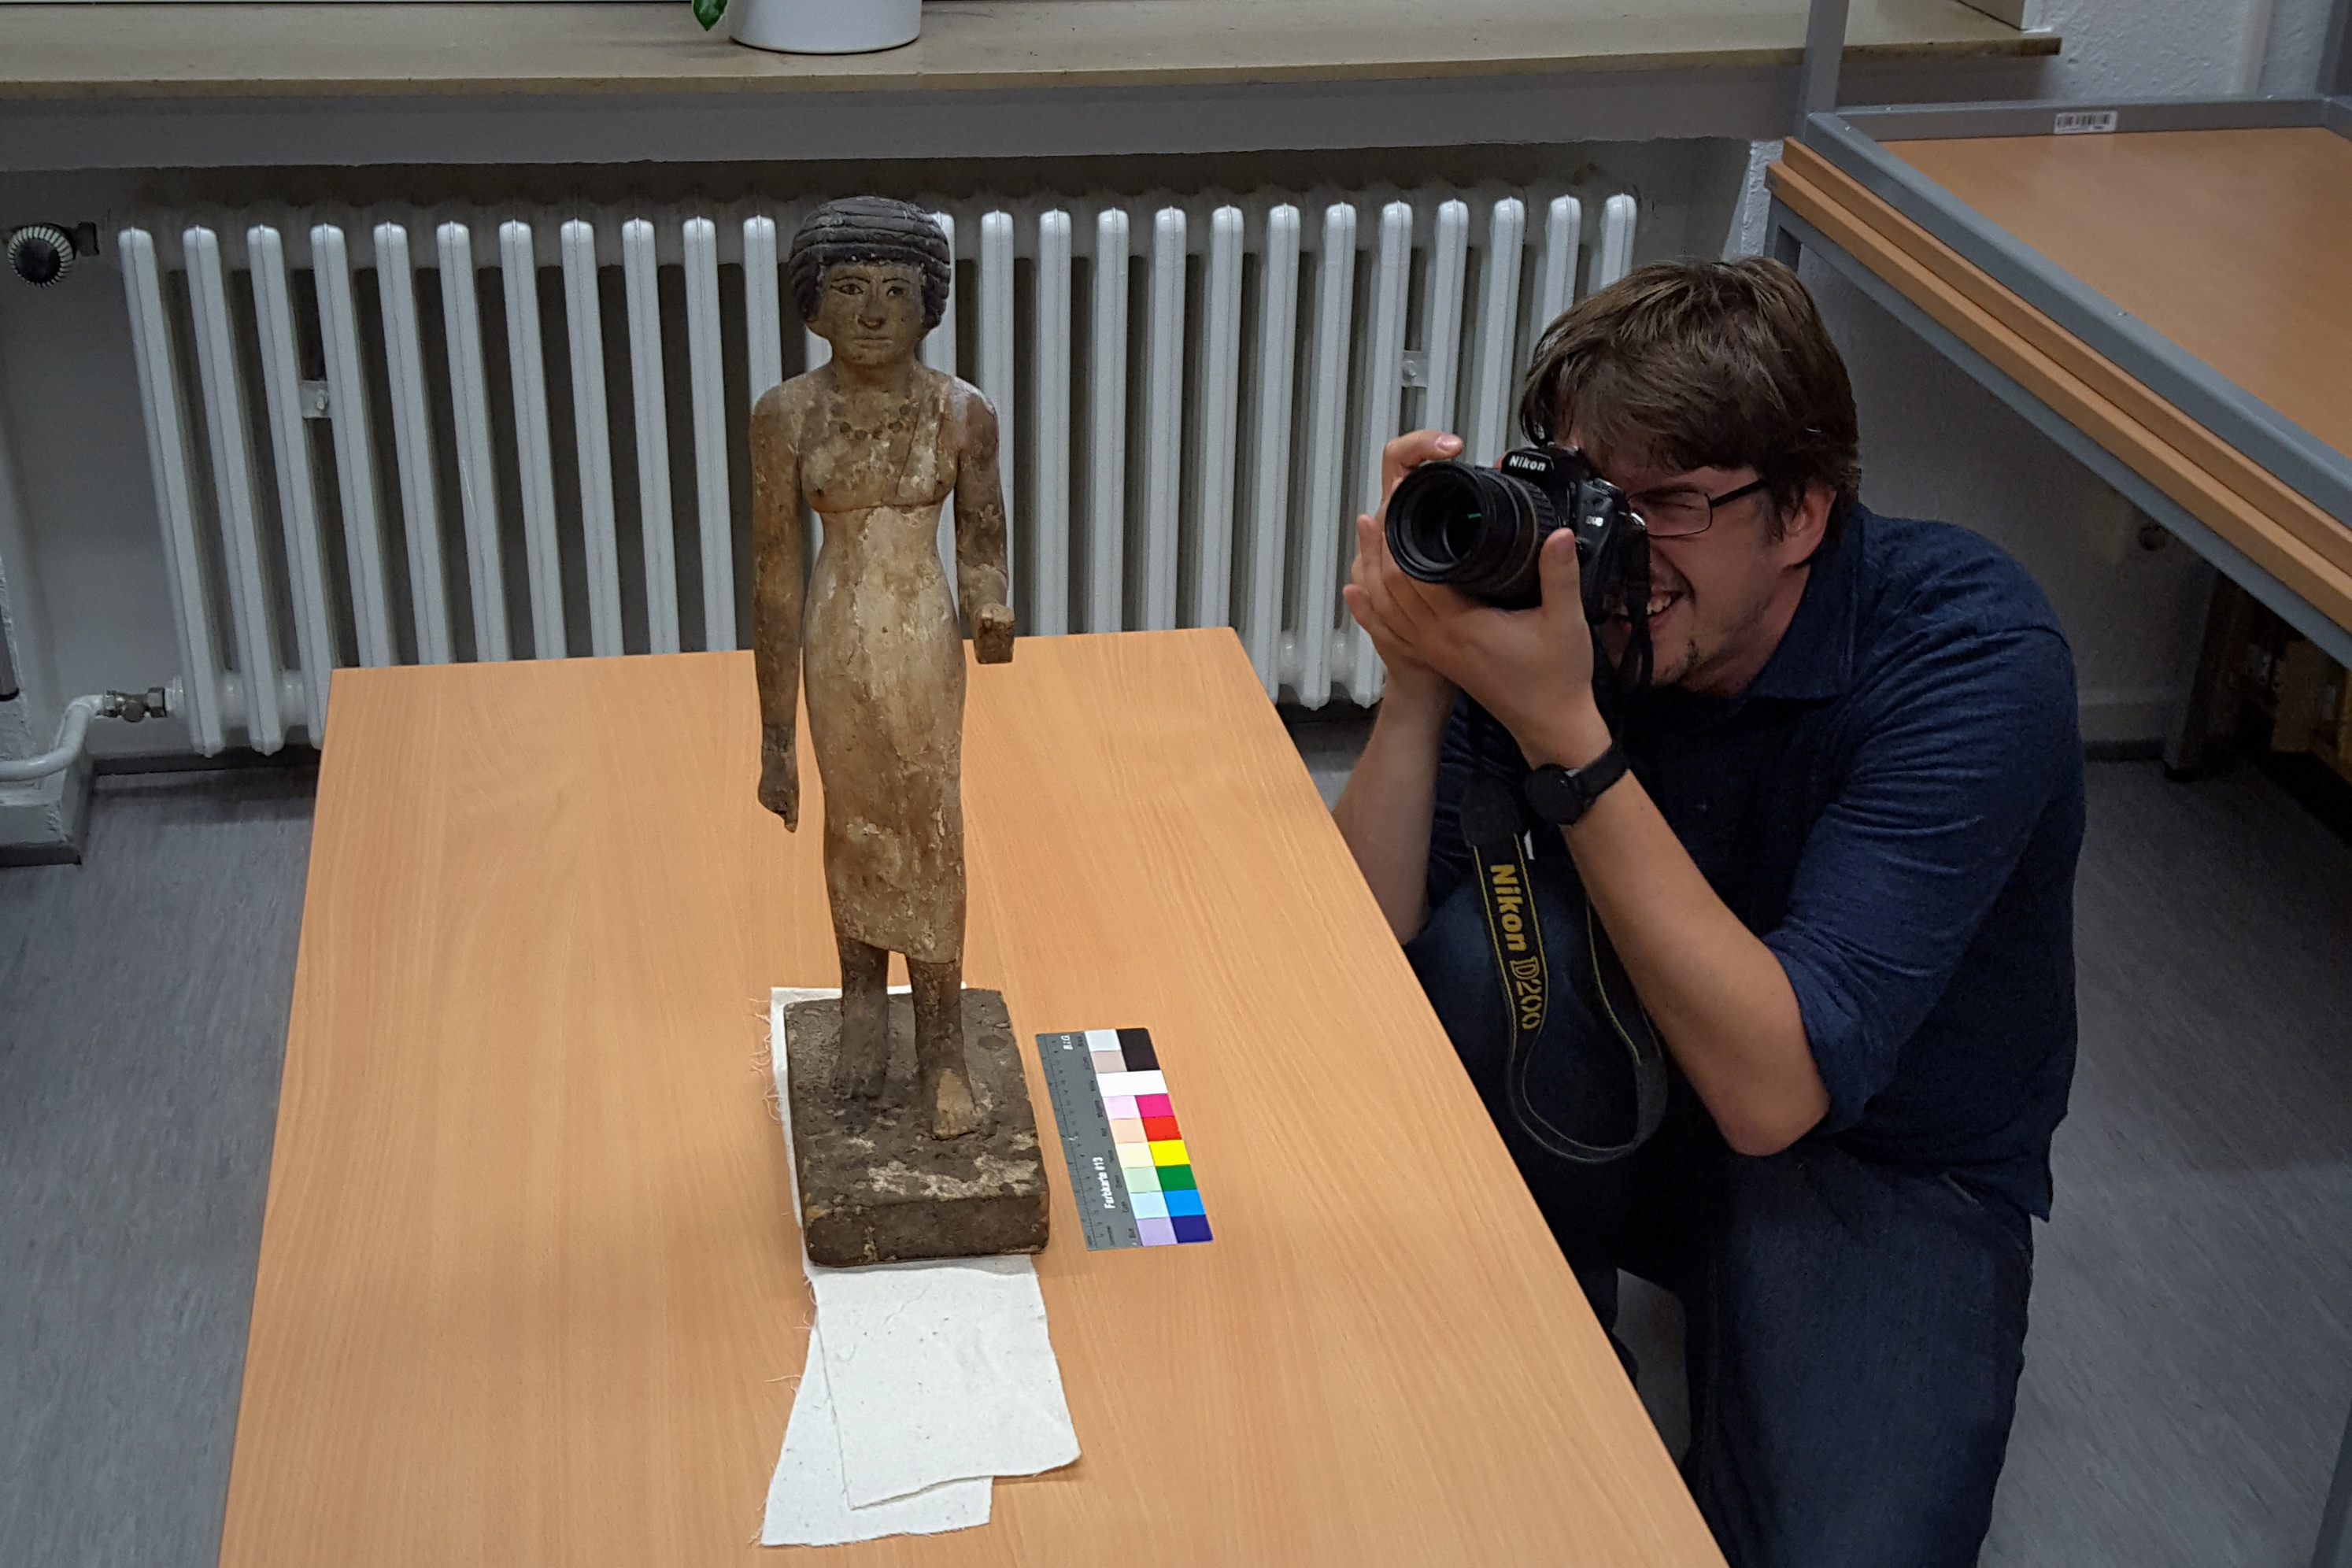
Chapter 1: Taking the photos
Here you will learn how to take photos for SfM. It is a simple enough process, but there are a few things to consider. The equipment can be very basic (a simple camera or smartphone) to quite elaborate (DSLR, colour chart, coded measures). However, the process of taking the photos is basically the same.
📖 Estimated reading time: 5 minutes -> Go to lesson!
Post-processing the photos
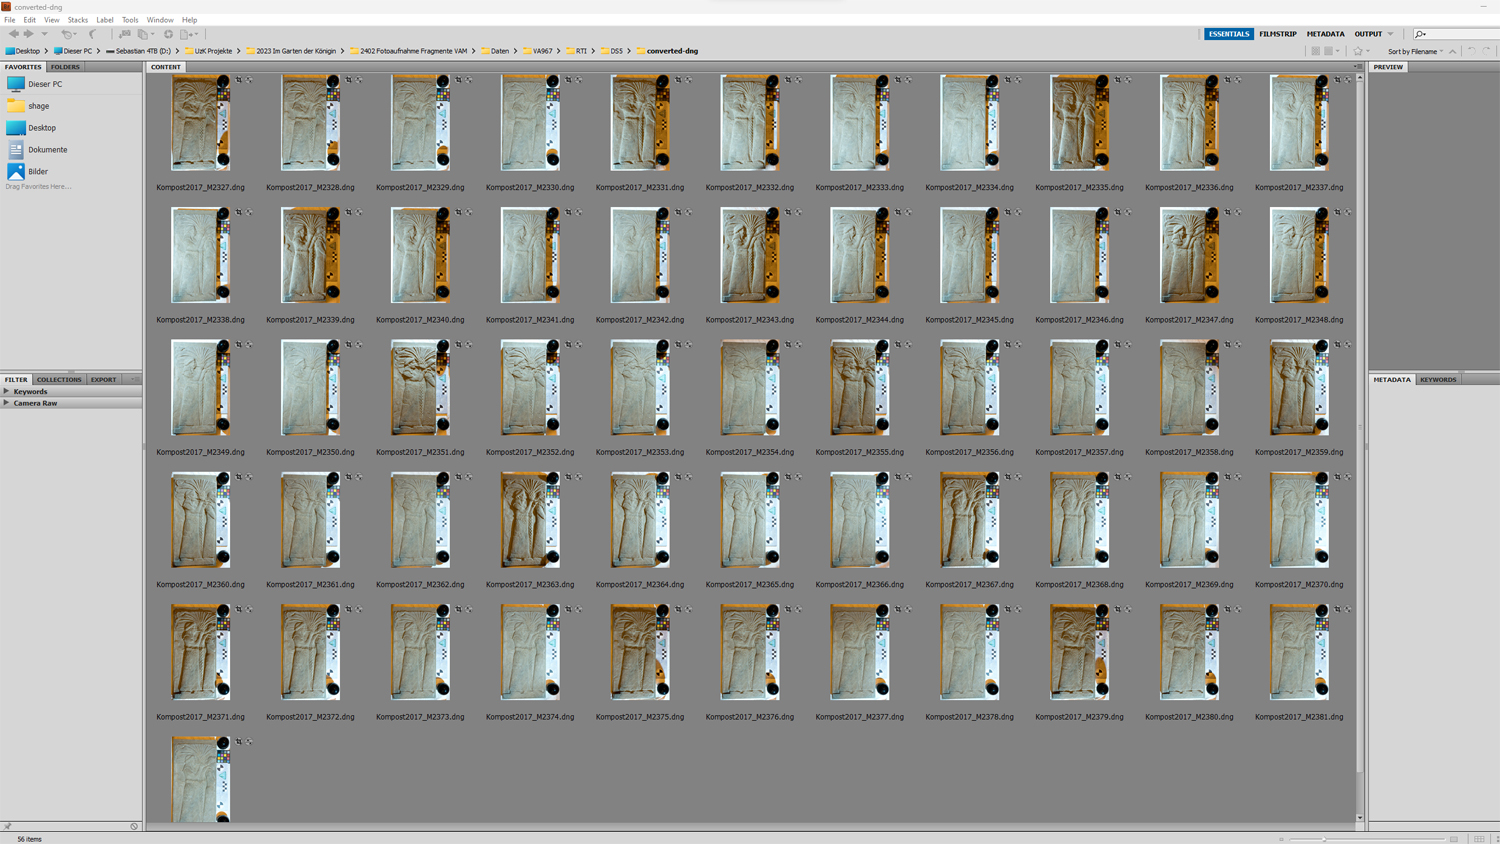
The post-processing of images taken with a DLSR is common to many methods, be it just for... well, taking pictures. However, RTI images need to undergo the same procedure and this general tutorial will help us to do so.
📖 Estimated reading time: 5 minutes
| Date/Version | OS | Software | Version | Link |
|---|---|---|---|---|
| 2024-11-06 | 🪟 Windows, 🐧 Linux & 🍎 Mac | RawTherapee | 5.11 | Go to lesson! |
| 2024-02-29 | 🪟 Windows | Adobe Bridge & Camera RAW | CS5.1& 6.7 | Go to lesson! |
🛠️ Creating the 3D object

Chapter 2: Installing the software
There is a variety of software available for doing Structure from Motion. The best known is Agisoft's Metashape. There are other options, and depending on your choice, you will need to install all the necessary software.
📖 Estimated reading time: 1 minute
| Date/Version | OS | Software | Version | Link |
|---|---|---|---|---|
| 2020-11-18 | 🪟 Windows, 🐧 Linux & 🍎 Mac | Metashape | whatever you choose | Go to lesson! |
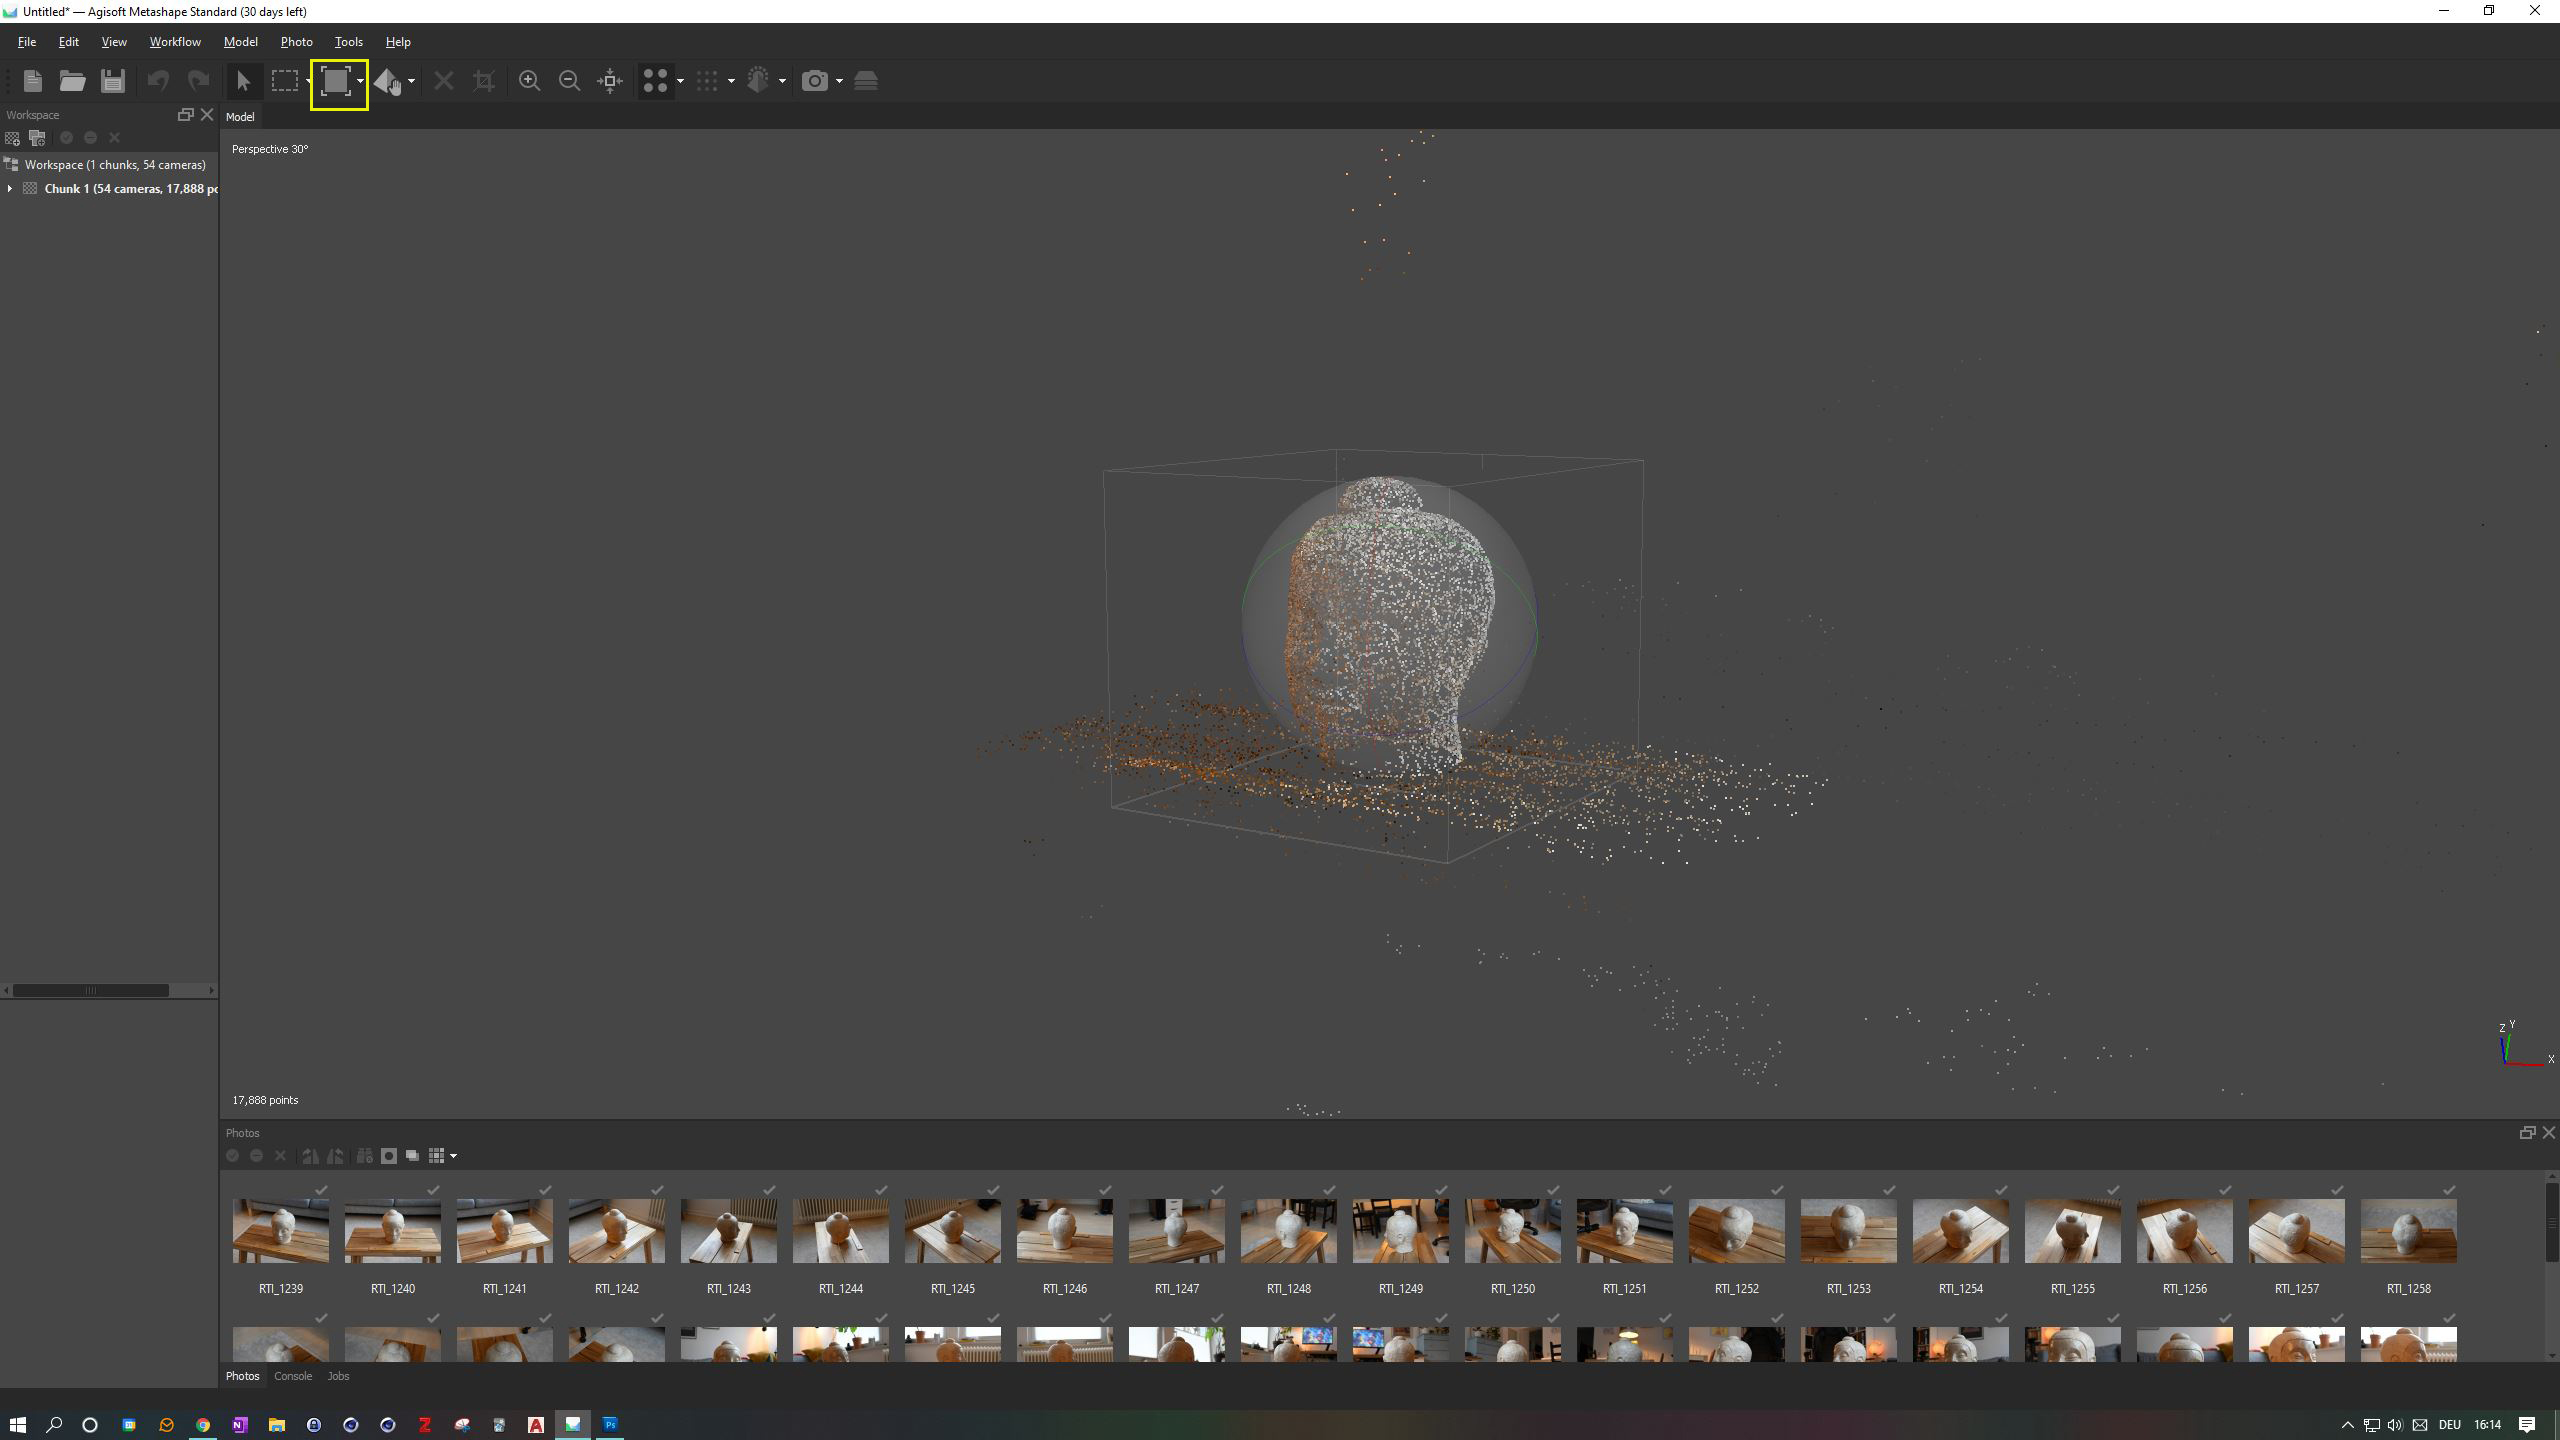
Chapter 3: Feature Detection
The first step in creating a 3D object is to work out where the features are and how they relate to each other. In this step, the software works out where the cameras are and builds a sparse point cloud.
📖 Estimated reading time: 5 minutes
| Date/Version | OS | Software | Version | Link |
|---|---|---|---|---|
| 2020-11-18 | 🪟 Windows | Metashape | Standard 1.6.5 | Go to lesson! |
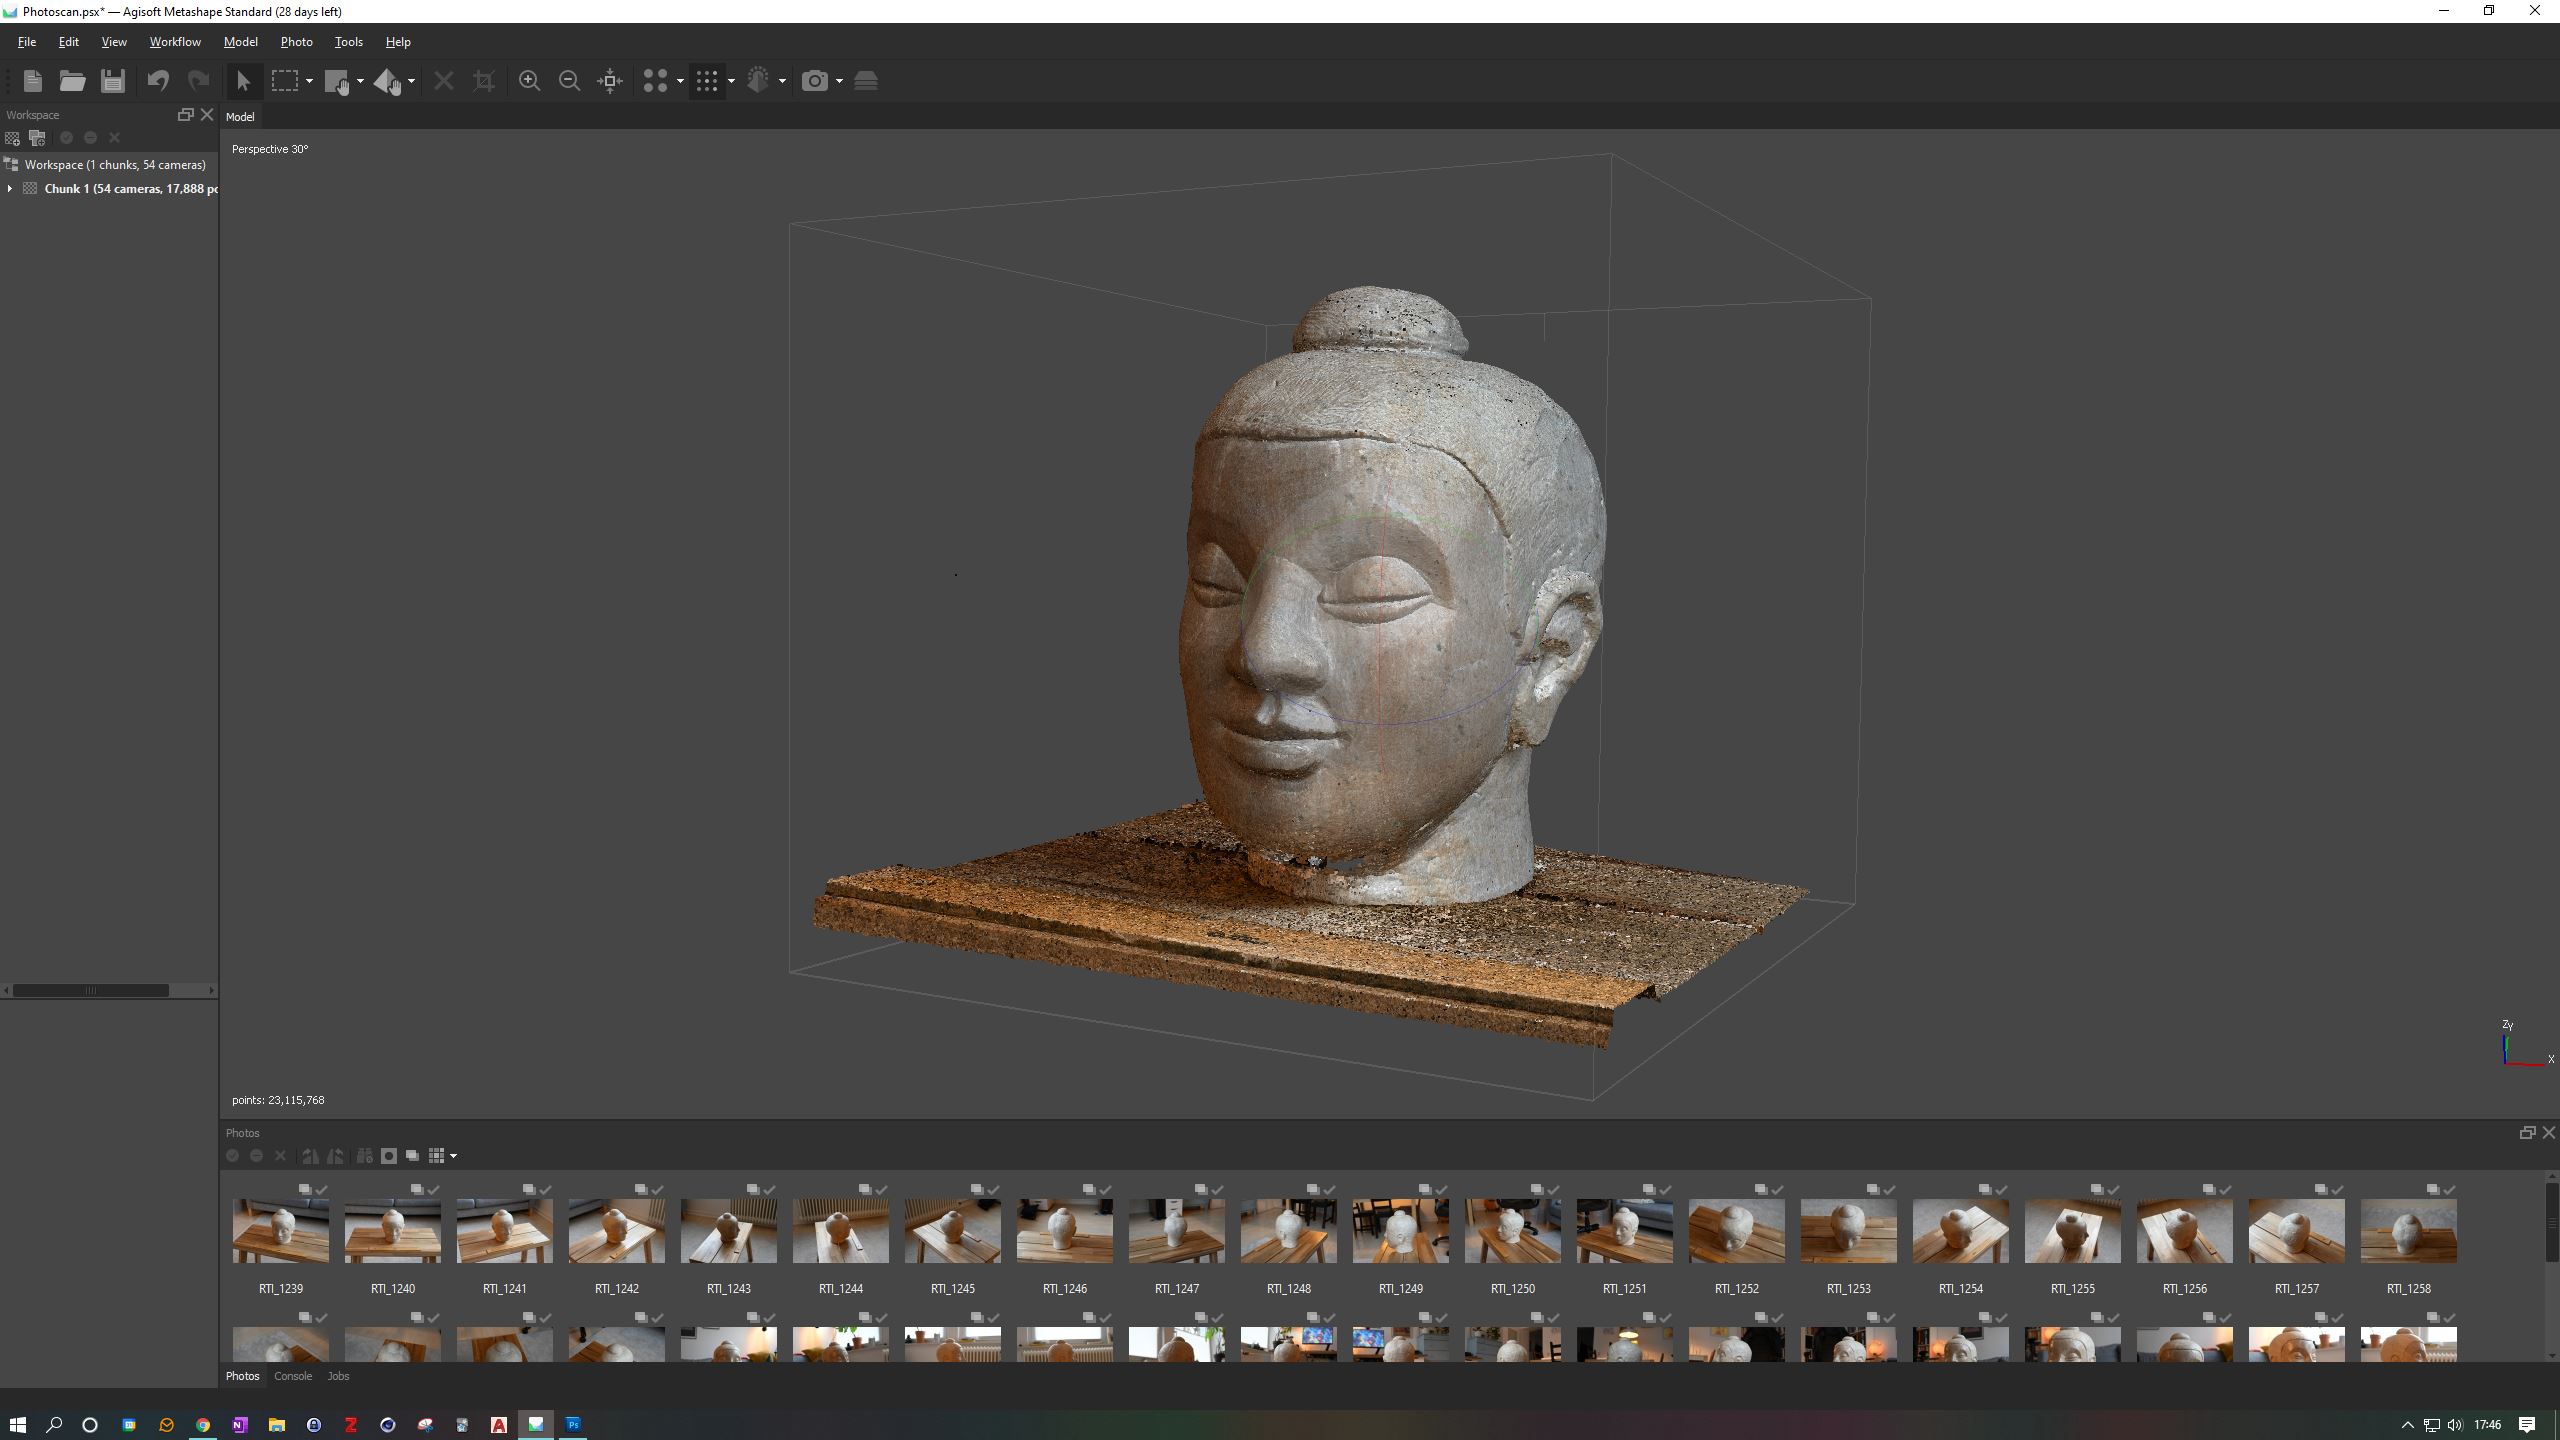
Chapter 4: Bundle Adjustment
A low-density point cloud looks nice, but you know what looks even better? A high density point cloud! Here we multiply the points and fill in the gaps between them.
📖 Estimated reading time: 3 minutes
| Date/Version | OS | Software | Version | Link |
|---|---|---|---|---|
| 2020-11-18 | 🪟 Windows | Metashape | Standard 1.6.5 | Go to lesson! |
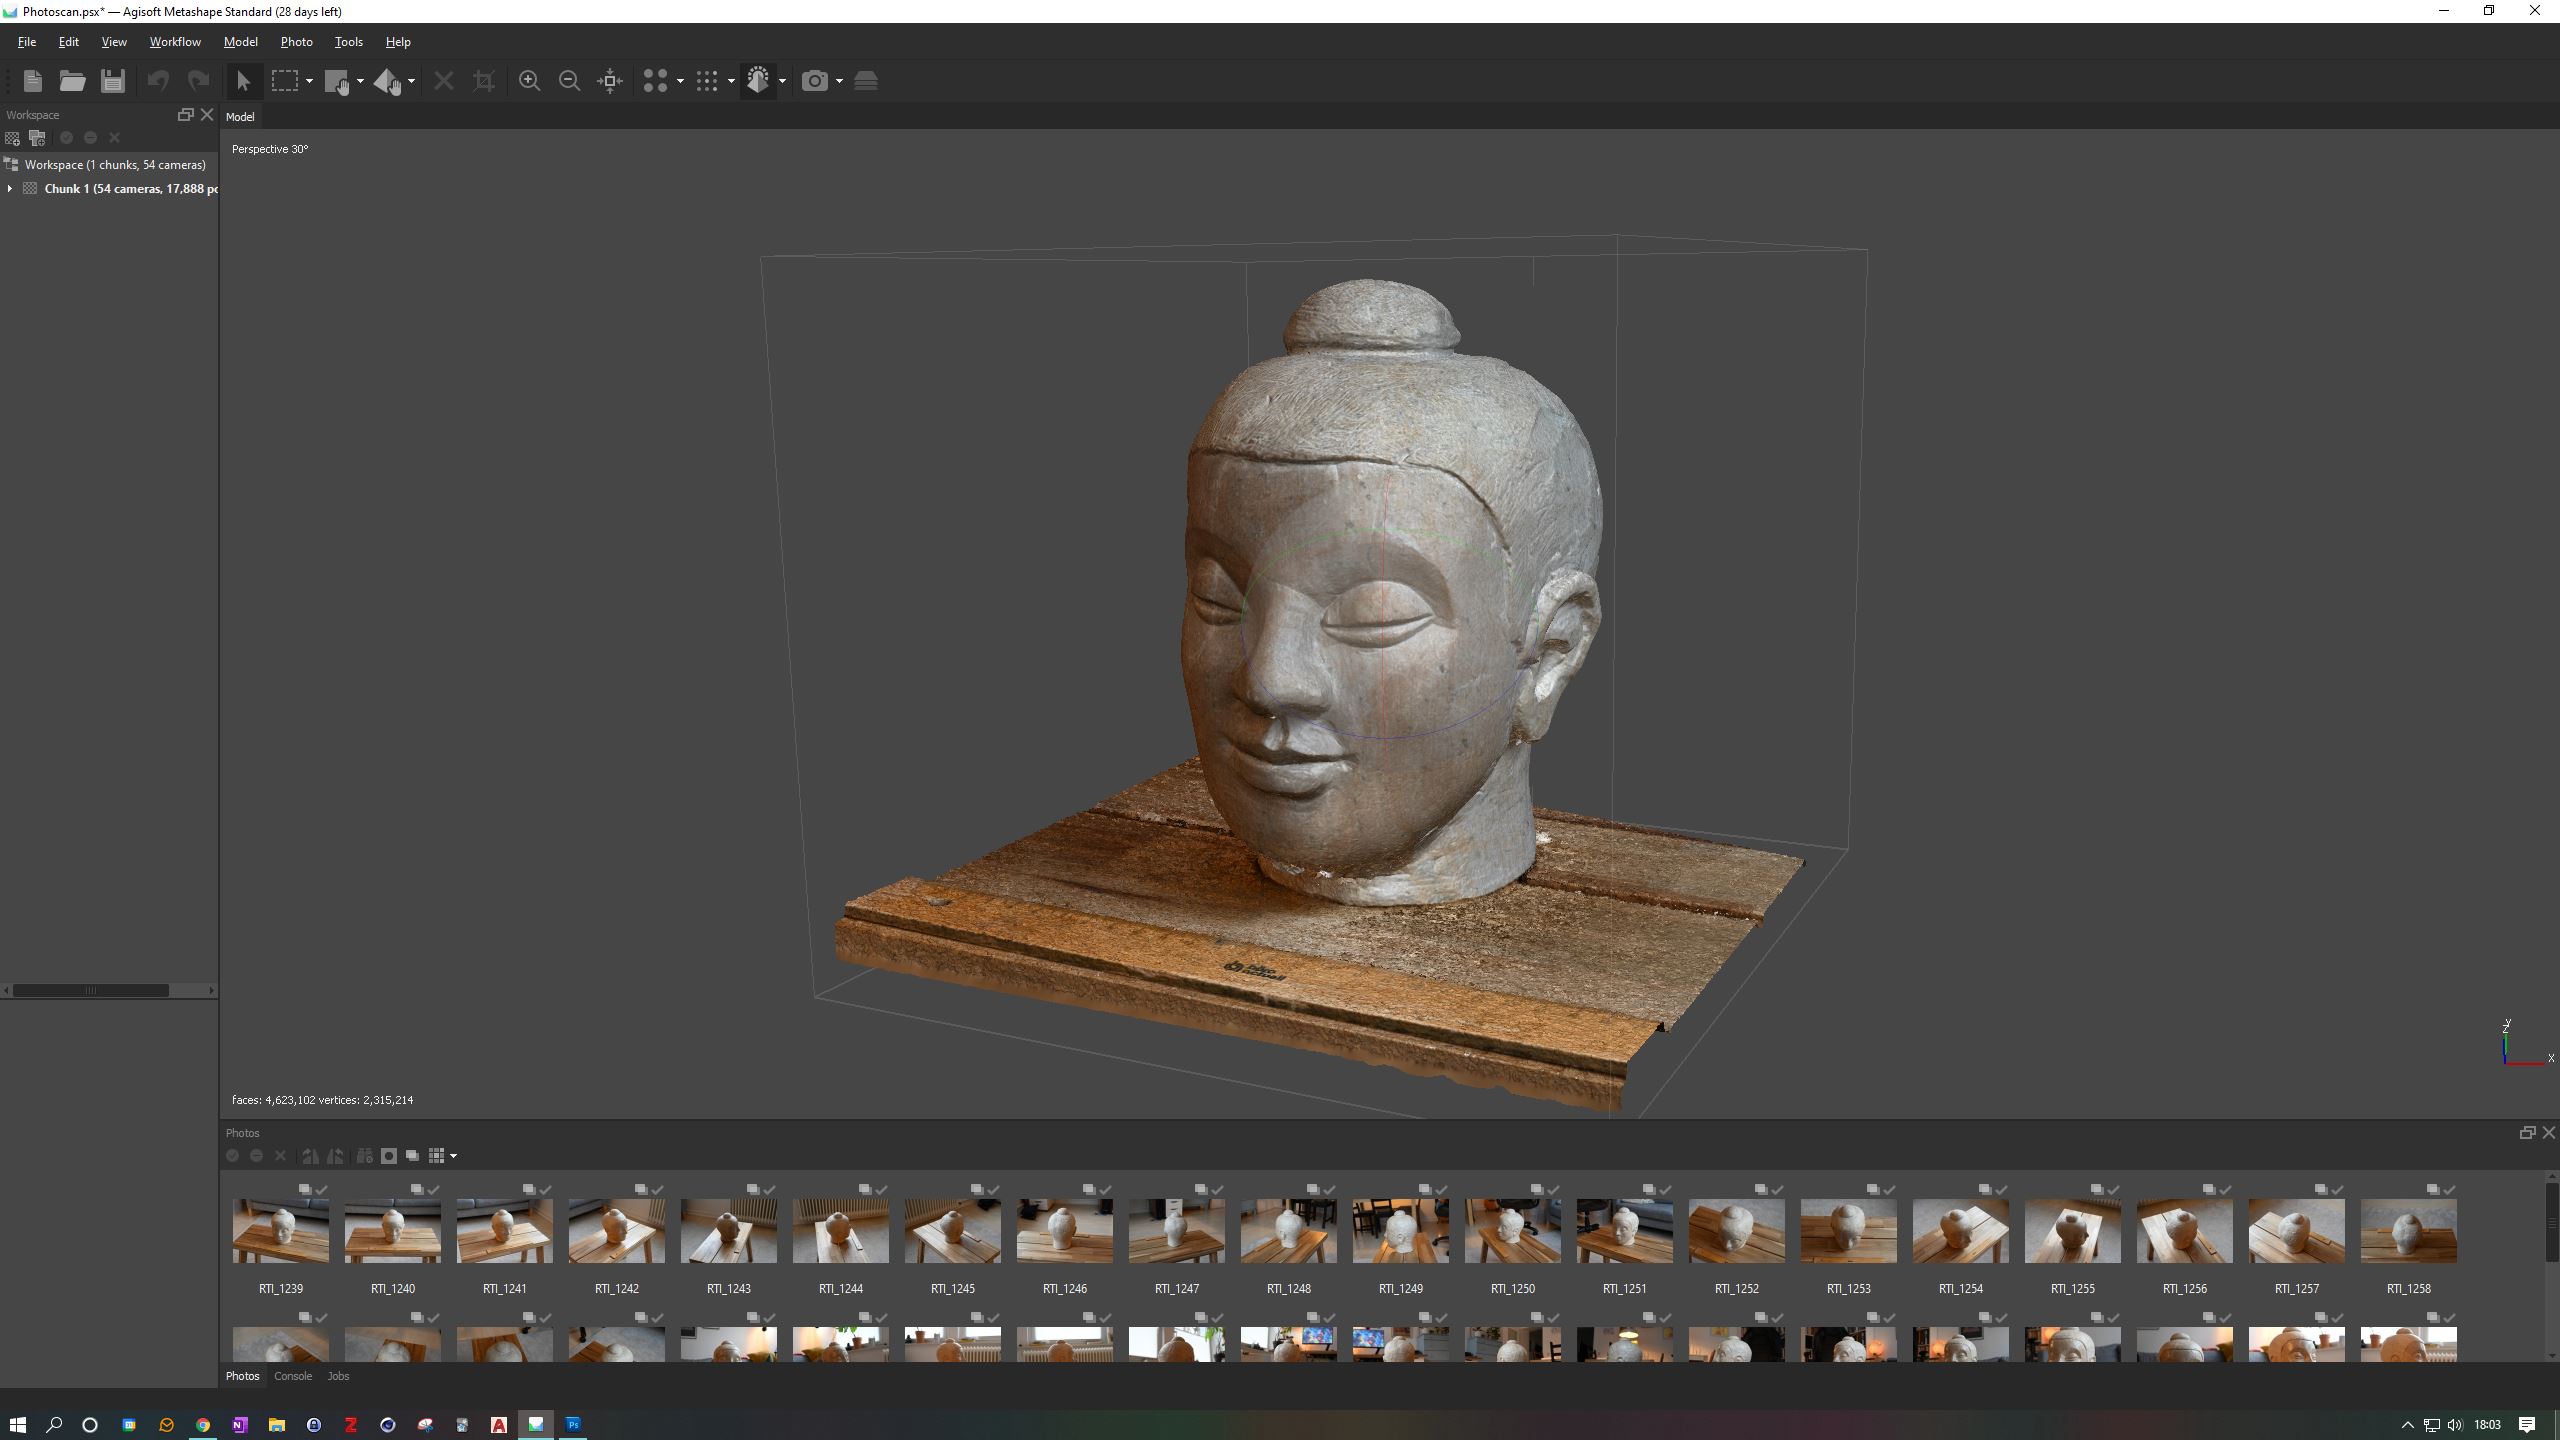
Chapter 5: Meshing the points
We can still see through our model, so we need to change that. Meshing connects points to polygons, and polygons are solid. So we create a real 3D object out of our dense point cloud.
📖 Estimated reading time: 4,5 minutes
| Date/Version | OS | Software | Version | Link |
|---|---|---|---|---|
| 2020-11-18 | 🪟 Windows | Metashape | Standard 1.6.5 | Go to lesson! |
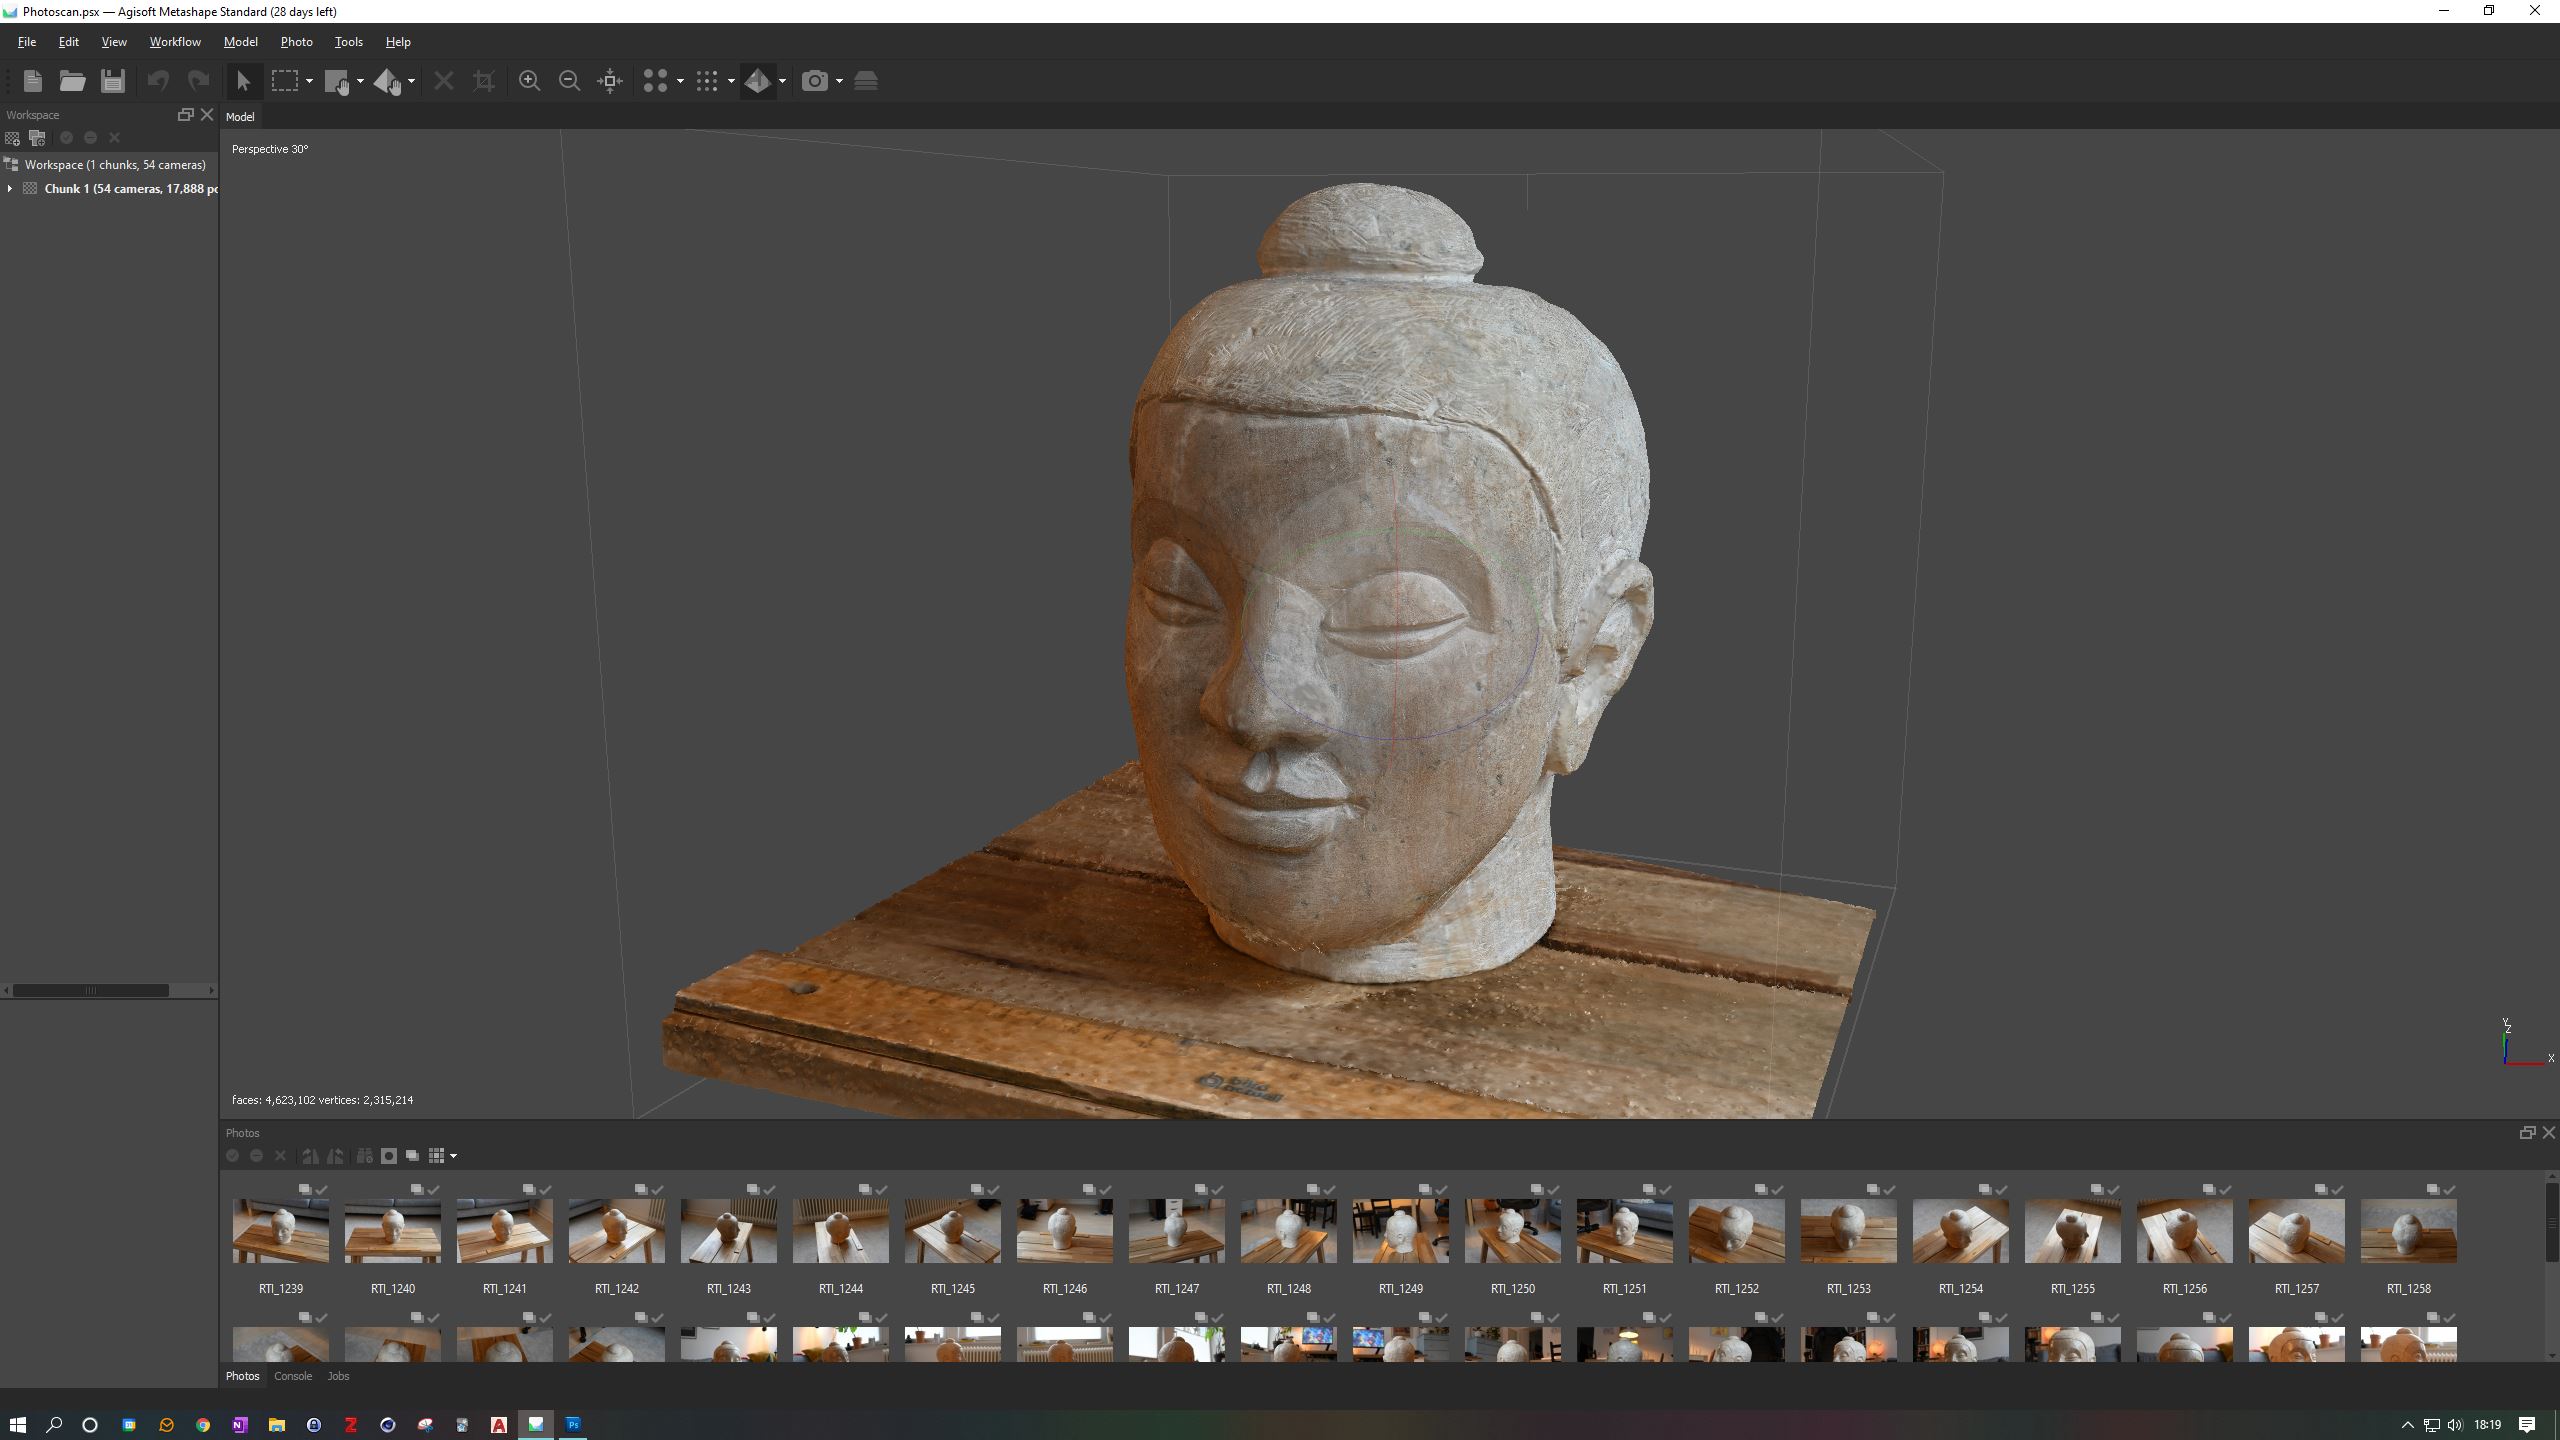
Chapter 6: Texturing the 3D model
Now that we have the mesh, we need to texture it. Texturing is the process of projecting the photos onto the mesh so that we end up with a fully textured 3D model. After this step you are basically done.
📖 Estimated reading time: 2,5 minutes
| Date/Version | OS | Software | Version | Link |
|---|---|---|---|---|
| 2020-11-18 | 🪟 Windows | Metashape | Standard 1.6.5 | Go to lesson! |
➕ Additional Content
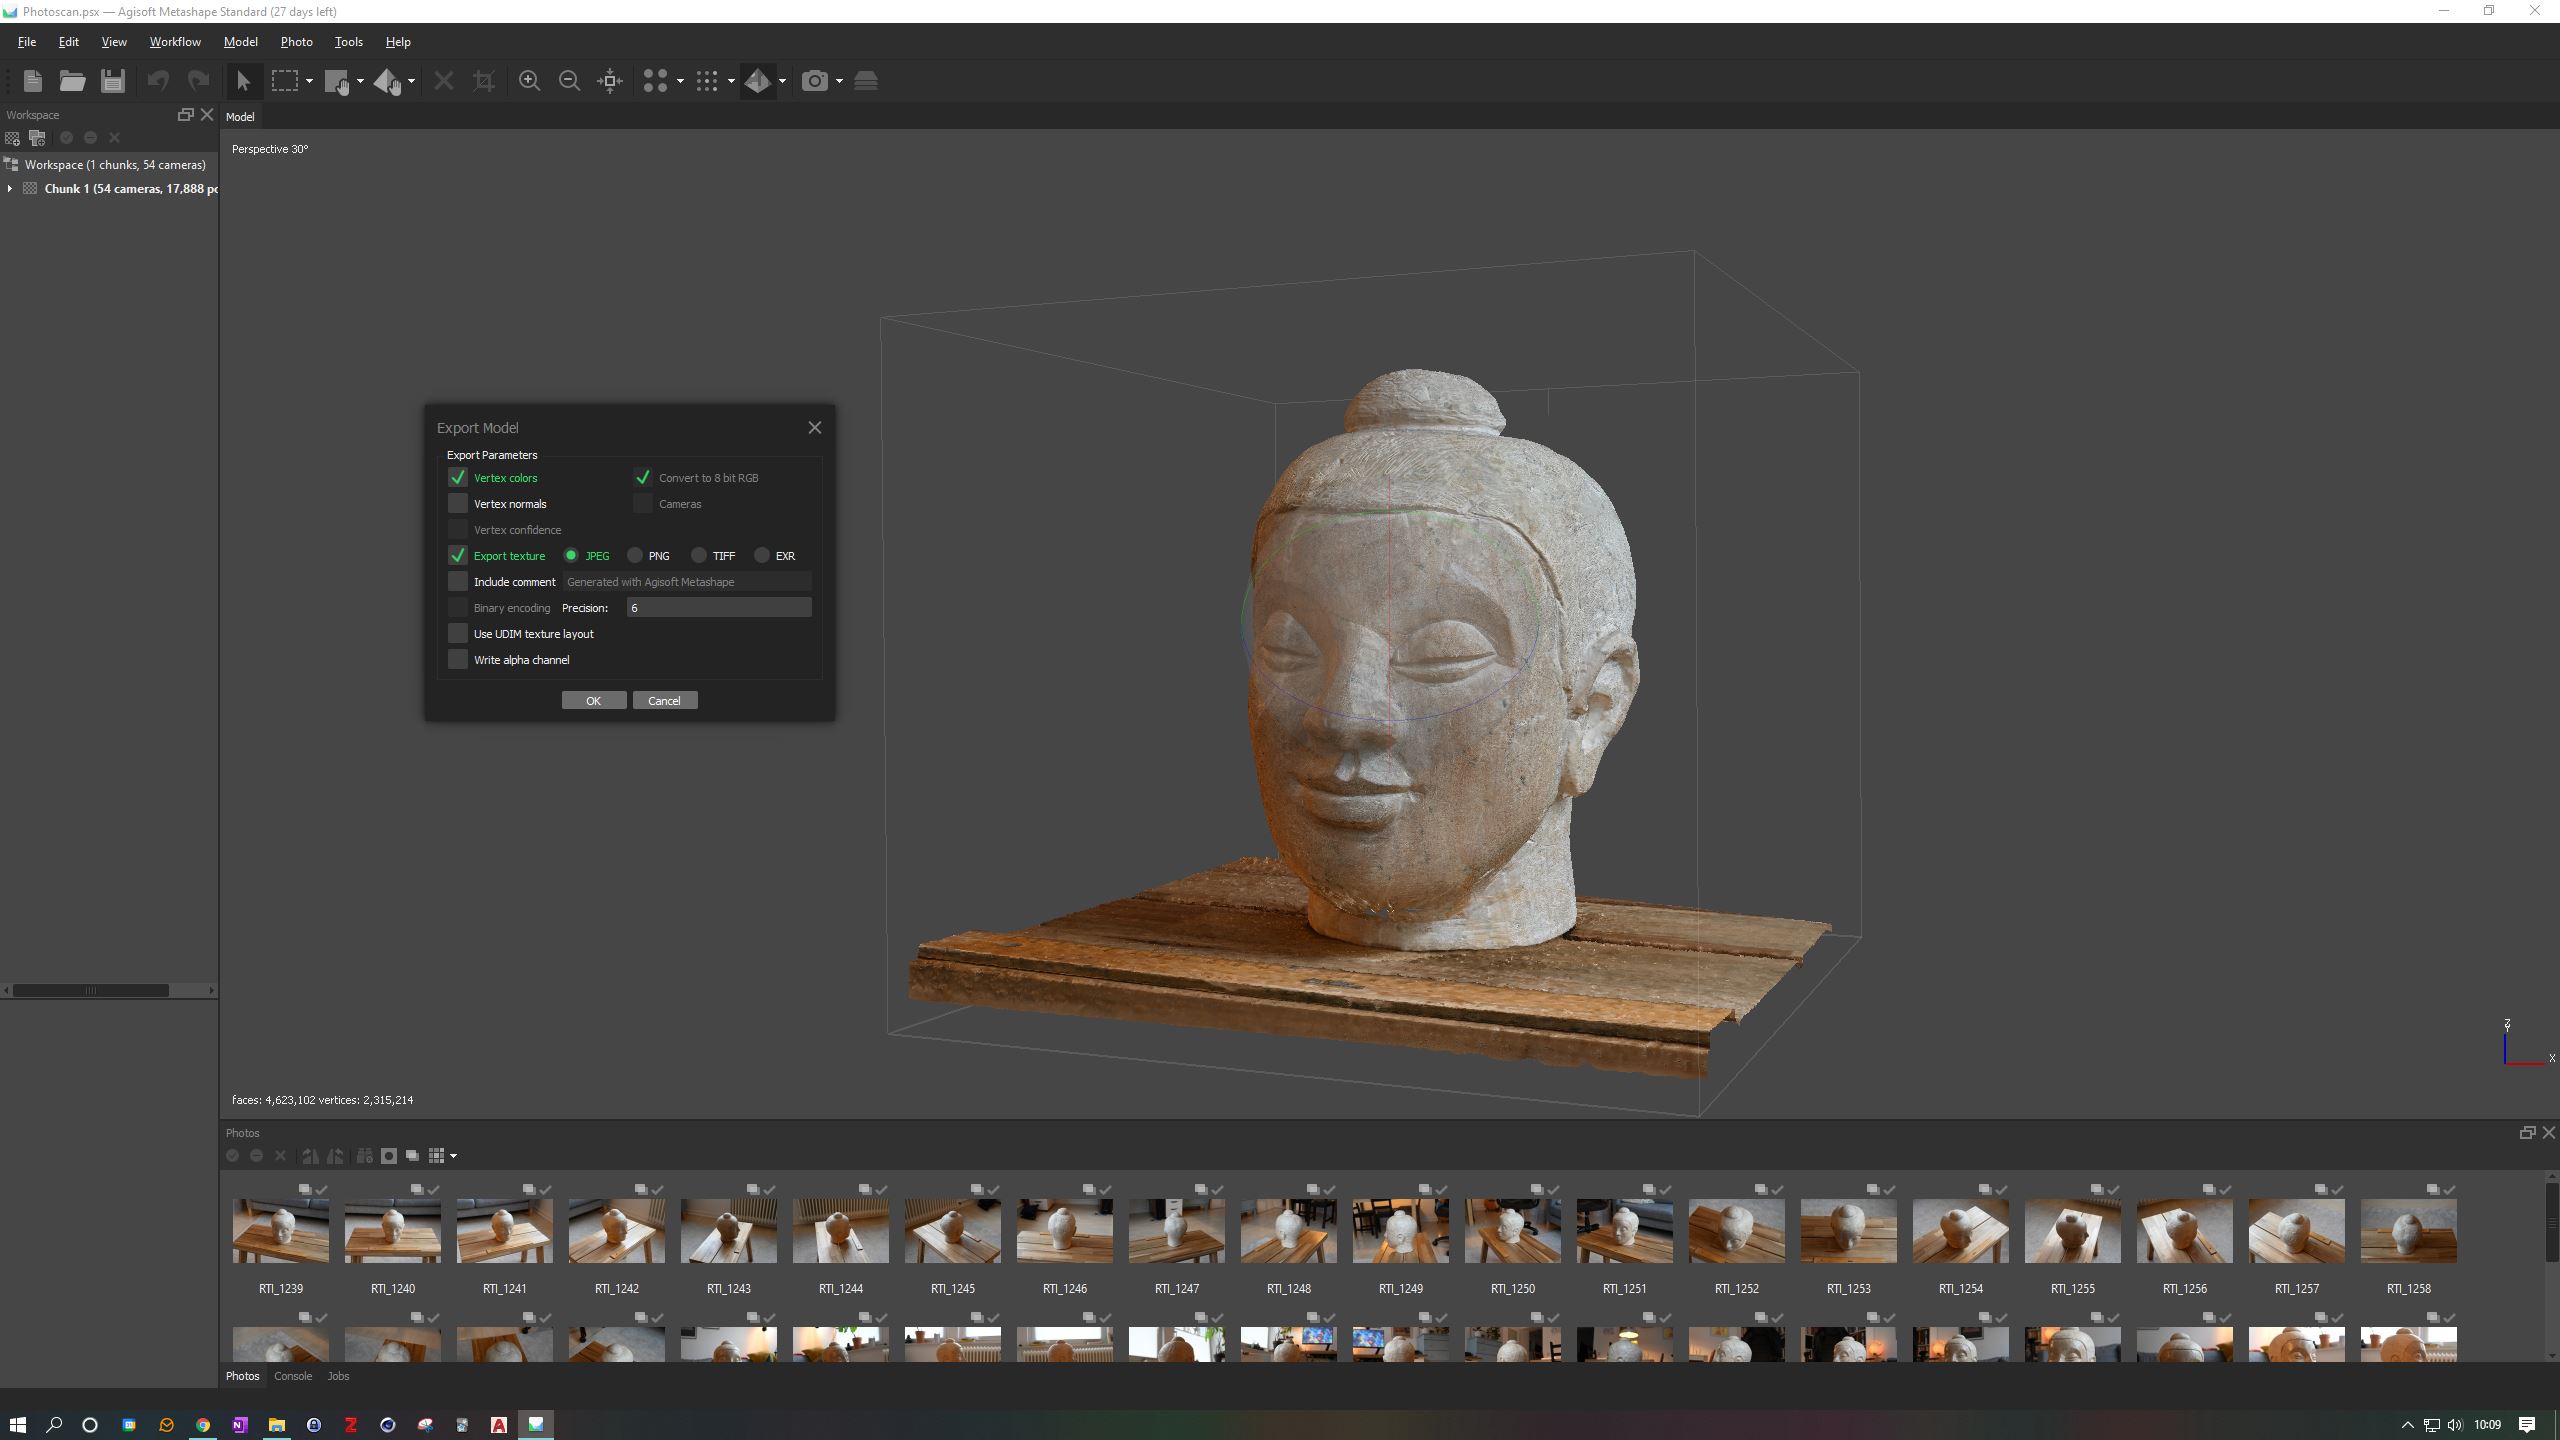
Chapter 7: Exporting the model for archiving
Finally, we want to save our model so that we can reopen it later. Tomorrow, next year and in the next century. So we will choose a format that is open and free.
📖 Estimated reading time: 1,5 minutes
| Date/Version | OS | Software | Version | Link |
|---|---|---|---|---|
| 2020-11-18 | 🪟 Windows | Metashape | Standard 1.6.5 | Go to lesson! |
Chapter 8: Scaling the model
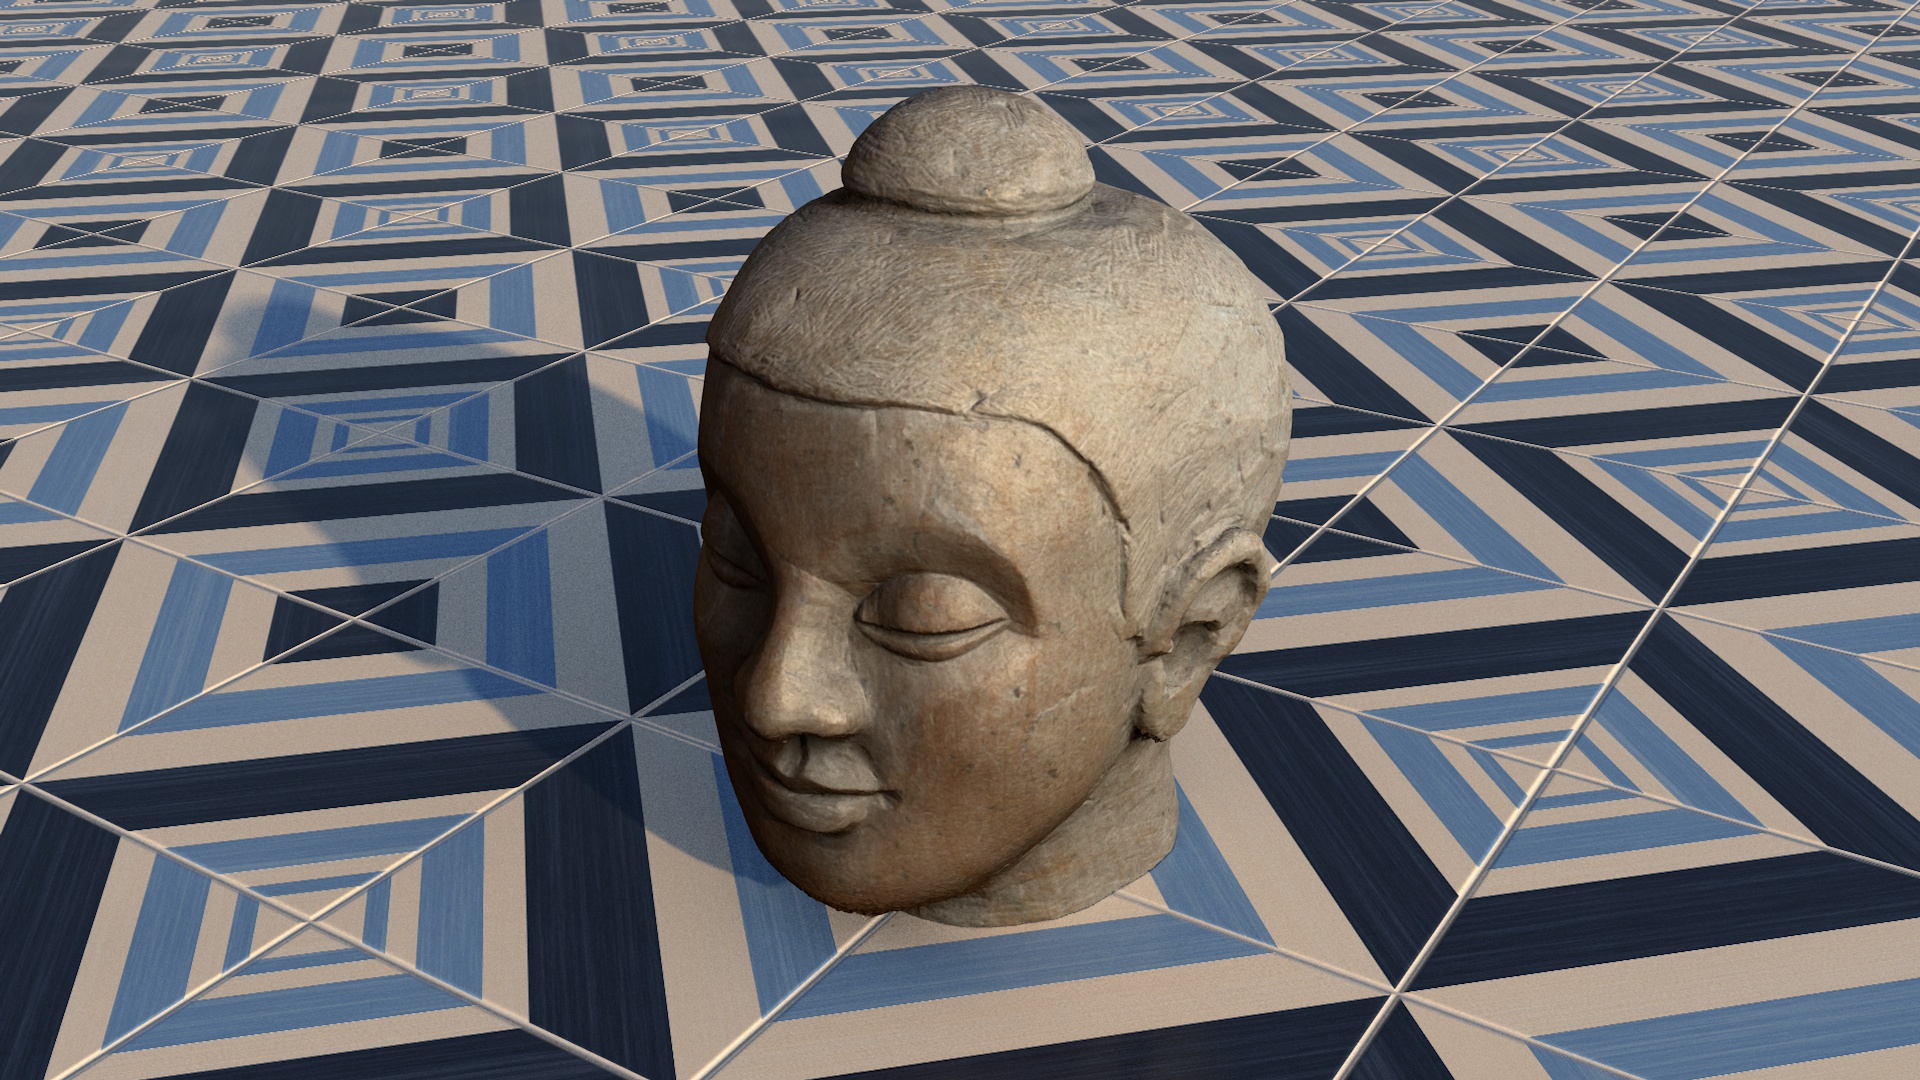
Everything is relative, including your model. We need to scale it to the correct dimensions to really have it ready. We can do this in Metashape Professional, but if you are using the standard version, here is a workaround.
📖 Estimated reading time: 3,5 minutes
| Date/Version | OS | Software | Version | Link |
|---|---|---|---|---|
| 2020-11-18 | 🪟 Windows | Cinema4D | R23.110 RC | Go to lesson! |
Chapter 9: Combining two point clouds into one
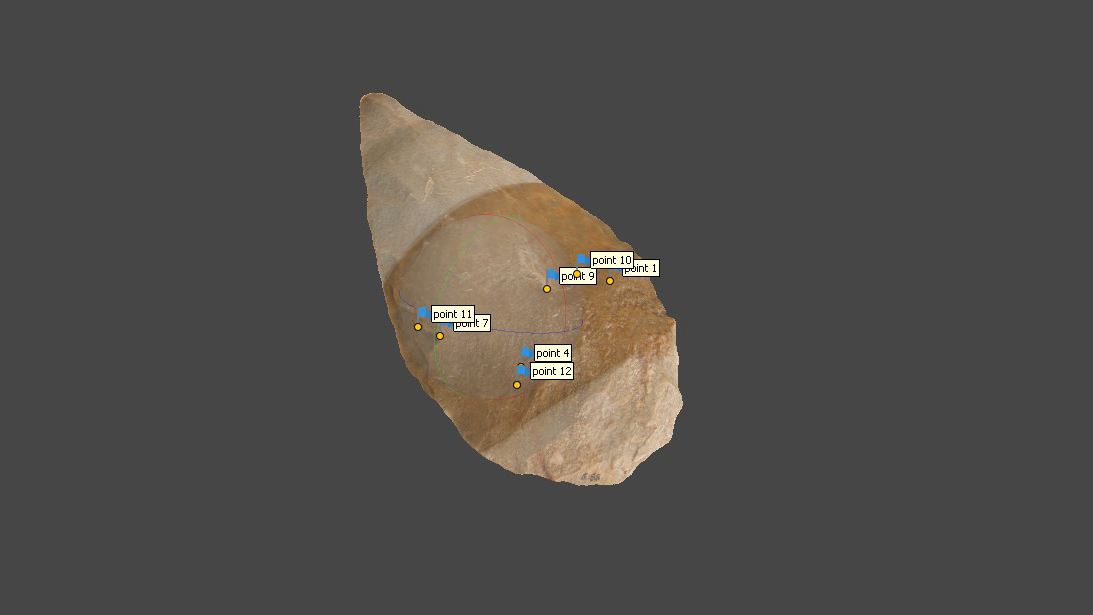
If you want to create a truly watertight 3D model, you need to combine at least two different point clouds. Here I explain how to do this using a Stone Age bi-face as an example.
📖 Estimated reading time: 5 minutes
| Date/Version | OS | Software | Version | Link |
|---|---|---|---|---|
| 2020-11-18 | 🪟 Windows | Metashape | Professional 1.6.5 | Go to lesson! |
