🧑🏫 Archaeological Redrawing of Plans
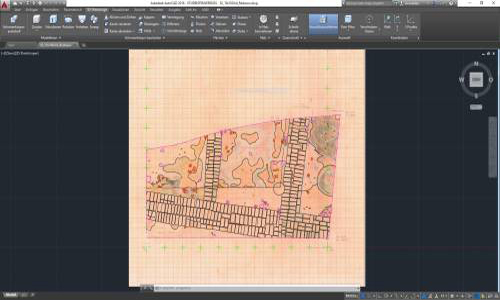
On this page you will find all the information you need to make archaeological drawings using the AutoCAD software from Autodesk. The information is divided into different chapters as we progress. Each chapter is available as a wiki article to read (📖) and follow along. This allows you to take your time and work at your own pace.
This course is packed with lessons, but it can't stand on its own. Please remember that all the content is to be viewed in conjunction with the course, where I will explain much more than I can here. This website is designed to help you review what you have already learned and come back to it when you need to remember something. By the end of the course you should be able to convert a hand-drawn plan into a digital one.
👨🍳 Preparations

Be prepared: Download and install AutoCAD for free
AutoCAD is free for students and to work from home you'll need to download your own copy of AutoCAD. It is a 2D and 3D CAD drawing software. In this very short chapter, I'll explain the process of downloading, installing and starting the software.
📖 Estimated reading time: 1 minute -> Go to lesson!
🛠️ Exercises
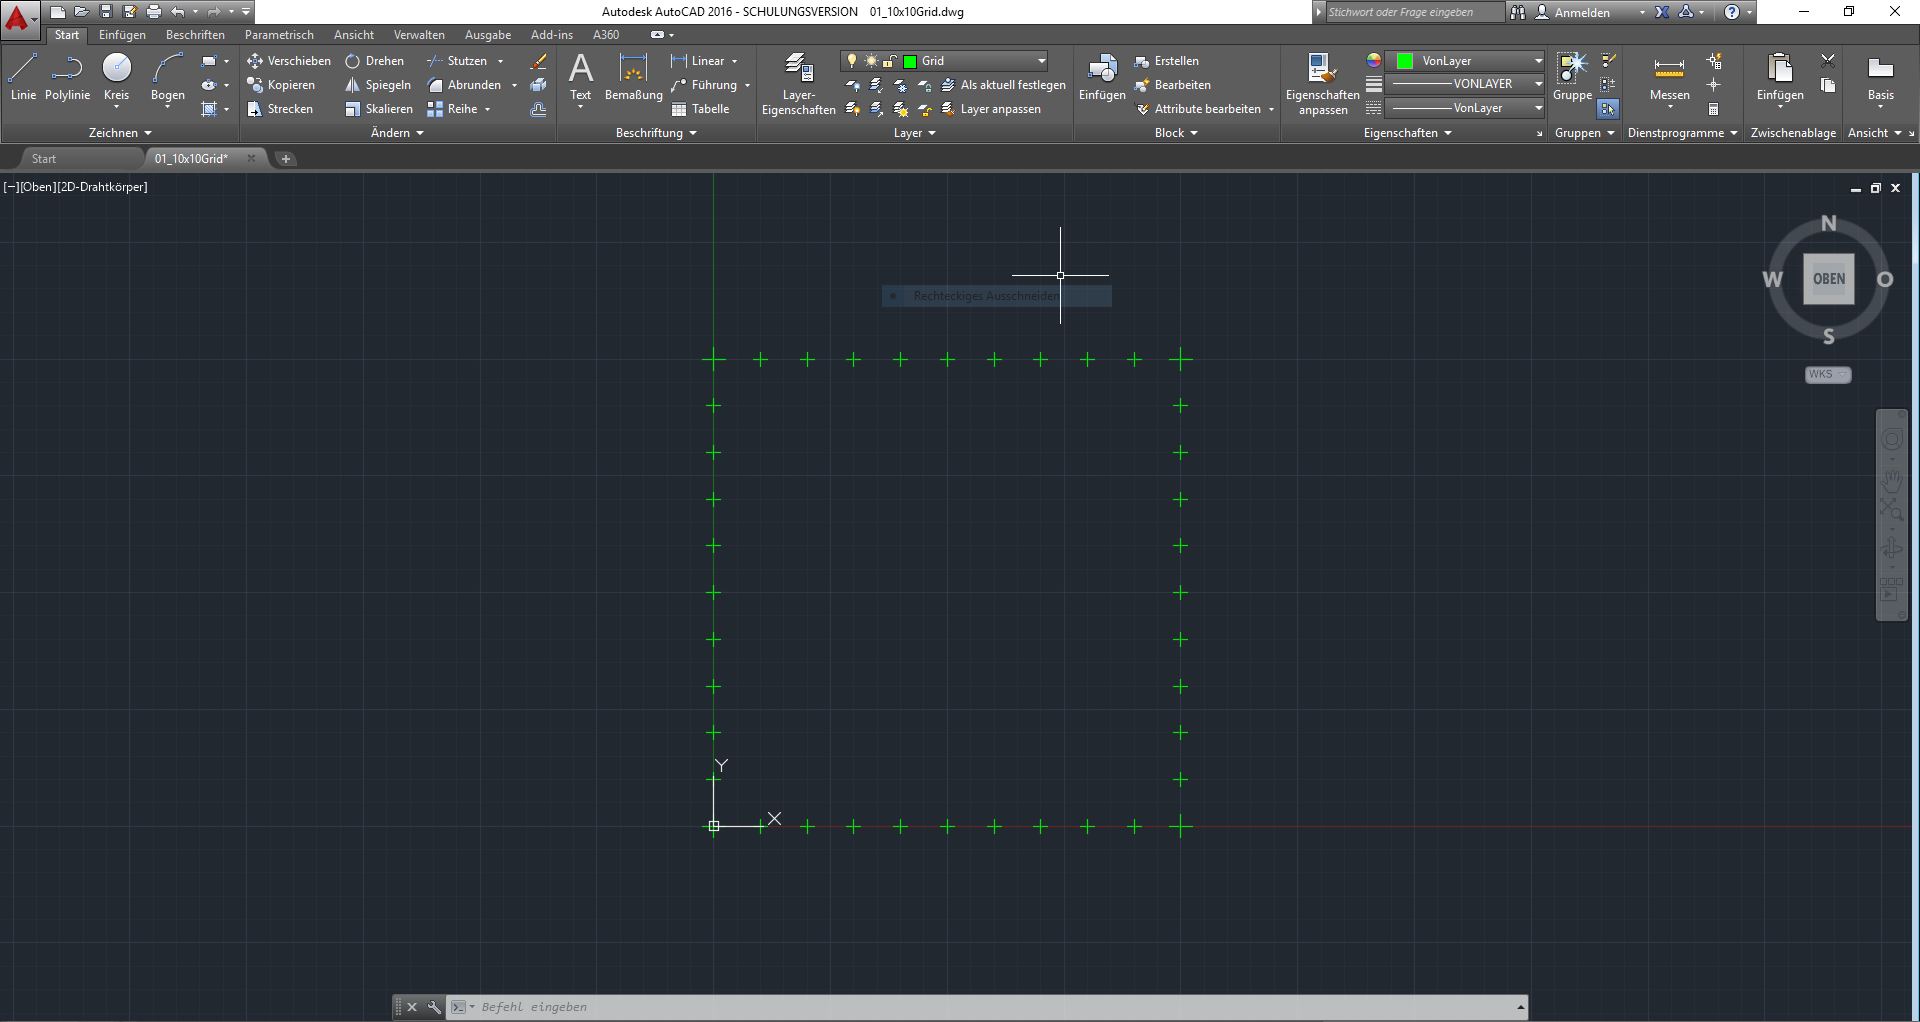
Chapter 1: Introduction into the unit system
In this chapter we will learn the basics of the software and create our own correctly sized excavation grid, which we will need in future lessons.
📖 Estimated reading time: 14 minutes
| Date/Version | OS | Software | Version | Link |
|---|---|---|---|---|
| 2024-02-11 | 🪟 Windows | AutoCAD | 2017 | Go to lesson! |

Chapter 2: Referencing, Layers and Drawing
In this chapter we will learn how to insert a reference drawing into our scaled ACAD file and how to redraw what we see on that reference. We'll also learn about line types and some redrawing tricks.
📖 Estimated reading time: 12 minutes
| Date/Version | OS | Software | Version | Link |
|---|---|---|---|---|
| 2024-02-11 | 🪟 Windows | AutoCAD | 2017 | Go to lesson! |
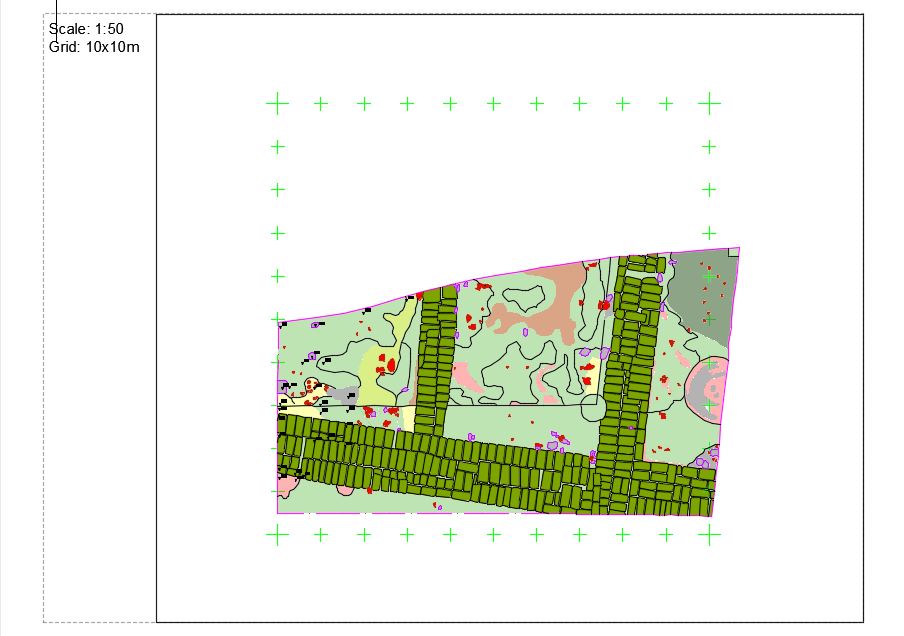
Chapter 3: Hatching and Labelling
Today we will finish our drawing and make it ready to print. We will learn how to fill our drawing with colour and transparencies. We will also label everything in this drawing by inserting another reference drawing that shows the heights in this trench.
📖 Estimated reading time: 10 minutes
| Date/Version | OS | Software | Version | Link |
|---|---|---|---|---|
| 2024-02-11 | 🪟 Windows | AutoCAD | 2017 | Go to lesson! |
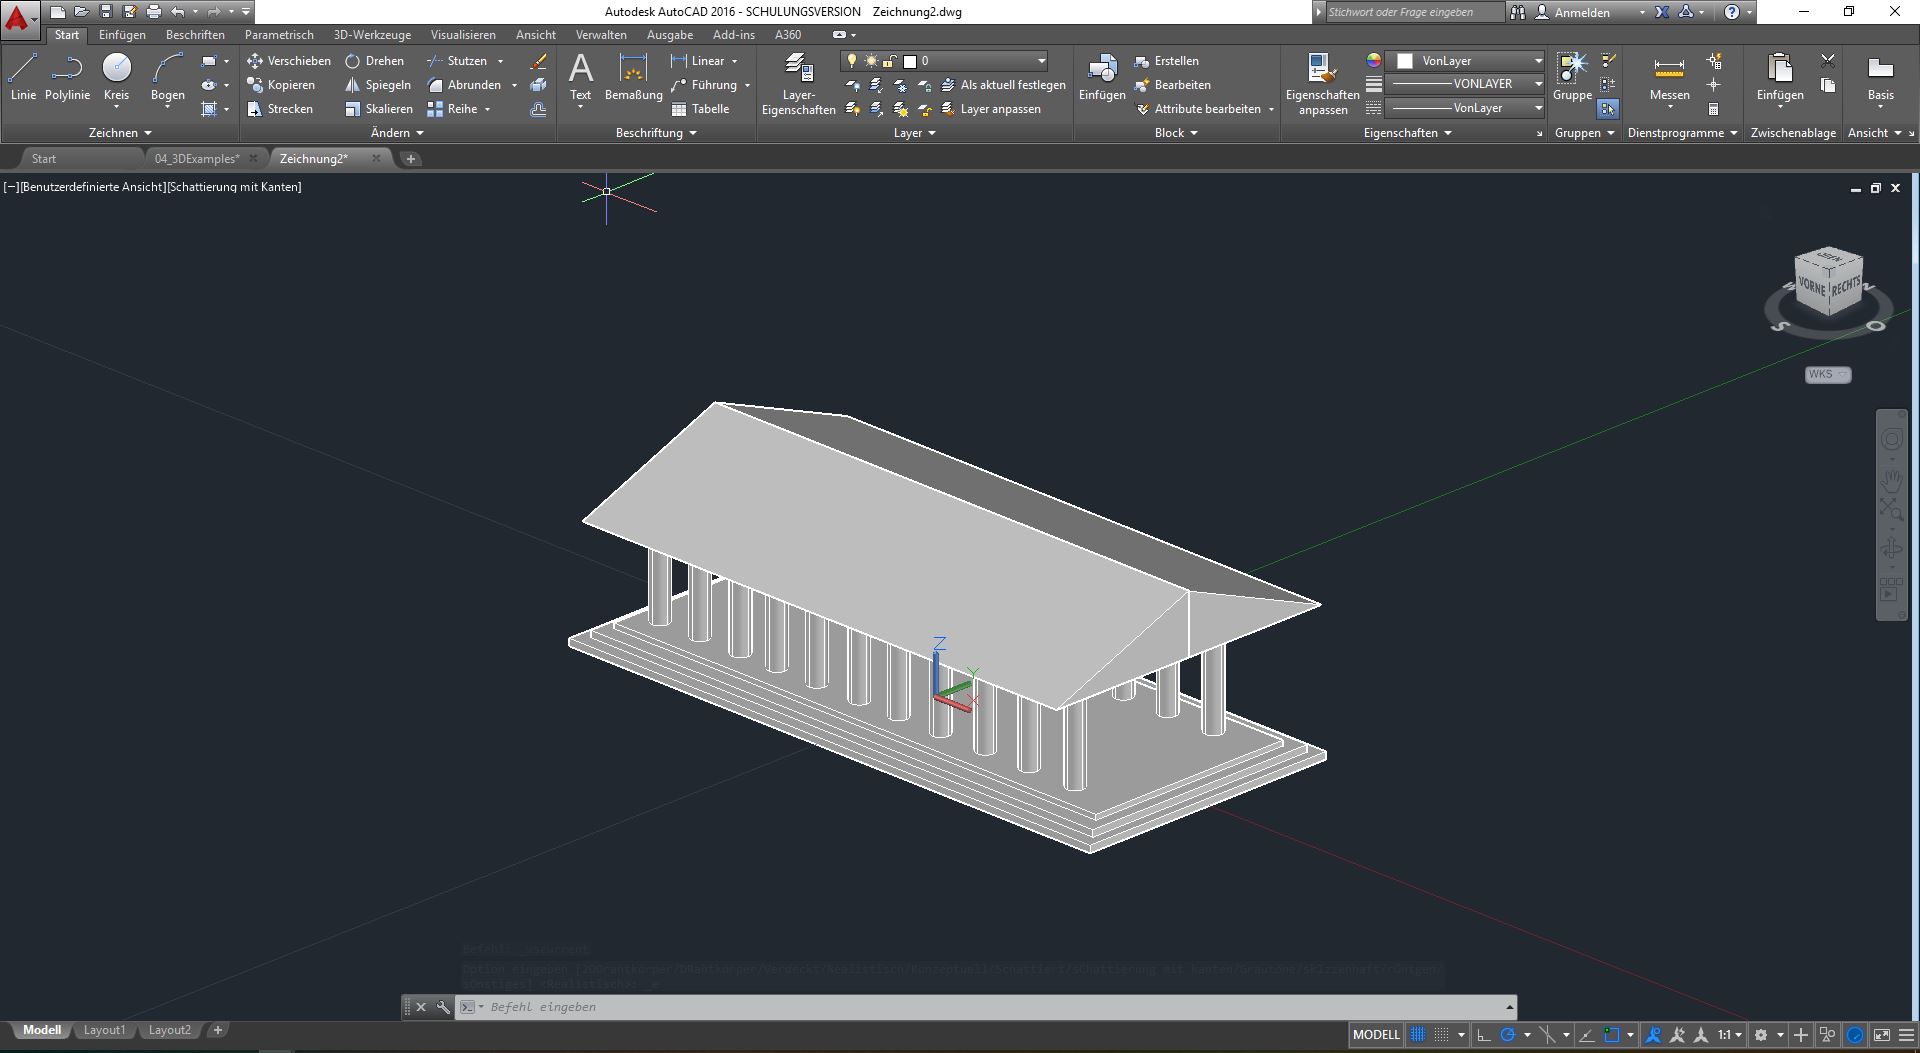
Chapter 4: Introduction into ACAD 3D
In this chapter we will learn the basics of the 3D aspect of ACAD. To start with, we'll use just three tools to create a very simple temple.
📖 Estimated reading time: 6 minutes
| Date/Version | OS | Software | Version | Link |
|---|---|---|---|---|
| 2024-02-11 | 🪟 Windows | AutoCAD | 2017 | Go to lesson! |
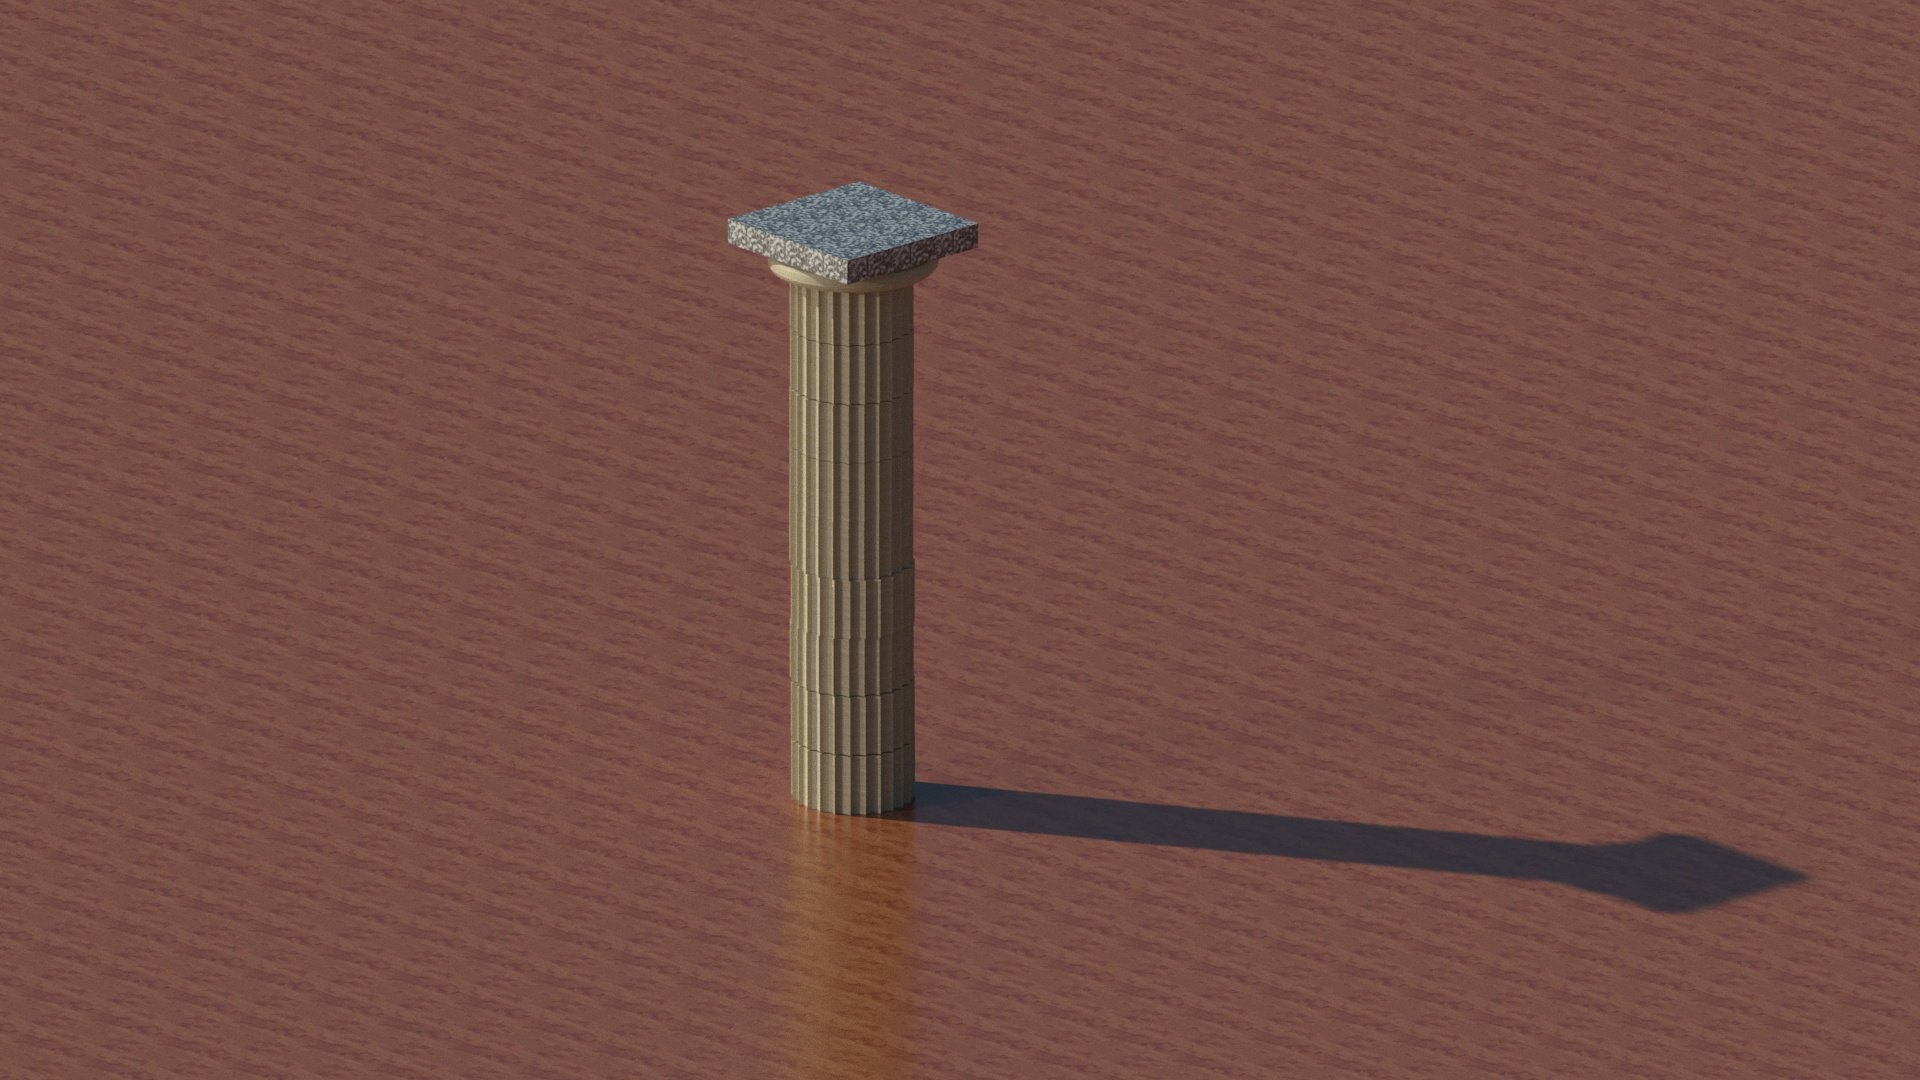
Chapter 5: Advanced Techniques
In this chapter we'll learn some advanced techniques to build a simple column and use ACAD's texture and rendering engine.
📖 Estimated reading time: 9 minutes
| Date/Version | OS | Software | Version | Link |
|---|---|---|---|---|
| 2024-02-11 | 🪟 Windows | AutoCAD | 2017 | Go to lesson! |
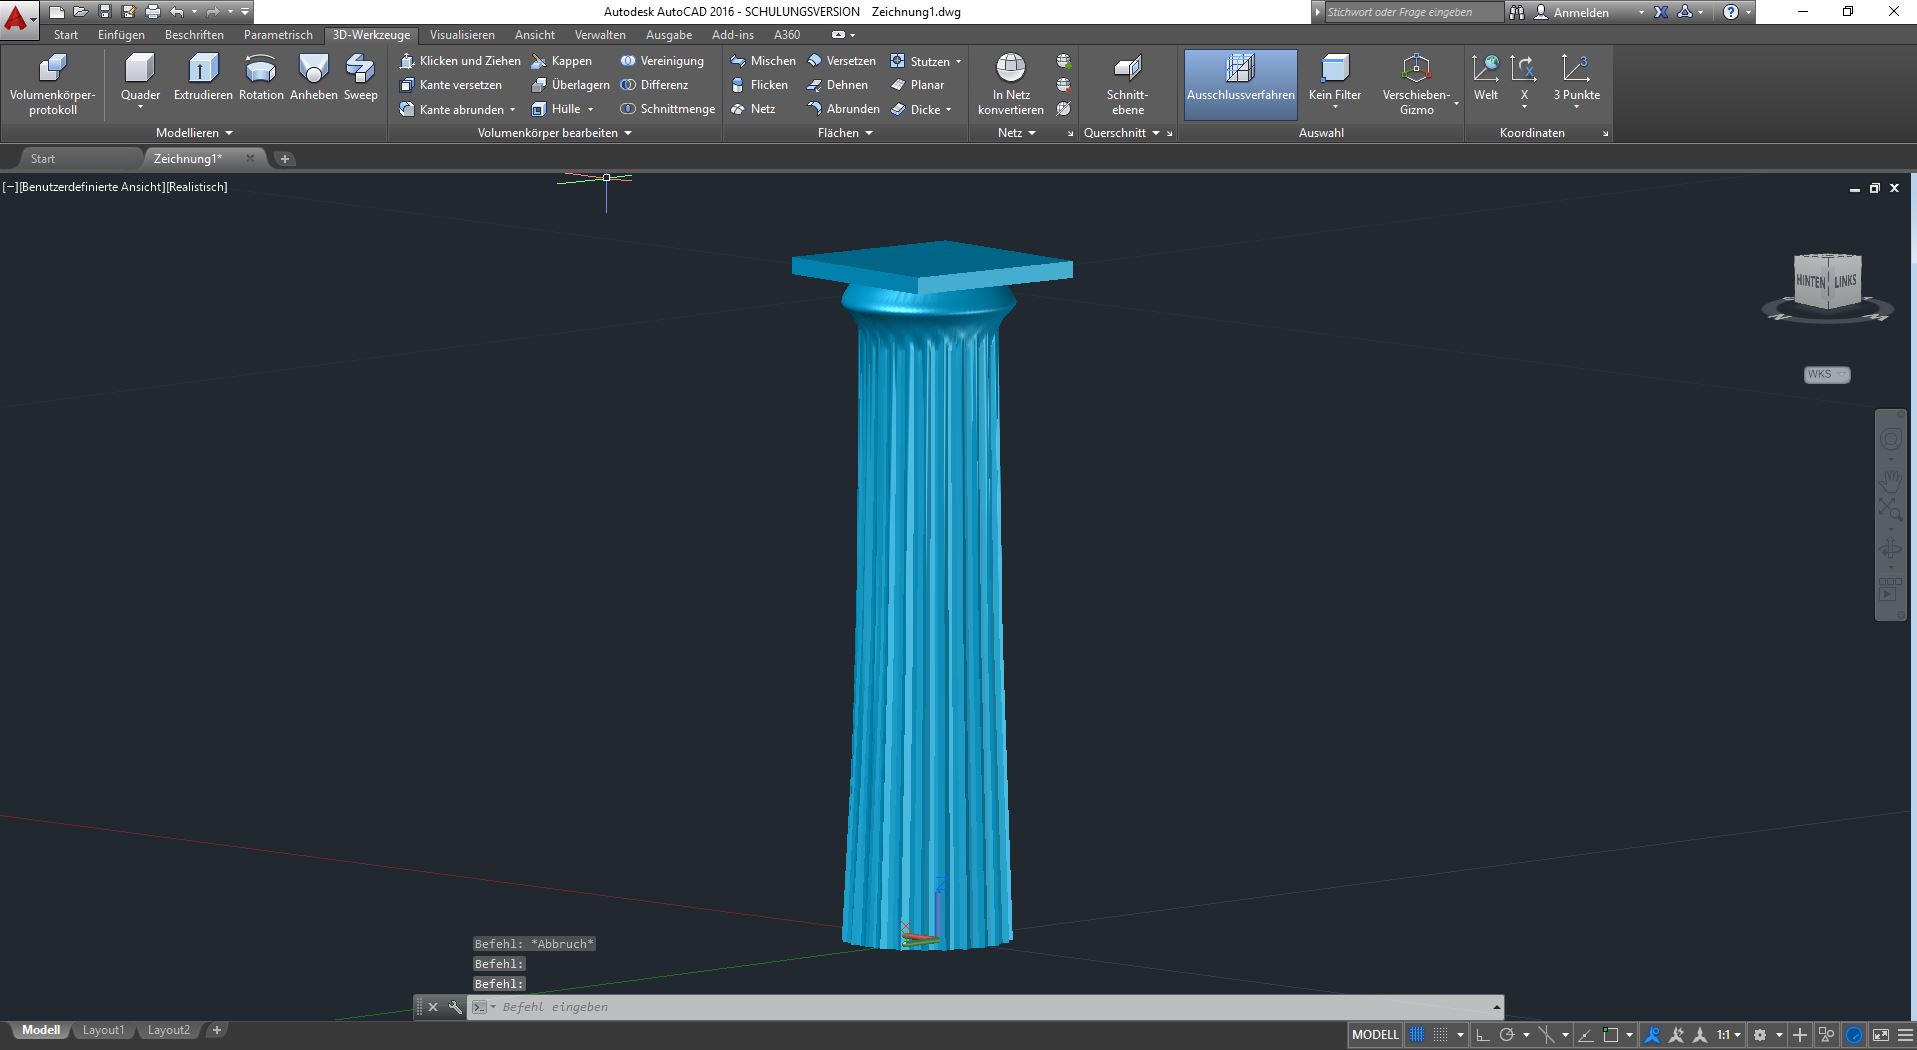
Chapter 6: Advanced Tools & Boolean Operators
In this final chapter on ACAD 3D, we'll look at a few more tools and techniques to get you started.
📖 Estimated reading time: 6 minutes
| Date/Version | OS | Software | Version | Link |
|---|---|---|---|---|
| 2024-02-11 | 🪟 Windows | AutoCAD | 2017 | Go to lesson! |
