Chapter 4: Introduction into ACAD 3D

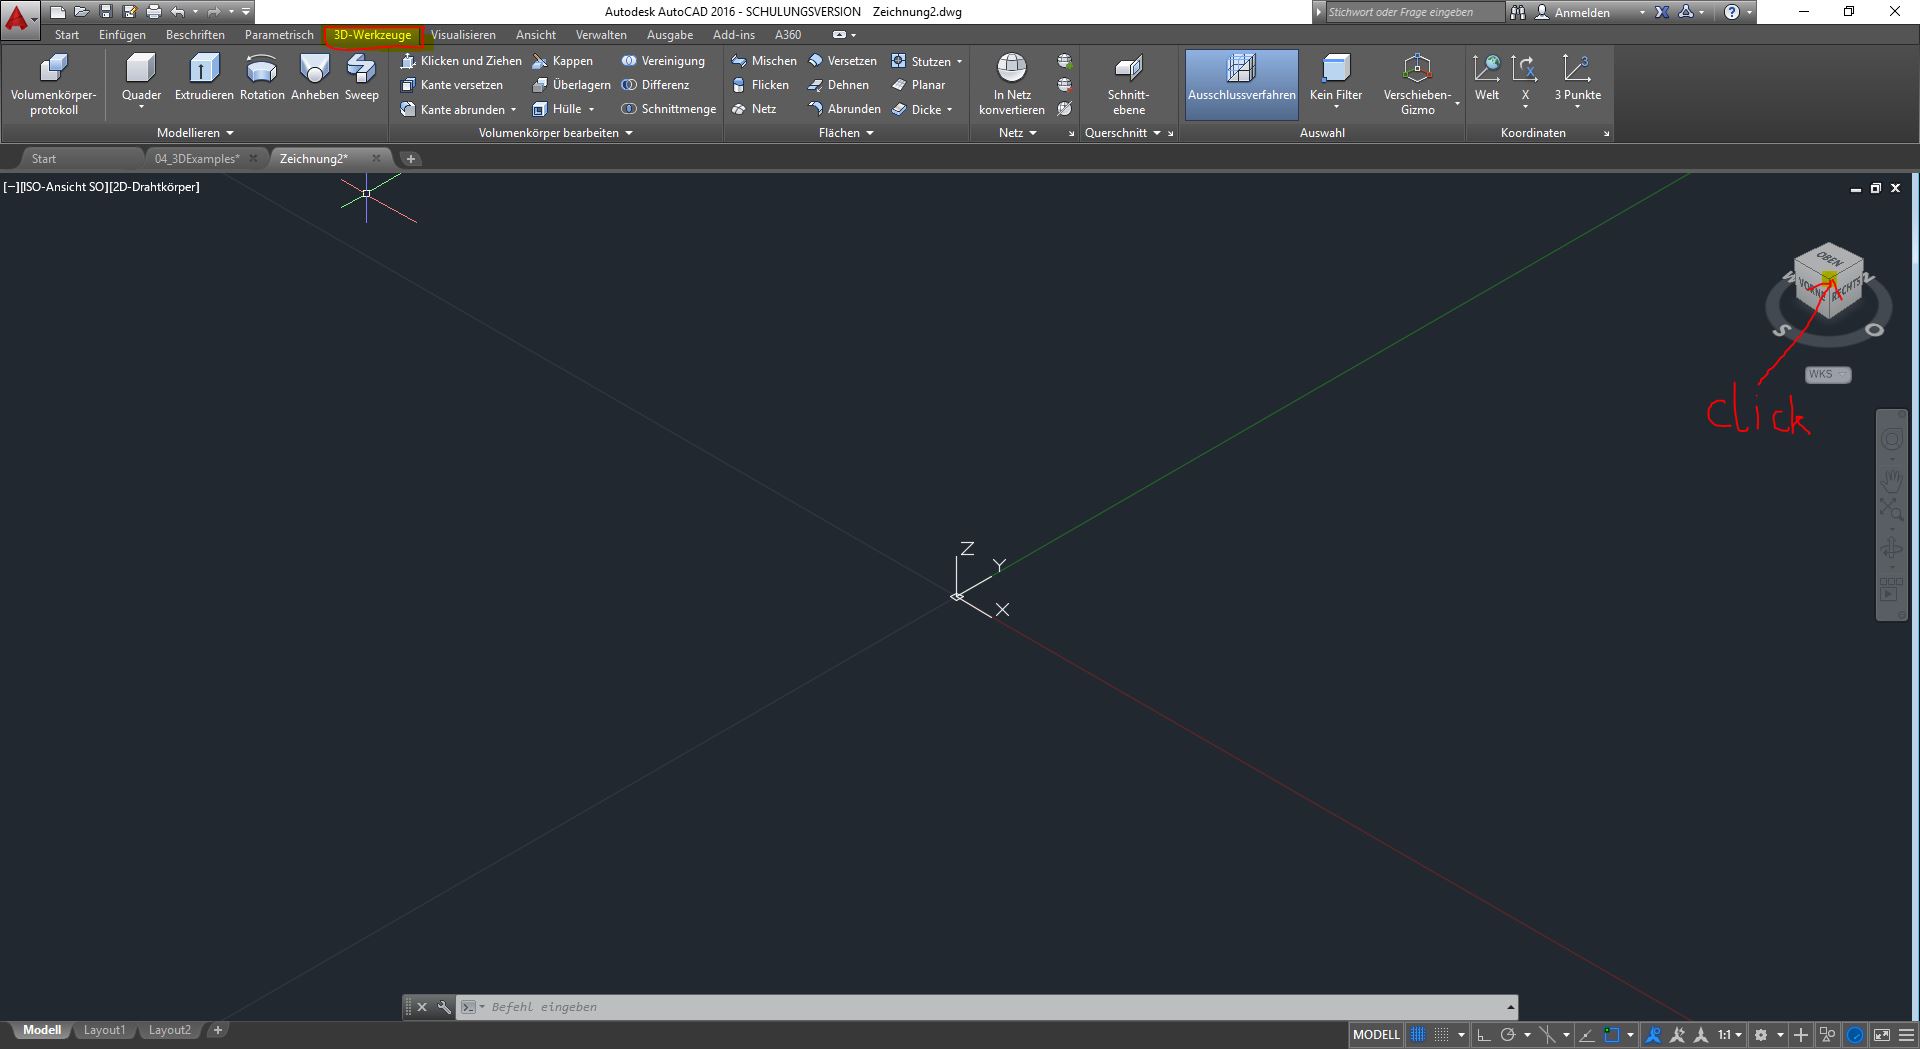
In this chapter we will learn the basics of the 3D aspect of ACAD. To start with, we'll use just three tools to create a very simple temple, and of course everything we've learnt in the previous lessons. To set up ACAD for working in 3D, make sure you have the 3D Tools tool activated in the tabs at the top of the screen. To activate it, right click anywhere in the empty space of the tab, click on Tabs Show and then make sure 3D Tools is activated. We also need to make sure that we are working in 3D space. Initially, when you start a new drawing in ACAD, you only get the top view to work in 2D. This is the normal drawing mode that we have been using in previous chapters. To activate the 3D view you need to look at the cube gizmo in the top right hand corner of the drawing area. You will see a compass-like circle labelled N, O, S and W for the four points of the compass. Inside the circle is the Cube Gizmo. It shows the view you are currently in, so if you are in a new drawing it should say top to indicate that you are in the top view in 2D space. By hovering over the gizmo you can activate different sides of the cube. You can click on the edges and corners. For example, if you click on the bottom right corner, you'll get a 3D view from the south-east looking into the north-west.

The first tool we want to use is to create some objects in our scene. In the 3D Tools tab you will find the Quader/Cube tool. If you click on the cube, you will simply create a cube with 3 clicks: 1. First corner of the base, 2. Second corner of the base and 3. The height. Try playing around with the object. By clicking and dragging the blue arrows on the cube, you can change its dimensions and appearance.
If you want to create other objects, you can click on the little arrow below the Quader/Cube tool to open a list of different objects. Try creating a few different objects to see what you can do. The last object in the list, Polykörper, is probably too advanced for this chapter, but if you like, you can try it out! One last thing: if you want to change the way your 3D objects are displayed in the workspace, you can change that too. To do this, look for the small text in the top left corner of the drawing area. This tells you which view you have selected and which display style is being used. Clicking on the display style (in my case 2D-Drahtkörper) will open a list of different styles. Try a few, I always prefer Konzeptuell.
Exercise

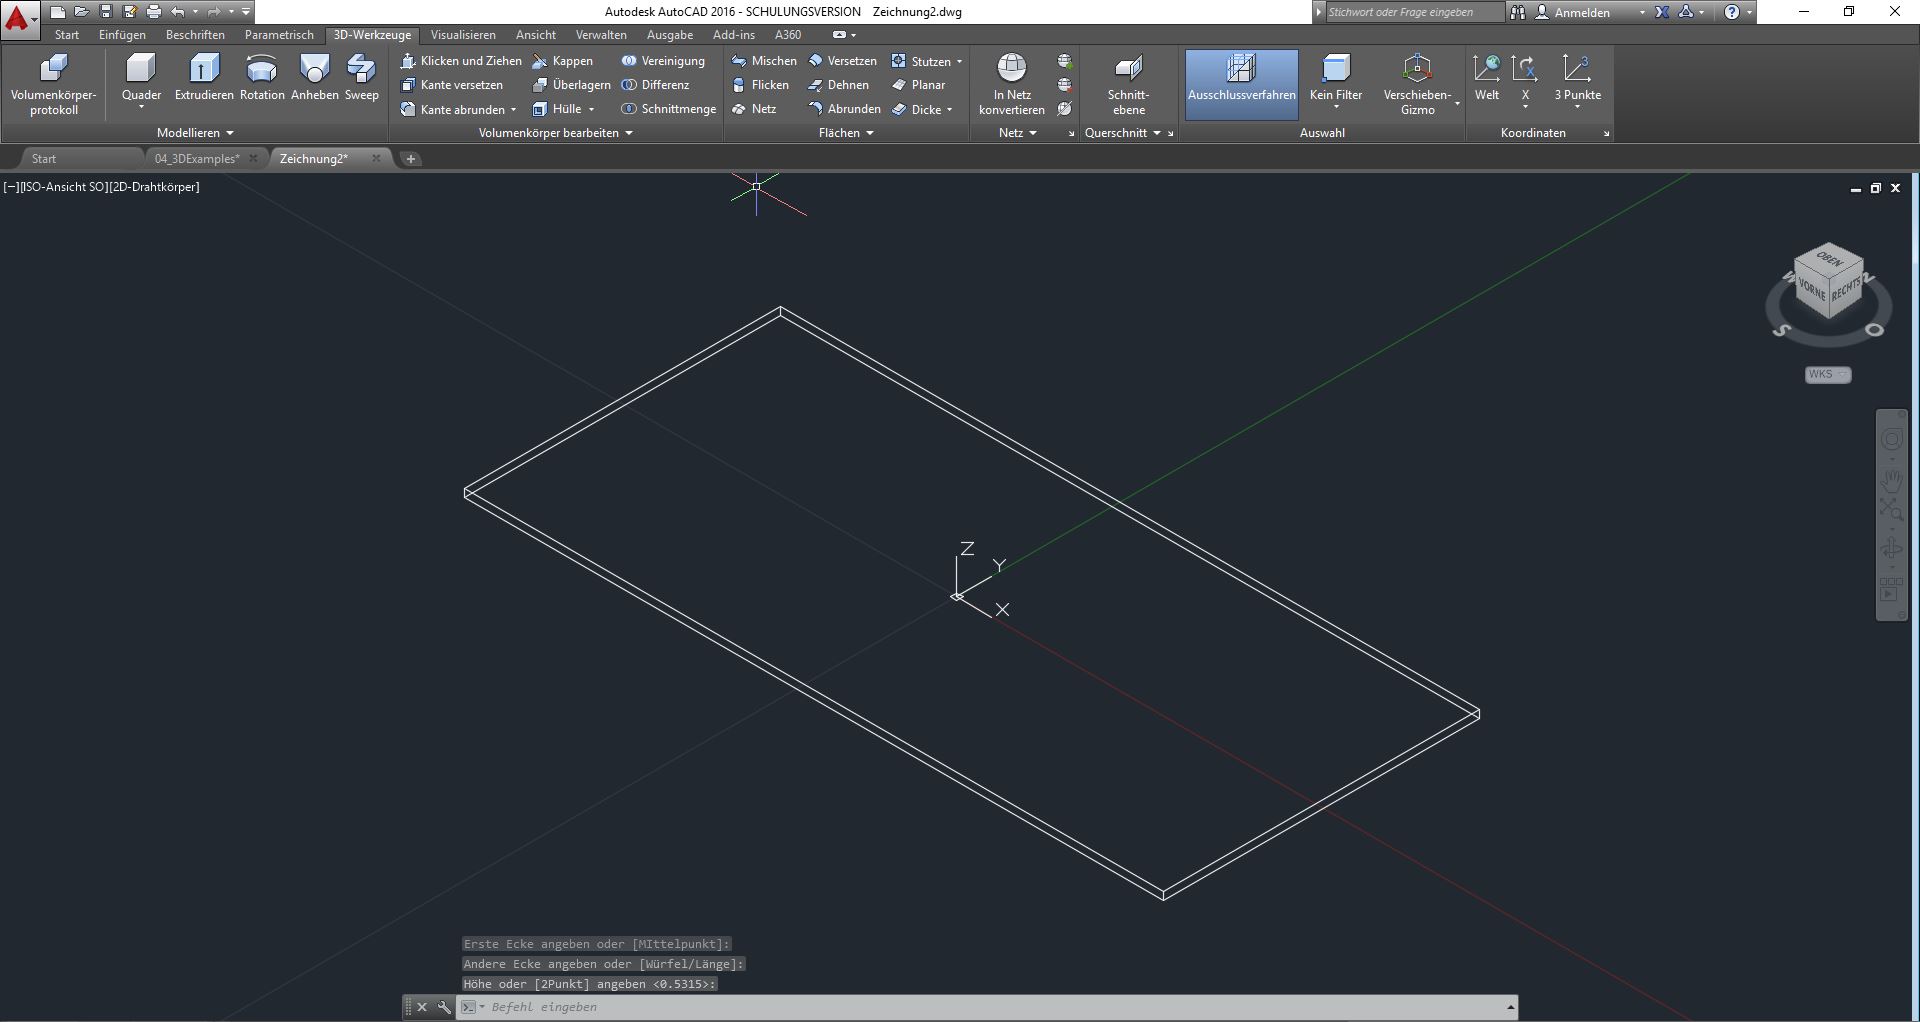
Try starting a new scene or deleting everything you have done. We are going to build a very simple temple. We will start with the Crepidoma, the initial staircase on which the columns rest. For this exercise, don't worry too much about accuracy or even correct dimensions. Try to make a kind of 3D sketch. We will start with the first step, creating a cube that is more or less flat, but with some rectangular dimensions, as in the screenshot on the side. If we now want to create another step, we want to make sure that it is of course a bit smaller, but also rests on top of the first step. If you select your Quader/Cube tool and hover over the first step, you'll notice that the top of the step sometimes turns blue. As soon as the surface is blue and you create another cube, you can be sure that this cube is positioned exactly on top of the first cube. Also, make sure that you do not have Snapping enabled, as this may interfere with the positioning of the second cube close to the corners of the first cube. Try to make three cubes in this way, each getting smaller with each step. You can see the result in the next screenshot with the columns.

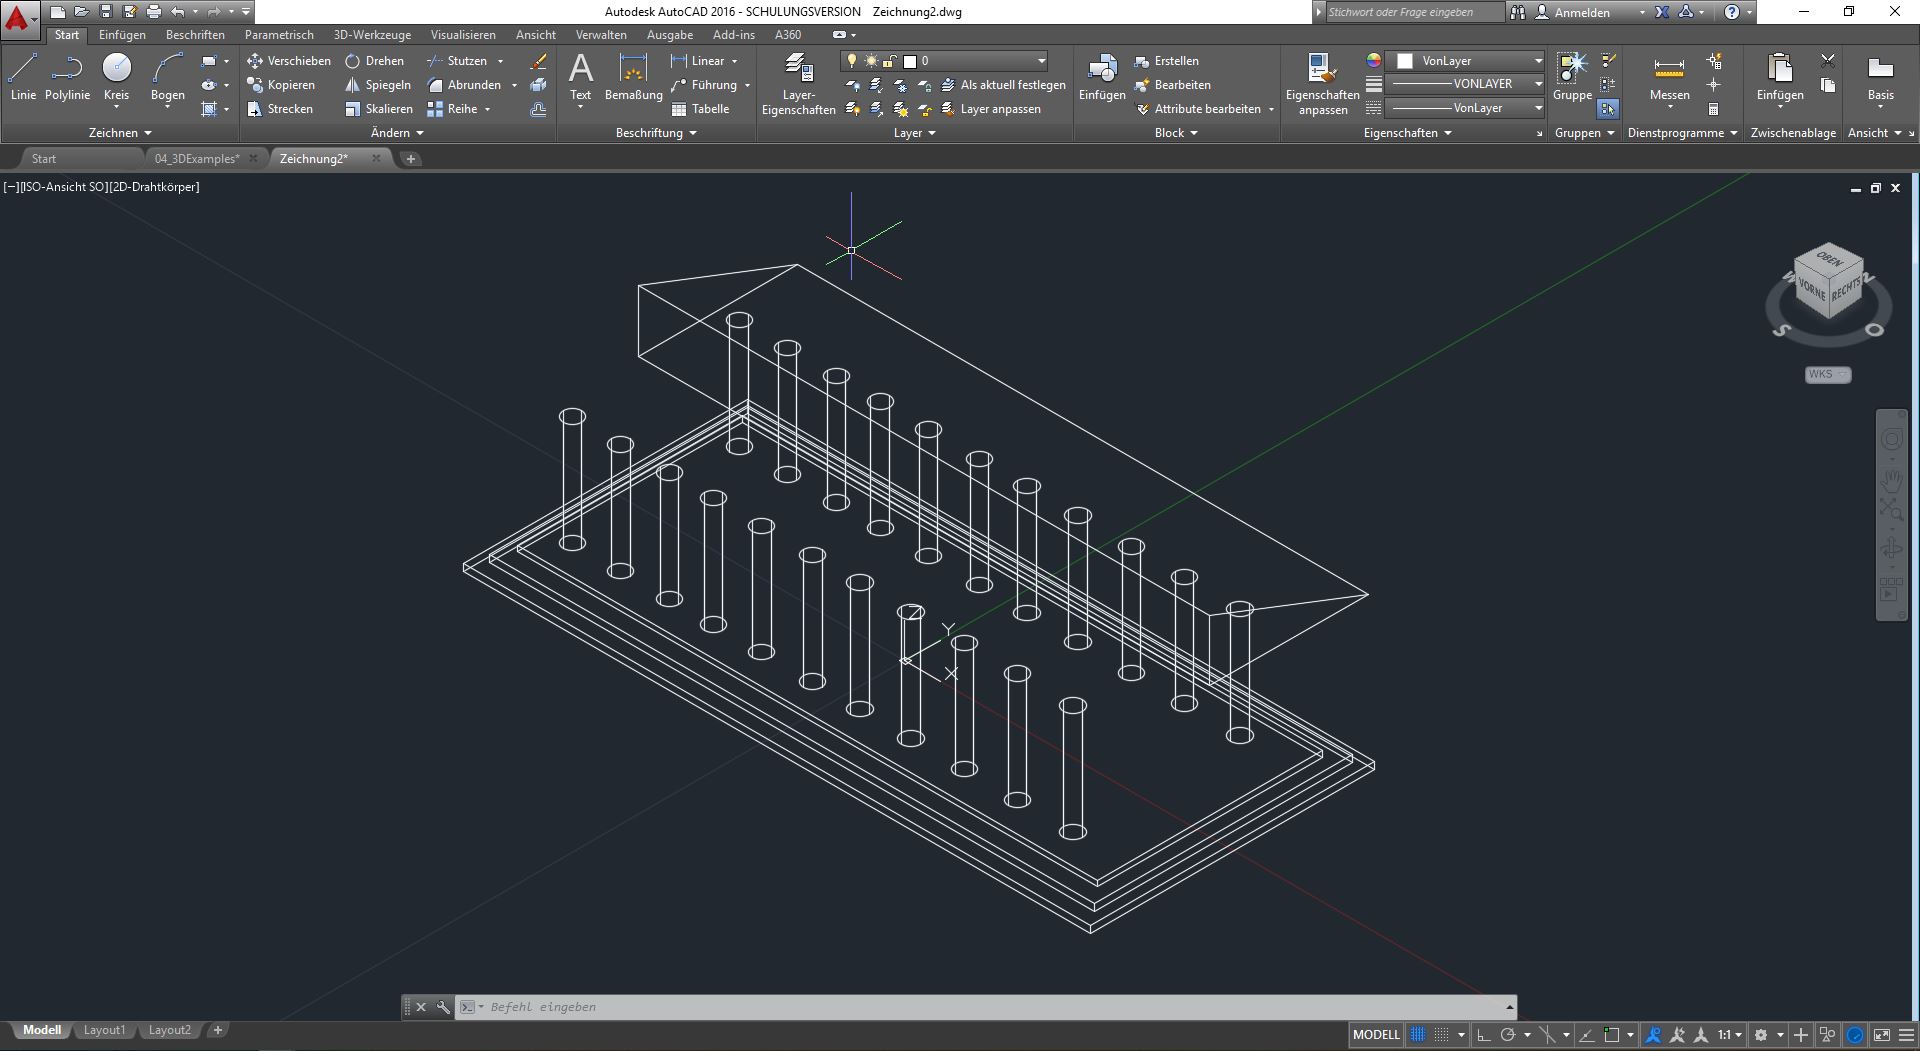
The next step is to create some columns on top of our crepidoma. To do this we will use the Cylinder tool, which you will find below the Cube tool you used earlier. Try to create a column on top of the last step (the top should turn blue) and give it a height that somehow matches your dimensions. Of course, we do not want to have just one column, but many. Instead of creating each column individually, we will simply use the Copy/Copy command from the previous lessons in 2D. To do this, select your column, go to the Start tab in the top toolbar and select Copy/Copy. ACAD will ask you for a base point, it makes sense to turn on snapping to select the centre point of the bottom end of the column, basically the point that sits exactly on top of the crepidoma and in the middle of the base of the column. You can now make a few copies. Now it helps to activate Polarspur by pressing F10. This will help you to copy the columns in a straight line along the temple axis. When you are close to the axis, a green line will appear and your copied column will snap to this line. This will ensure that all the columns are very straight. The last step is to copy the whole line of columns to the other side.

The only thing left for this exercise is the roof, which we will do very simply with two wedges. Create a Keil/Wedge and place it somewhere beside the temple. It doesn't matter what it looks like for now, we'll adjust the shape later. We will use the Bewegen/Move tool, the Drehen/Rotate tool and the little blue arrows next to the wedge to adjust its position and shape. Try to make a half roof, with the columns slightly overhanging on one side. You can switch between the different views using the cube gizmo in the top right corner. Position the roof so that it looks something like the screenshot.
When you are happy, make a copy of the finished half. Position and rotate this copy to complete the roof of the temple. Try to use the Snapping tool wisely, so that it helps you but does not interfere with your work. When you are finished, the result should look something like the one at the bottom of this page. Try making some other objects, such as a lighthouse, a stepped pyramid or anything else you can think of to familiarise yourself with the tools in this chapter!

