Chapter 5: Advanced Techniques

In this chapter we will try to use our skills from the first three sessions (2D) and combine them with the knowledge of AutoCAD 3D that we have learnt so far. We will also add some new techniques to model, texture and render a Doric column in AutoCAD 3D.
Start with a fresh scene and download a reference file which shows a top view of a Doric column. As we discussed in Chapter 2, please attach the top view image file to have a reference. Don't worry so much about the scale this time, we won't be so exact. Once you have attached the image, redraw the left section. Put it on a separate layer and do a nice little redraw like we learned in the last chapters. Make sure you use the polyline and draw the whole section in one continuous line.

When you are finished, switch to the 3D view and turn off the original drawing, leaving you with a 3D view of your sectional drawing of a Doric column. The next step should be to extrude the section into a 3D object. We can do this using the Extrudieren/Extrude command from the 3D-Werkzeuge. Select your drawing, press the Extrudieren/Extrude button and raise the column to something like its own diameter. You don't have to be exact, just use your eyes. If you change your view from 2D-Drahtkörper to Konzeptuell in the top left corner, you will have a better view of the first barrel of the column. In the next step we want to copy our barrel 8 times, so we create a real column of 9 barrels. We are not trying to create a replica or reconstruction of anything, this is just an exercise for you to get to know the tools and commands of ACAD.

To do this, we'll simply use the command we already know: Kopieren/Copy. You'll find it under the Start tools. Select your object, select the tool and then copy the barrels on top of each other. It is best to do this in side view so you can make sure the barrels are on top of each other. Again, don't be too exact, as ancient columns were never that way. When you have finished copying, switch back to 3D mode to check your work. You may need to correct some of the copies from the other side. In the end, your column should look something like the screenshot on the right. Note that the column has the colour of the layer on which it was created. We will change this later. The only two things missing here are the Echinus and the Abacus.

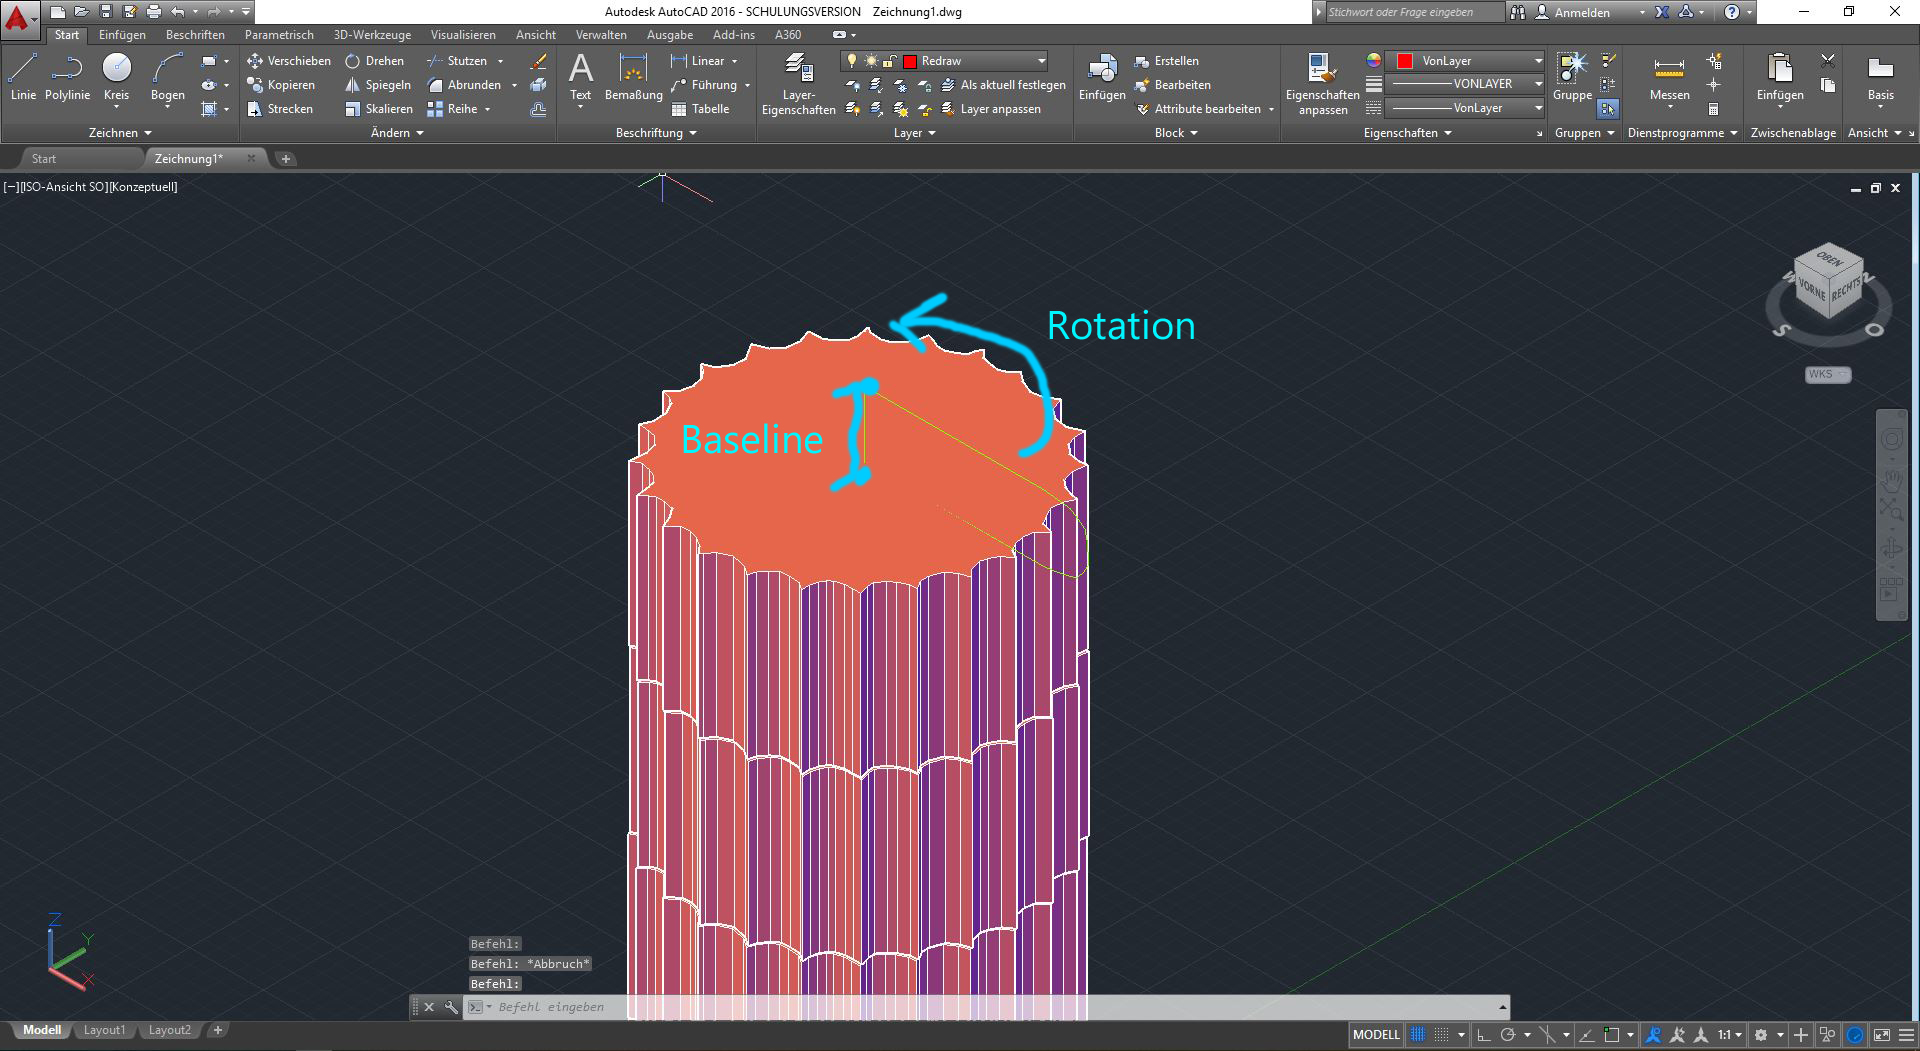
The Echinus will be modelled using the Rotieren/Revolve command from the 3D-Werkzeuge. Before we do that, we need to create a half-side view of what we want to rotate. As a visual aid, we want to draw this shape at the top of our column. Normally it is not possible to draw in a side or front view, as ACAD only allows drawing in the Top View. However, it is easy to change this. Once you've decided on a view, let's say the front view, go to the visualise tools and find the Koordinaten/Coordinates tab. There you should find a button called Welt with a small world and a gizmo icon next to it. If you open the drop down menu and change the selection to your chosen view (in my case it would be Vorne/Front), you should see that the Front View becomes the Top View and you are ready to draw. So draw a small shape with a polyline like in the screenshot on the side. Make sure that the middle line is more or less in the centre of your column and that the line is a closed object.

You can change the drawing plane back by changing the drop-down menu back to Welt/World. Your Top View should become your Front View again, and you have created a shape on top of your column. By default, the drawing is exactly on the plane you drew on, so you need to move the shape in one direction so that it sits exactly in the centre of the top column with its innermost side. Now select the shape and find the Rotieren/Revolve button in the 3D-Werkzeuge. ACAD now wants to know about which axis we want to rotate the shape. Of course we want to rotate the shape around its base line in the centre of the column. So, with Snapping enabled, we select the lower and upper points of the central base line. We can already see how the object is rotated. Instead of painstakingly searching for the right position to click, we simply press Enter to tell ACAD that we want a full circle rotation.

All we need now is the Abacus, which we will create using the Quader tool from Chapter 4. You can place it directly on top of the Echinus while hovering over it until the top of the Echinus turns blue. Don't worry about the size, just create a cube. Once you have done this, you can resize it with the little blue arrows when the cube is selected. Make it a little bigger than the Echinus and not very high, as you can see in the screenshot on the side. We are now finished with the modelling part of this tutorial. The next step is to add some colour to the column. We won't go into too much detail in the next two parts, texturing and rendering, but enough to give you a nice little result of this exercise and to get you started.
Texturing

To make our column look better, we need to texture it. What this basically means is that we are going to wrap it in a material to give it a different look or to simulate the properties of a material. To do this, you need to activate the Visualisieren/Visualize tool group in the top row. There you'll find a material browser called Materialien-Browser, which contains the pre-installed materials from ACAD. We will use these for this exercise, but note that you can of course add your own materials to the library.
When you open the Materialien-Browser you'll see a list of materials. You can navigate to a specific type of material using the list on the left, or simply enter a keyword in the search bar at the top. For example, if you decide to use a marble texture, ACAD has a whole folder dedicated to it. To apply a material to an object, simply drag and drop it from the material browser onto the object. If you do not see any difference, make sure that the Materialien/Texturen option is on and not off. You can apply different materials to different objects. I chose a dark marble for the top and travertine for the rest.
Rendering

You can already see some results in the drawing area, but to get a better picture we need to render a result. Rendering basically means that the software calculates lights, shadows, reflections and everything else to produce a realistic image. We can now close the Materialien-Browser and have a look at the other tools in the Visualisieren/Visualize menu. Without changing anything, we can have a look at the current result of a rendering process and then refine some things to learn something. To try it out, just click on the teapot icon in the middle of the menu. Below it is Rendergröße/Rendersize, but we will deal with that later. A new window should appear and it shouldn't take too long to produce an output. As you can see, the result is not too bad, but we can improve it. First of all, we need a good light source, and the sun is always a good light source. To activate it, press the sun icon Sonnenstand/Sunstand in the menu. A small extra window should appear where you can activate the Umgebung/Environment and change the Bildbasierte Beleuchtung to Platz. Try the render button again, the result should be better.
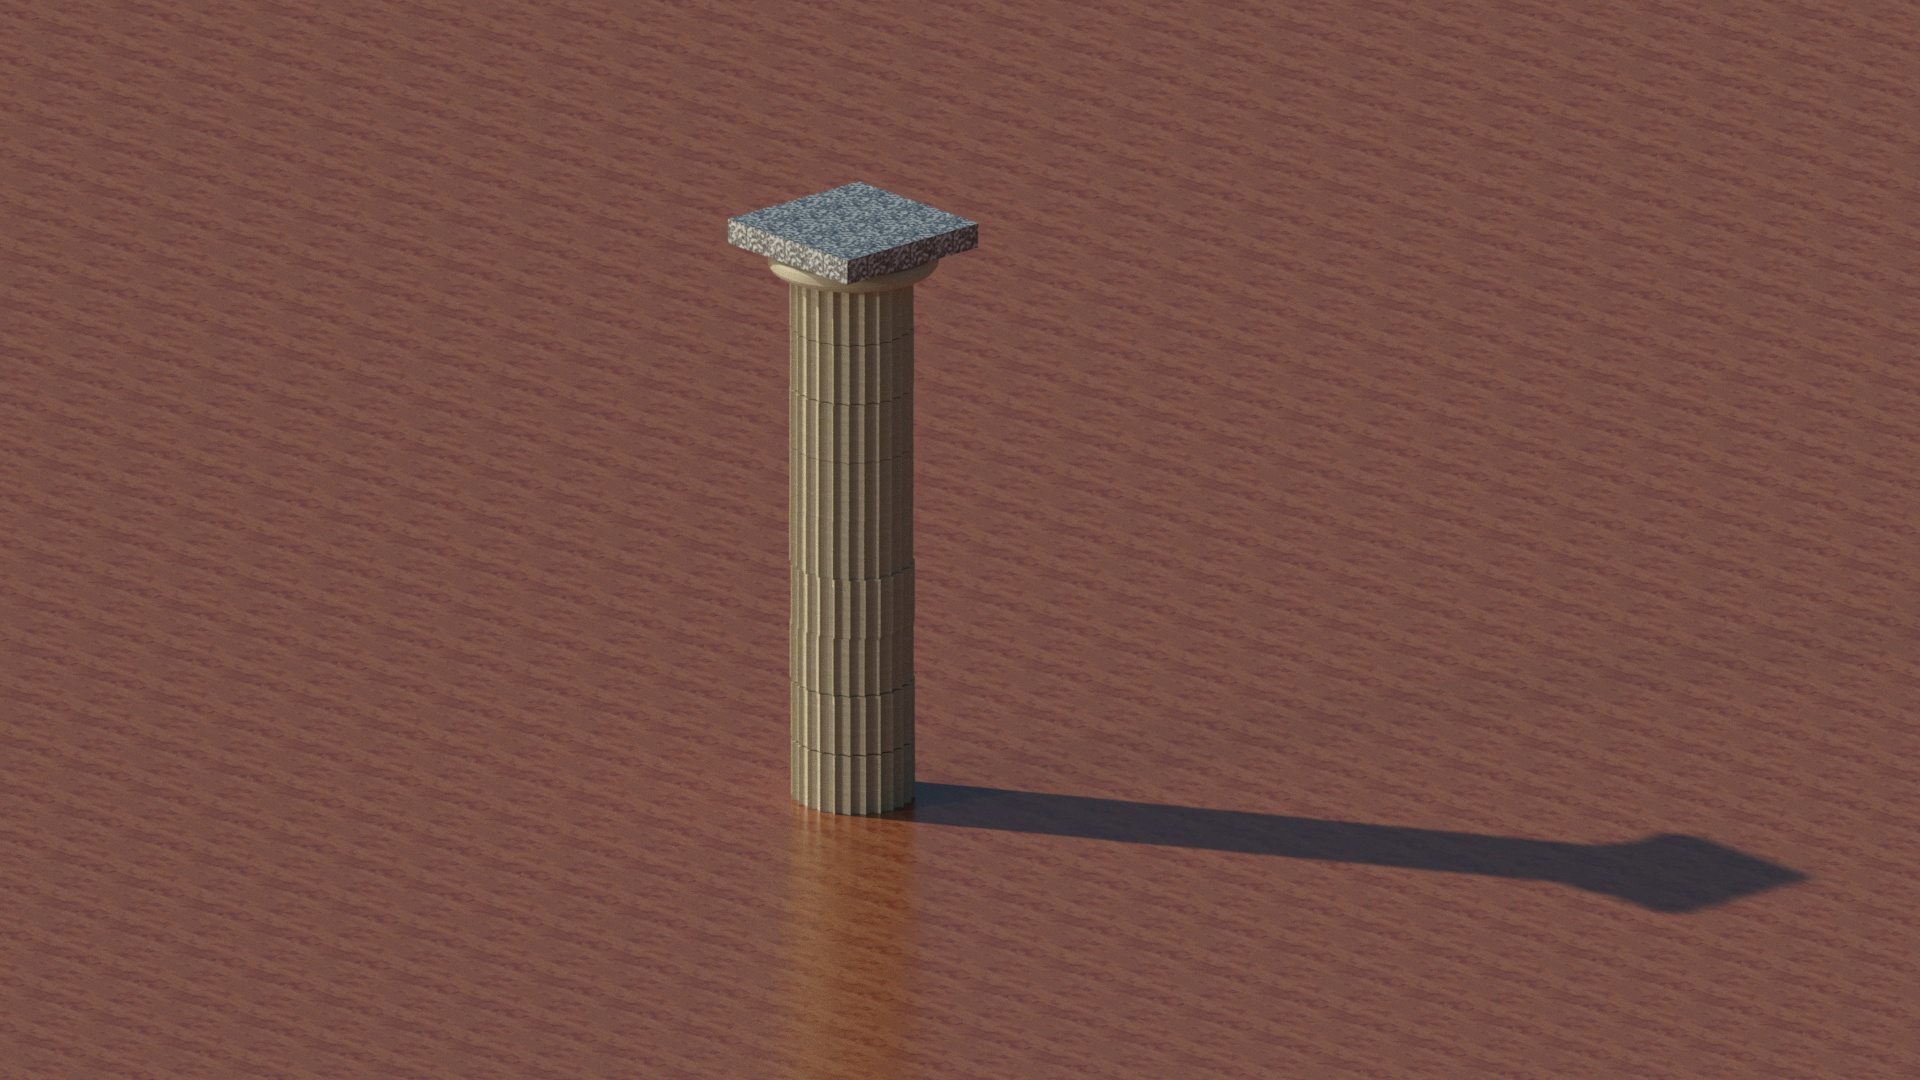
However, we can still improve the image. First, create a very large but very low cube that we can use as the floor for the scene. It should be big enough to fill the entire view you are going to render, but not too high, as that would make our column cascade. Try to find a material for this floor and assign it to it. I chose Ahorn - Palisandereffekt, but it doesn't really matter. Try some different materials and check the result by pressing the render button. With a floor we get a reflection and our column should look even better (if that is possible).
The last thing we want to change to get a better image is the resolution and quality of the render. To change the resolution, click on the little arrow below the rendering teapot. There you can choose a higher resolution for the image, such as 1920x1080 pixels. On the right hand side you can also increase the render quality from Medium to High. The render time will increase, but it should be ok. The end result is the end result of this exercise. Congratulations!

