Chapter 4: Bundle Adjustment

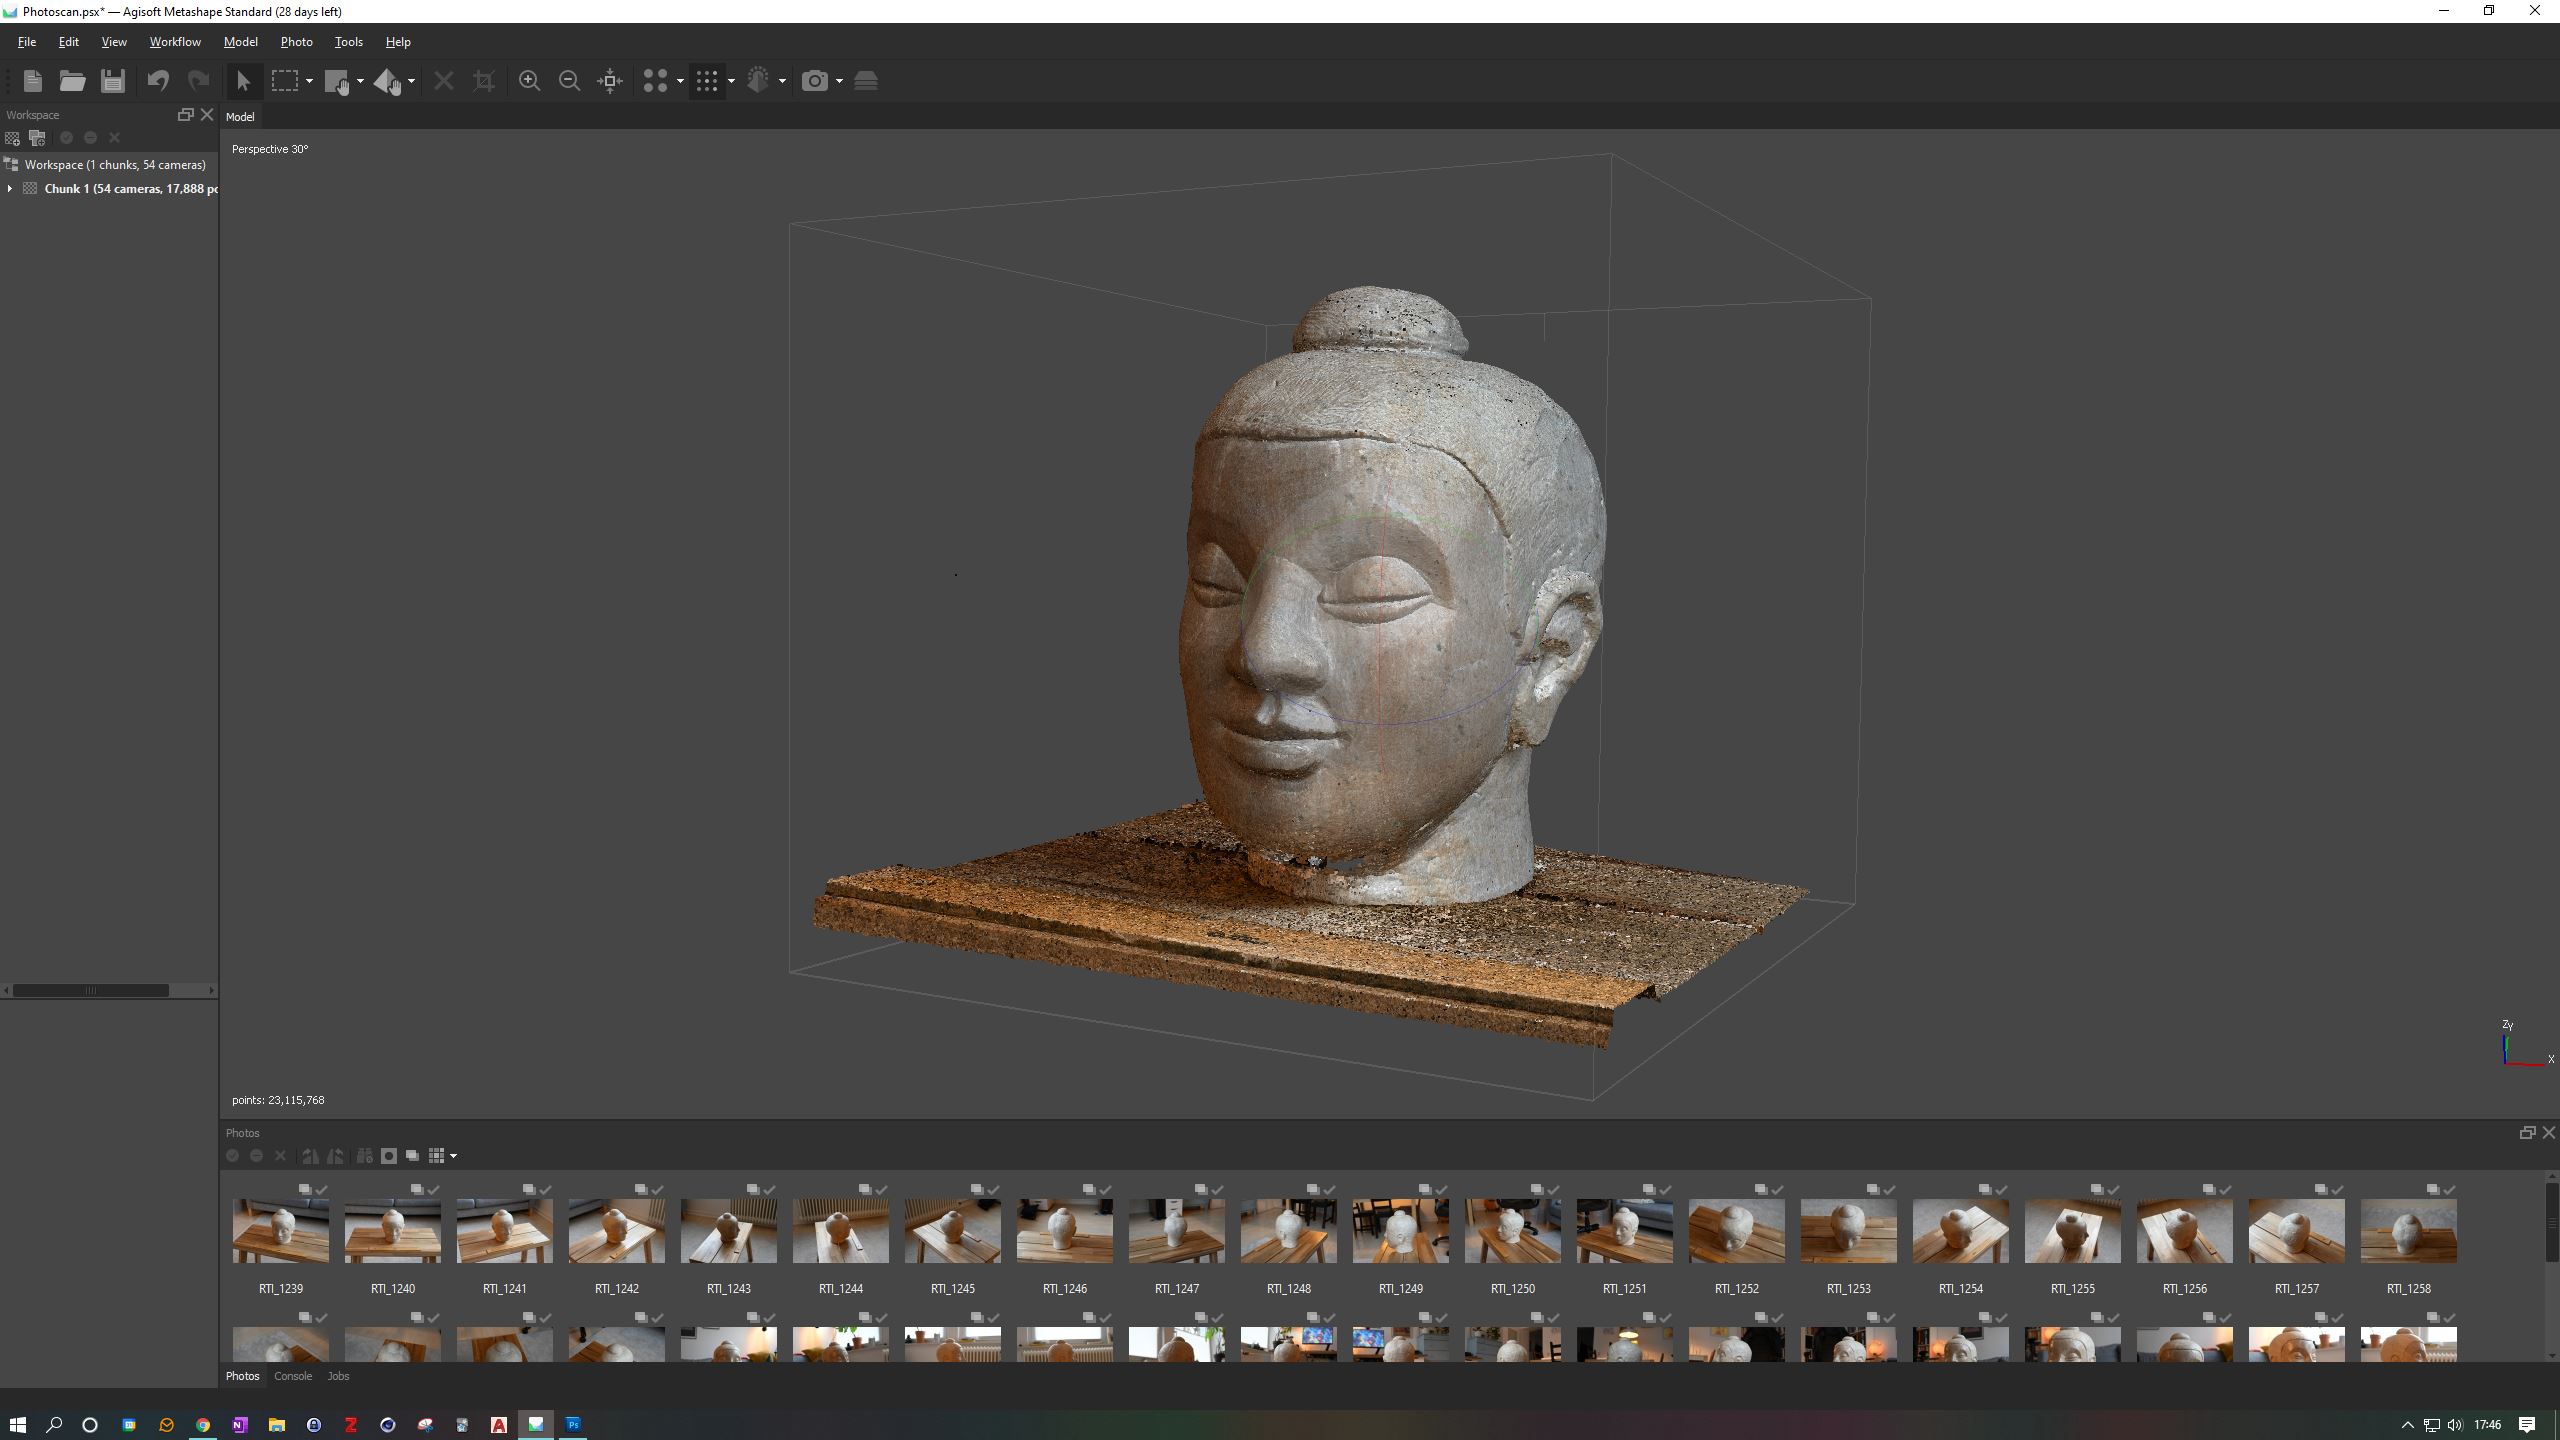
The Bundle Adjustment process tries to refine and adjust the camera positions and points already processed, and adds a whole bunch of additional points to the cloud. The Sparse Point Cloud becomes a Dense Point Cloud, and depending on your settings and source material, the number of points can increase many times over. A dense point cloud is so dense that it appears to be solid when viewed from a normal distance. However, if you zoom in, you can still see individual points. To compute a Dense Point Cloud, further processing can be applied to improve the accuracy of the camera positions before a Dense Point Cloud is generated using photogrammetric stereo processing algorithms (Powlesland 2016: 21). A Sparse Point Cloud produced by SfM is often only an intermediate step in the production of much more dense point clouds.
Building a Dense Point Cloud
From the Workflow menu, select Build Dense Cloud. For this example, we will use the Medium Quality settings to save time. Press the OK button.
Additional information: Higher quality settings can be used to produce more detailed and accurate geometry, but they will take longer to render. The interpretation of the quality parameters here is similar to the accuracy settings given in the Photo Alignment section. The only difference is that in this case the Ultra High quality setting means processing the original photos, while each subsequent step implies a preliminary image size reduction by a factor of 4.
The Depth Filtering mode in the advanced settings is used to find points that have somehow been miscalculated, for example due to noisy or blurry photos. If the object has a lot of small details, mild filtering is recommended. If there are no small details, aggressive filtering is used to save time.
Seeing the result and cleaning

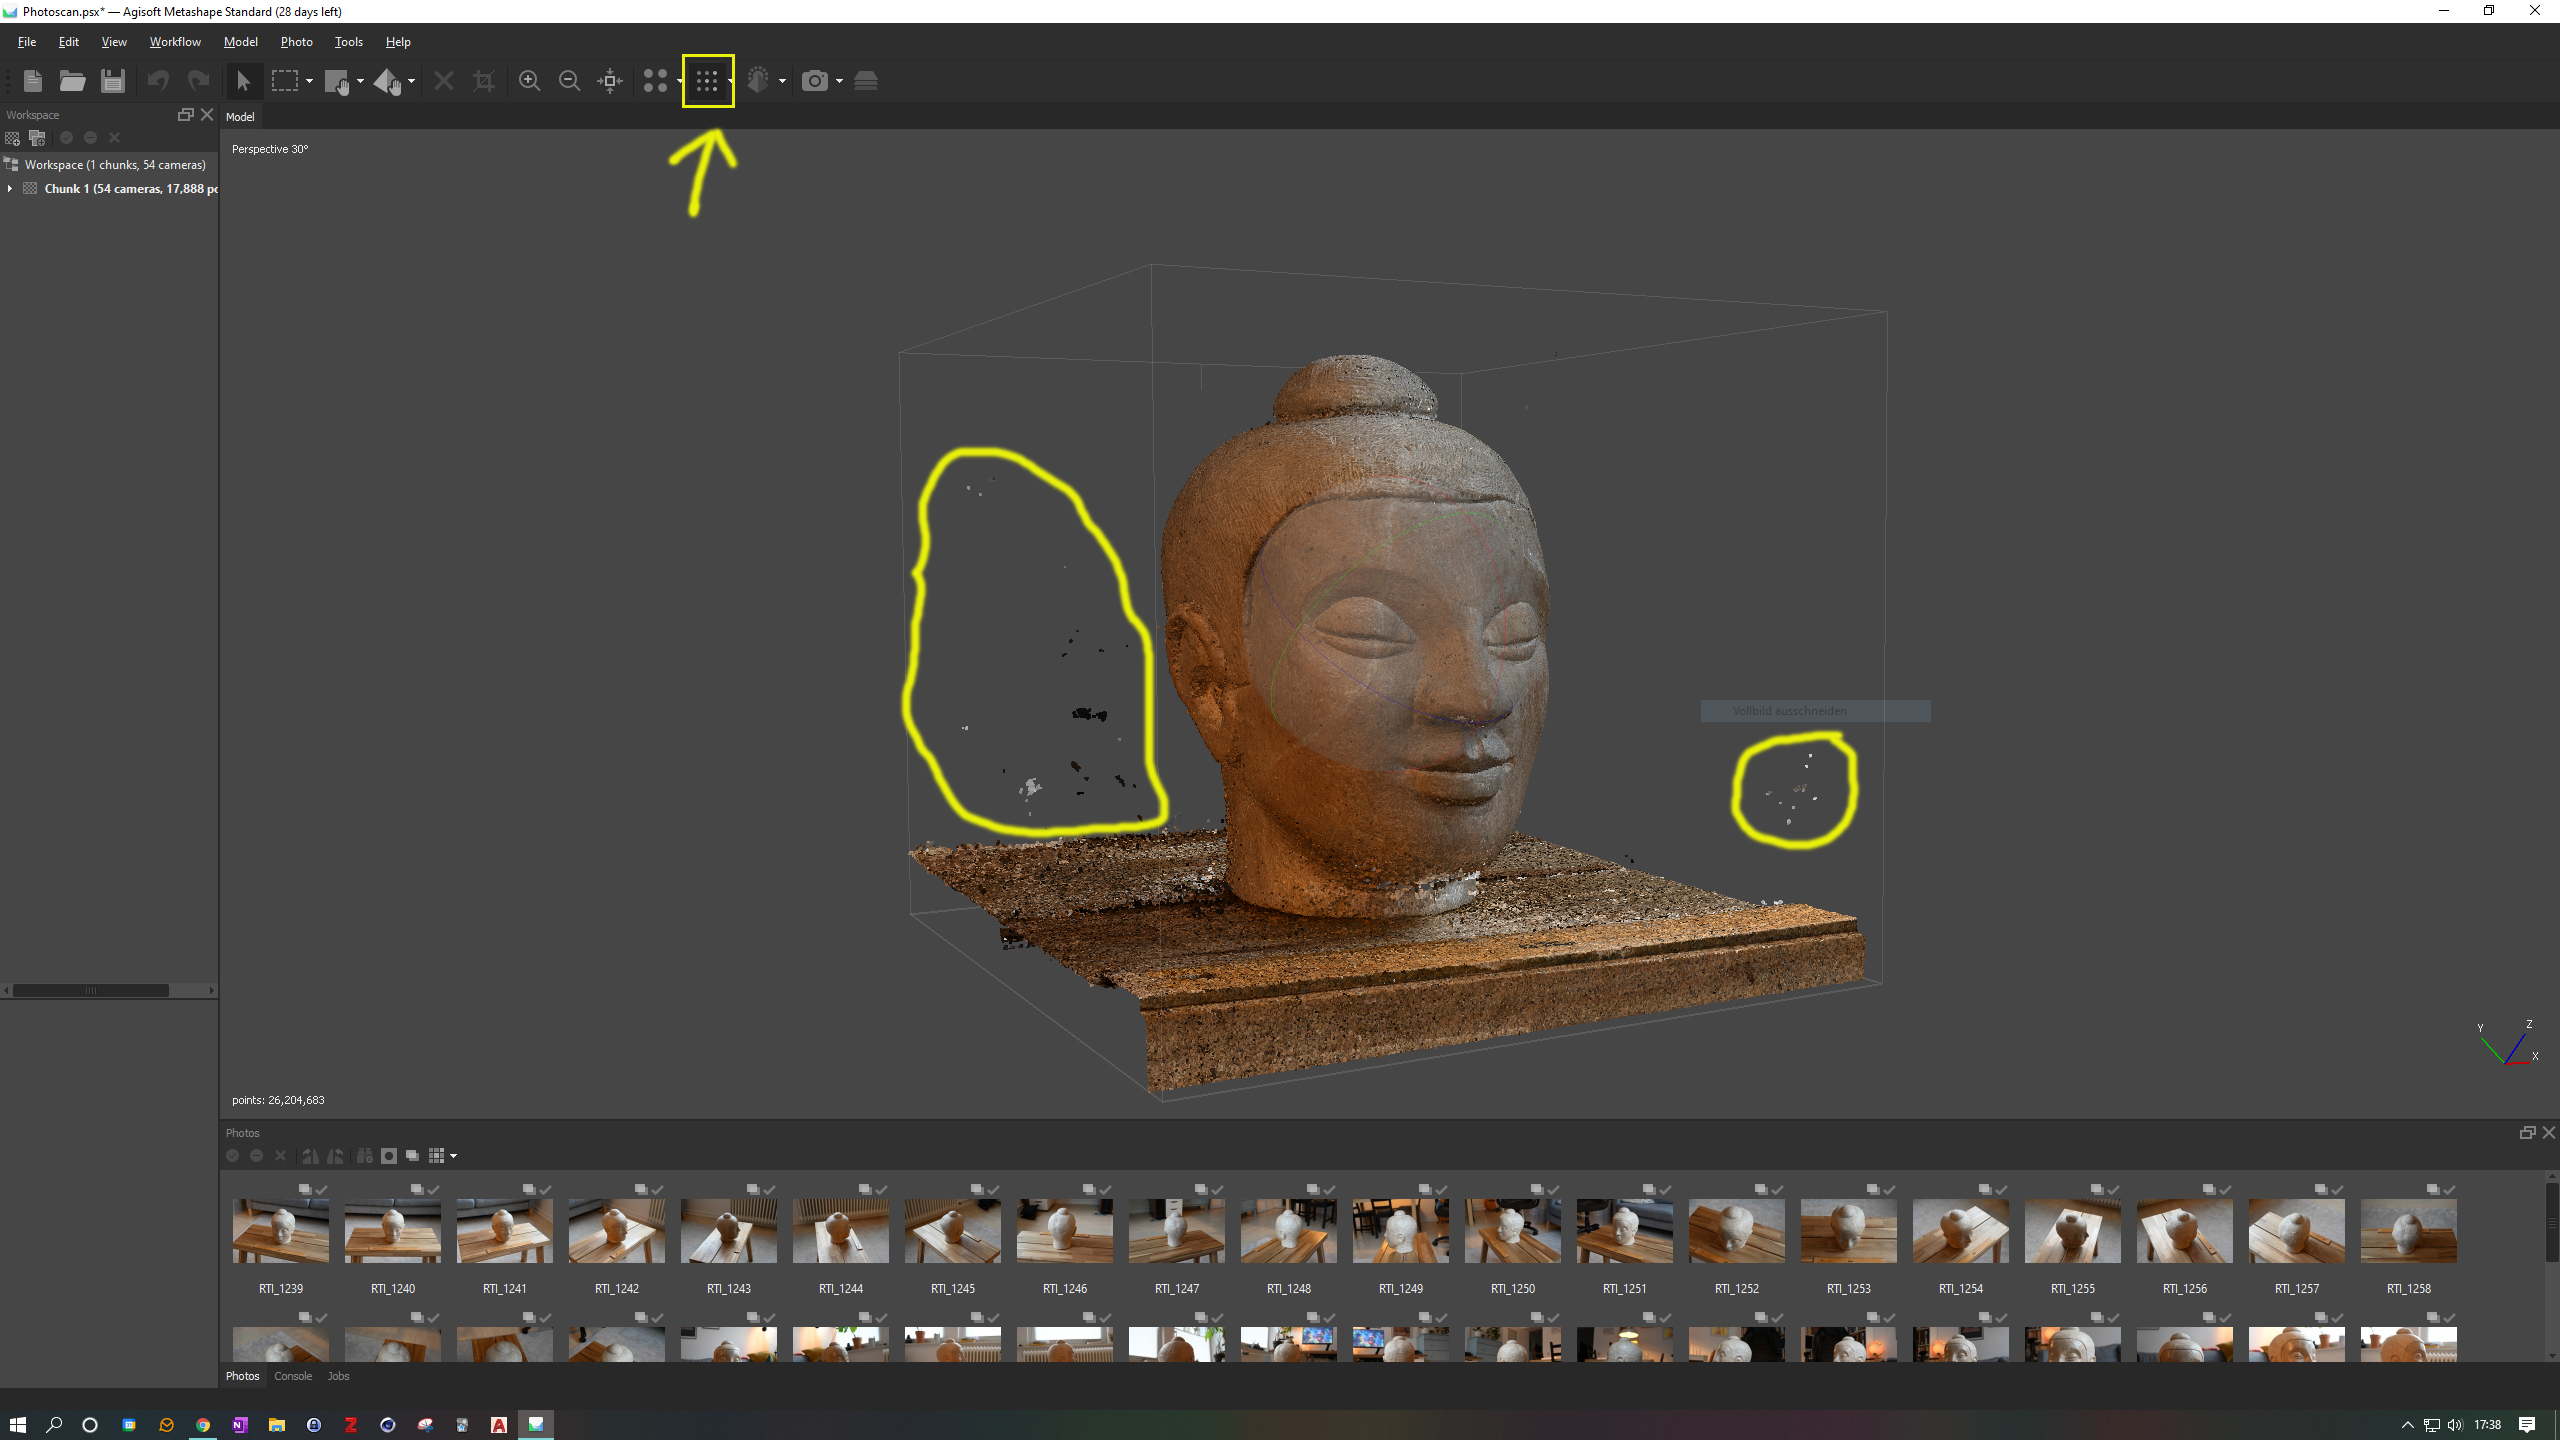
So when the calculation is done, you should not see any difference. This is because the sparse cloud is still there. In the top menu you will find the icon with nine dots representing the Dense Point Cloud. Click on it and you will see the difference. You will see a dense point cloud and it should almost look like the object is already solid. If you take a closer look, you will probably see some free floating chunks of something like the screenshot on the side here. These are artefacts that we need to clean up. To do this, select one of the Selection tools, I usually prefer the Free Form Selection, catch all the chunks we don't need and delete them using the DEL/ENTF key on your keyboard. Also make sure you rotate around the object to catch them all by switching to the Navigation tool.
Bibliography
- Powlesland, Dominic 2016: “3Di - Enhancing the Record, Extending the Returns, 3D Imaging from Free Range Photography and Its Application during Excavation.” In: The Three Dimensions of Archaeology. Proceedings of the XVII UISPP World Congress (1–7 September 2014, Burgos, Spain), edited by Hans Kamermans, Wieke de Neef, Chiara Piccoli, Axel G. Posluschny, and Roberto Scopigno, 13–32. Volume 7/Sessions A4b and A12. Oxford: Archaeopress.
- Carrivick, Jonathan L., Mark W. Smith, and Duncan J. Quincey 2016: Structure from Motion in the Geosciences. Chichester: Wiley Blackwell.
