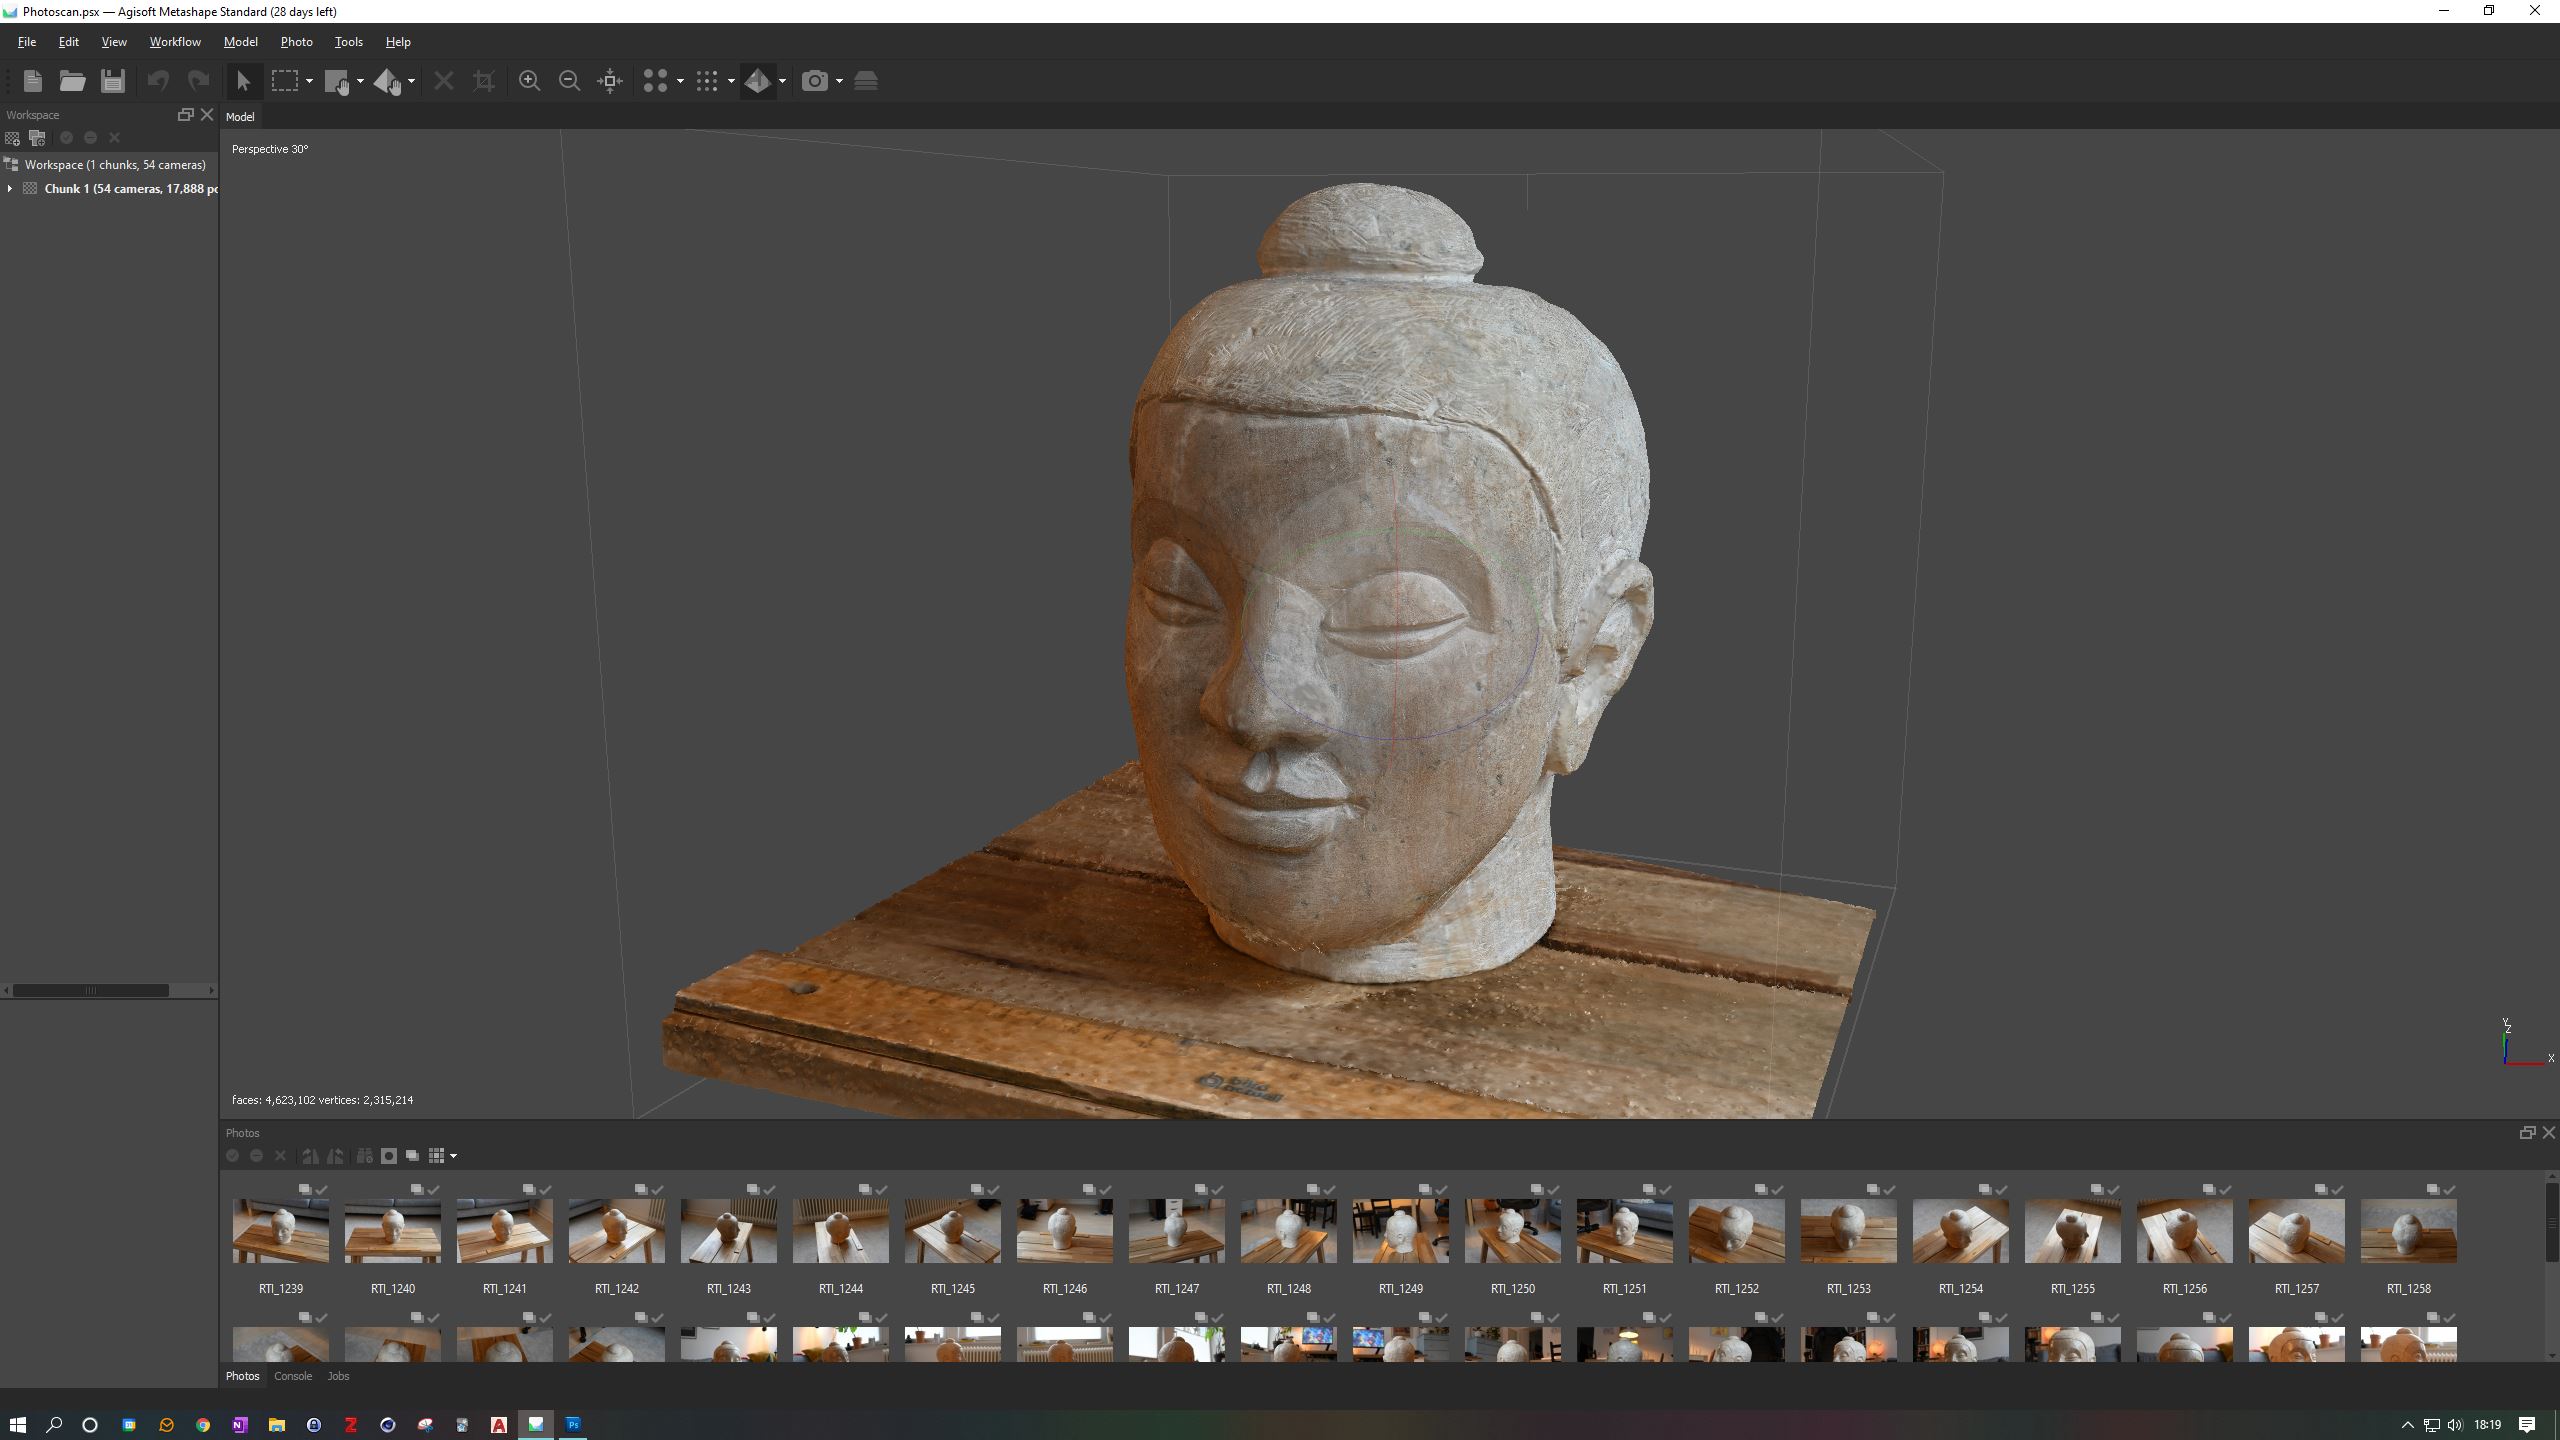
Chapter 6: Texturing the 3D model

Building a texture is the final step in creating a finished model. A texture is like wrapping a present. We will create a 2D JPG file that will be the wrapping paper. Luckily for us, we can map each pixel in this JPG to a specific point on the 3D model. This means that we can wrap the texture around the 3D model so that it mimics the surface texture of the original. We can already see this in the coloured point cloud, but this colouring is not very accurate and cannot be used in most 3rd party 3D software. If you wanted to use this model in a game engine, for example, you would not be able to. Also, for documentation purposes, we need to have a complete export with a texture in an open format so that other software than Metashape can open it. So we need a texture.
Building a texture
To build the texture - the last step - please open the Workflow menu and select Build Texture.... For this example we will use the Diffuse Map mapping mode, the source data Images, the Generic mapping mode, the Mosaic blend mode and a texture size of 8192x1. Press the OK button.
Additional information: The Mapping Mode helps to create the texture. Generic means that the software tries to create a uniform texture. This is especially recommended for arbitrary geometry. The Orthophoto option creates an orthographic projection (directly from above). The Adaptive Orthophoto option also creates an orthographic projection as a base, but textures vertical areas of the object separately. This option is best for almost flat surfaces, such as the facade of a building. Single camera uses only the data from one of the aligned photos and ignores the rest. Keep uv keeps the current texture parameterisation. Some external software can use this kind of mapping mode.
The Blending mode option selects how pixel values from different photos will be combined in the final texture. Mosaic tries to combine two methods. The non-detailed areas are blended from different photos to avoid seamline problems. The detailed areas are reconstructed from a single photo at the highest quality. This results in very sharp details in the final texture. Average uses only the blending option, with no particular concern for detail. Max Intensity uses the photo with the highest intensity and Min Intensity uses the photo with the lowest intensity for each pixel. Disabled uses the sharpest photo for each pixel.
Finished 3D model
After selecting the Textured button at the top (where you will also find the Model Shaded button) you can inspect your 3D model. If you want to save your progress, you can do so in the File menu. You can also export the 3D model to any 3D format you like, but that is for another chapter. If you take the time to inspect the model, you will clearly see that the texture adds to the detail of your model. You can try switching the view between textured model and solid model. These two views can show you which parts are really detailed (topographically) and which parts only look detailed because of our texture.
